

In this screencast, I’m going to show you how to work with the various blending modes available within Sketch. If you want to learn more about how Sketch works, you should also check out my free Sketch tutorial, which contains 19 videos like this one, each explaining a different aspect of the software.
Watch the Screencast
Sketch is a vector-based design application, most often suited to UI and icon design, and less often associated with bitmap editing. However, it does have some features which you can use to create more interesting and appealing images. One such feature is blending modes. Sketch has fifteen of them, all of which will be familiar to you from other graphics applications:
- Darken
- Multiply
- Color Burn
- Lighten
- Screen
- Color Dodge
- Overlay
- Soft Light
- Hard Light
- Difference
- Exclusion
- Hue
- Saturation
- Color
- Luminosity
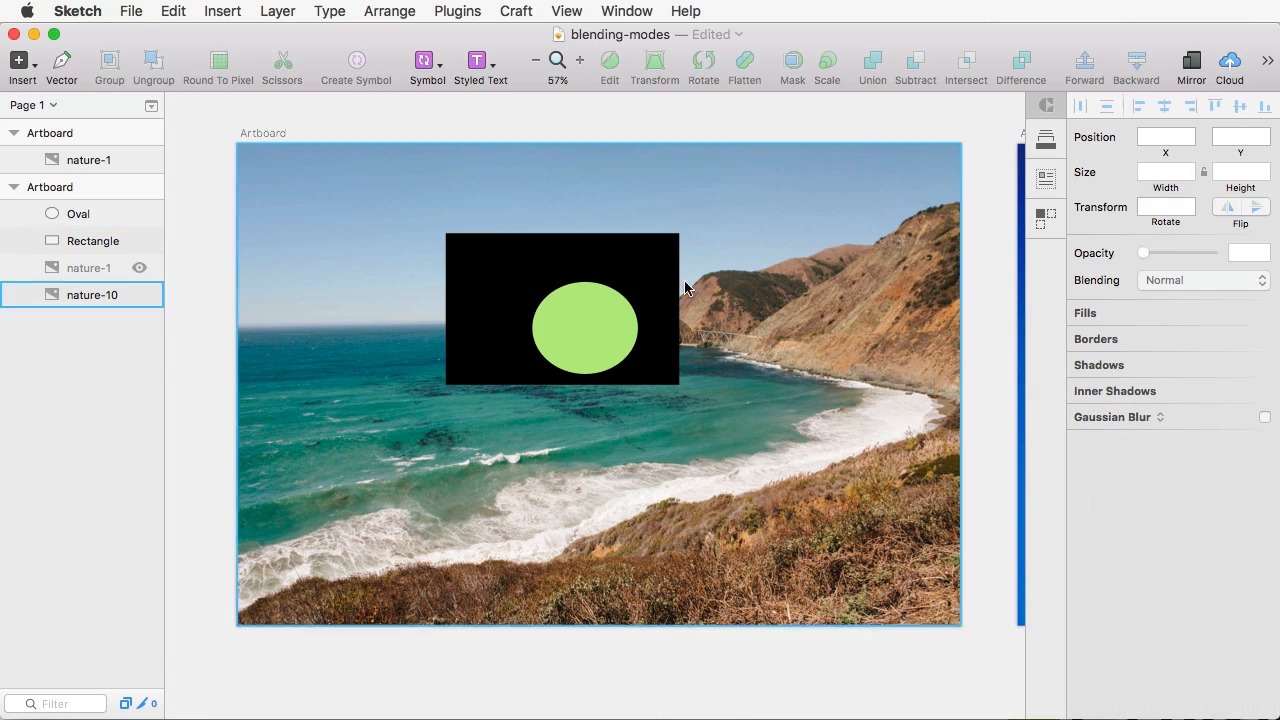
Blending modes can be directly applied to objects, or when you define their fills.


Blending modes take two or more objects (images, text, or shapes) and apply algorithms to their color channels. Each pixel map is effectively recalculated and displayed.
The Darken mode, for example, will replace lighter pixels with the darker base color of the object underneath. This happens along a gradient, so the very lightest pixels will be completely replaced, whereas the “less light” pixels will be impacted less. For more details on precisely what each mode does take a look at Jonathan Cutrell’s tutorial on blending modes in CSS:


Conclusion
Blending modes, even within vector-based applications, can lend your designs some very powerful visuals. Play around with them, get a feel for what each one will do under different circumstances, then see how you can use them in your work.
Inspiration
Check out these actions and filters from GraphicRiver which harness blending modes to striking effect!
Double Exposure Kit


Light Burst Photoshop Action


Intense Paint Photoshop Action


 By
By


