

WordPress is, generally speaking, a relatively easy system to install and have ready to work on in a short space of time. However, it’s also easy to inadvertently do so in a way which leaves your site open to hackers.
The “wp-config.php” file holds key configuration information for your WordPress site, and as such it’s important to protect it from intruders as much as possible. In this video from my WordPress Secure Setup Guide course, you'll learn how to make wp-config.php as secure as possible.
How to Secure wp-config.php
What wp-config.php Contains
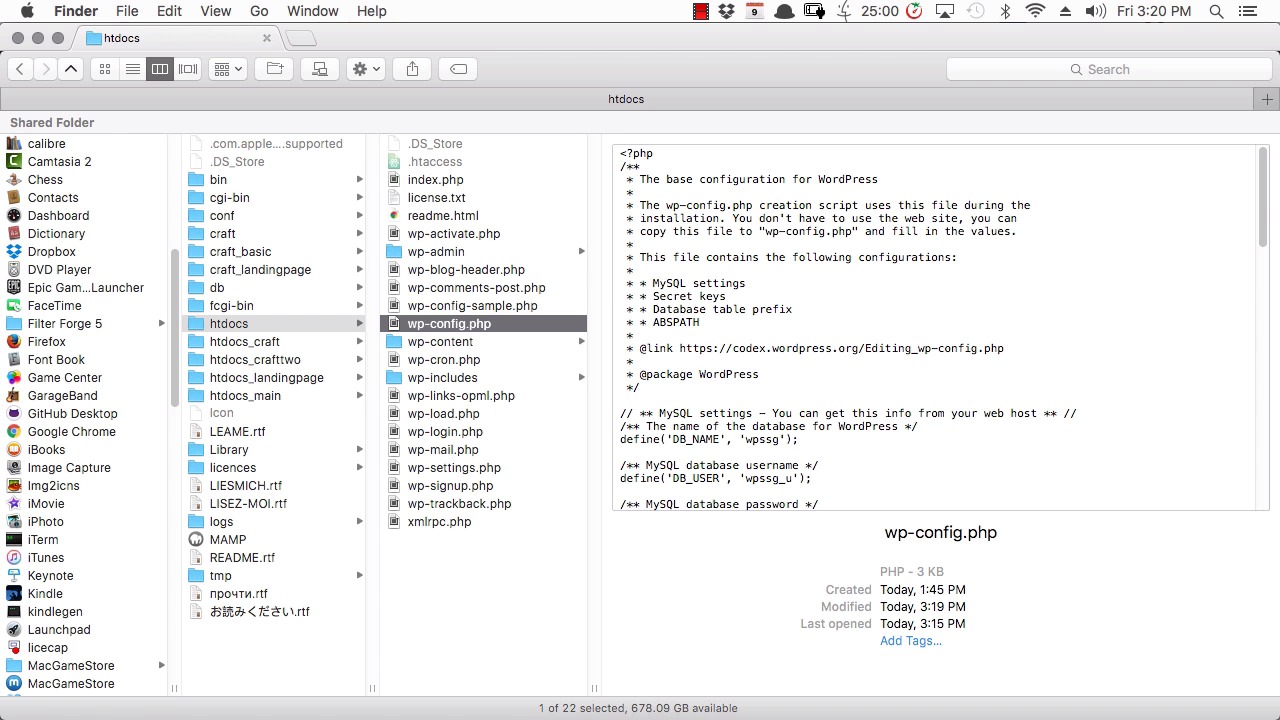
If we open the wp-config.php file and look at the contents, you'll see that it contains some sensitive information.
First, it contains all of the information that you entered during setup that gives access to your database.


It holds the database name, the user name, the password—everything that you need to be able to access that database. So as you can imagine, it's very important to protect this file, because if somebody is able to read the contents of this file, they're able to get into your database and do whatever they want.
Further down, there's also a series of secret keys.


These keys work in various ways to help secure your website.
Below that, there's the table prefix, which is another piece of very important information relevant to security.


Securing wp-config.php
So there are a few steps that we're going to go through to secure this file.
1. Generate New Secret Keys
The first thing we're going to do is generate a new set of secret keys. You can do that by going to the secret key generator website that WordPress provides. All you need to do is go to this URL and just hit refresh, and there will be a brand new set of keys generated for you. You can copy these and then paste them straight into your wp-config file, replacing the old keys.
2. Move wp-config.php
The next thing that we're going to do is move the wp-config file. By default, it sits inside the root folder of your website. So that will be inside your public HTML folder, if your site is on your main domain, or inside whichever subdirectory you're building your site in. But WordPress actually allows you to take that wp-config file and move it up one level, so it's outside your public folder.
If you're working offline, you can simply drag and drop this file, but in your online setup, you can use the move tool in your file manager. So just select your wp-config file, hit the move tool, and then change the directory that you want to have the file put into.
If this doesn't work the first time, you may have to talk to your host and make sure that your server is set up in a way that is going to allow this.
3. Block Access to wp-config.php
Now we can add just one more security measure to help protect our wp-config file, and that is to add an htaccess file in the same directory to block anybody from accessing wp-config.php.
So in the same directory as your wp-config file, create an htaccess file. You can't create a file with no extension, so here's a workaround.
If you're on a Mac, start by creating a plain text file called htaccess.txt. Then rename it, trimming the file extension off the end and adding a dot in front of it, so that the name is .htaccess.
Now we just confirm, but it's still not fully applied yet, so what we also need to do is right-click on the file in Finder, choose Get Info, and then trim the .txt extension off the end in the Name & Extension field.
Now edit the file and add the following code:
1 |
<files wp-config.php> |
2 |
order allow,deny |
3 |
deny from all |
4 |
</files> |
This code will deny access to the wp-config.php file.
If you're on Windows, probably the best bet is to make the changes to your file when it's still named .txt, adding the same code as above, and then rename it just by trimming off the extension. That's all you'll have to do on Windows—then upload your .htaccess file from there.
So once you've done that, just upload it into the same directory as your file, and then you're all done!
Watch the Full Course
In the full course, WordPress Secure Setup Guide, you’ll learn how to set up your WordPress sites in a way that will enhance their security, give them a strong SEO foundation, and optimize their speed. You’ll also learn how to handle a few other bits and pieces you’ll need for pretty much every WP site you create.
We’ll start at the very beginning and walk through every step right up to the point your site is finely tuned and ready for content to be added.
 By
By


