

- Overview
- Transcript
5.1 Add the Footer
To cap things off, we’ll quickly add a footer to the design, reusing code from the top header.
1.Introduction
1.1Figma to HTML00:43
2.Preparing the Groundwork
2.1Preparing to Begin10:37
2.2Preparing Images11:37
2.3Create the Basic Shell13:44
3.Coding Up the Headers
3.1Create the Top Header09:45
3.2Create the Main Header16:45
3.3Create the Hero Header08:34
4.Coding Up the Main Content
4.1Create the Tours Section Grid18:43
4.2Create the Best Offers Section13:23
4.3Create the Blog Section07:50
5.Conclusion
5.1Add the Footer02:18
5.2Wrapping Up02:04
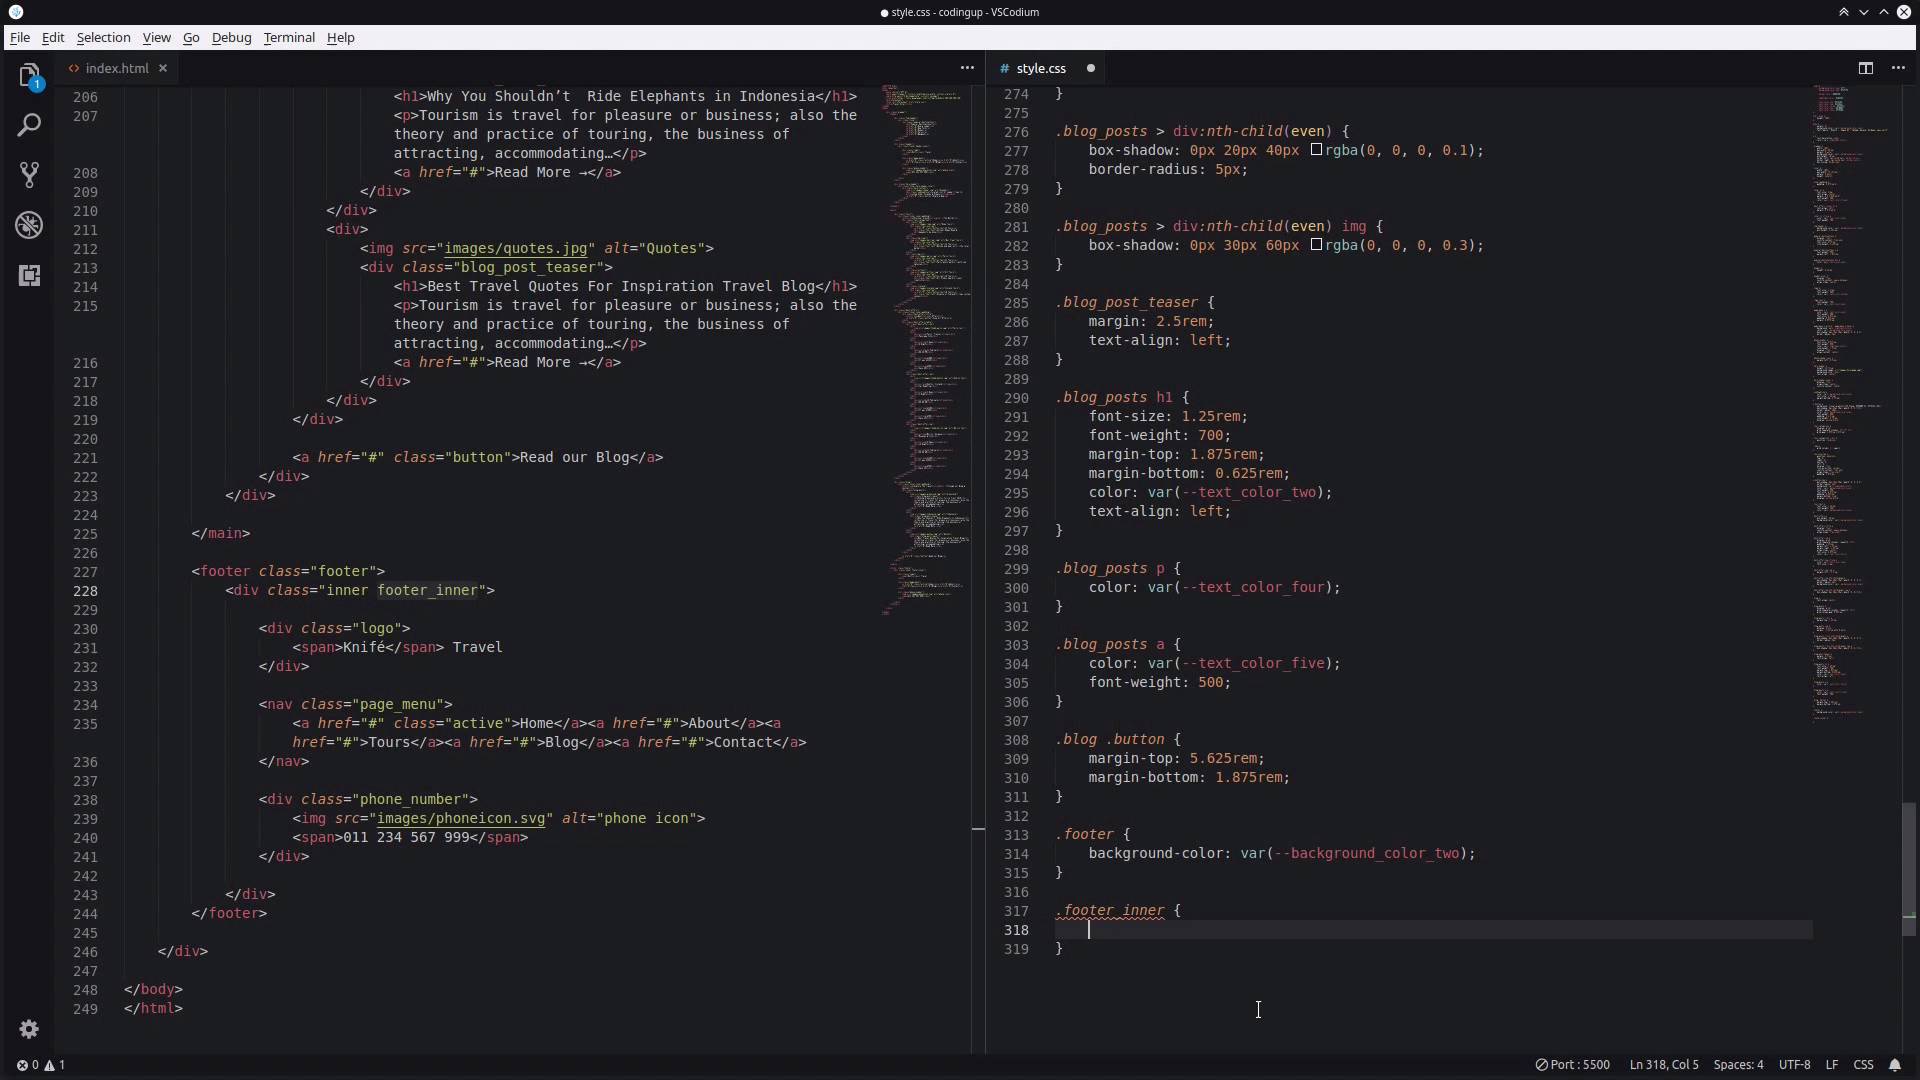
5.1 Add the Footer
Hey, welcome back to Figma to HTML. In this lesson, we're just going to be capping off the design by adding in a footer to our site. This should be very quick, because all we need to do is duplicate the content from the header into the footer. So if we go all the way back up to the top, and we look for our header element here, we can just copy all of this HTML. And just take it all the way down, outside the main element and paste it in. And we can change this class name to footer. And because this is our overall site footer, we can also change this element to be a footer element as well. We're going to change header inner to footer inner, and all the rest of this content can stay exactly as it is already. So we'll just save that. Now, we do need to apply a different background color. So we're gonna grab this footer class, And we're gonna apply the background color, background_color_two, then we're going to target footer_inner, With basically the same code that we used in header_inner. You could probably apply the header_inner class directly to this section of the content, but that might just get a bit confusing. So for the sake of clarity, we're just going to copy and paste this code into a footer in a class instead. I'm actually gonna add a bit of padding as well. So we're gonna set padding on the top and bottom to 4.375 rem. And on the left and right, it can stay set at 0. So now, if we check out what we've got. Scroll down, there's our footer. Just like that, using the same content that we did in the header section, and now that is our completed site. So it's all there, we've got all three headers, we've got all three content sections. We're making use of CSS grid, we're making use of Flexbox, and we're leveraging CSS variables. So taking this whole design out of its original form in Figma, and we've duplicated everything pretty much pixel-for-pixel into our HTML. So now, there's only one more video left in the course. I hope you'll join me in the next video, where we'll have a quick wrap-up and touch on everything that we've learned. So I will see you in the final video.


