
 Lessons: 7Length: 53 minutes
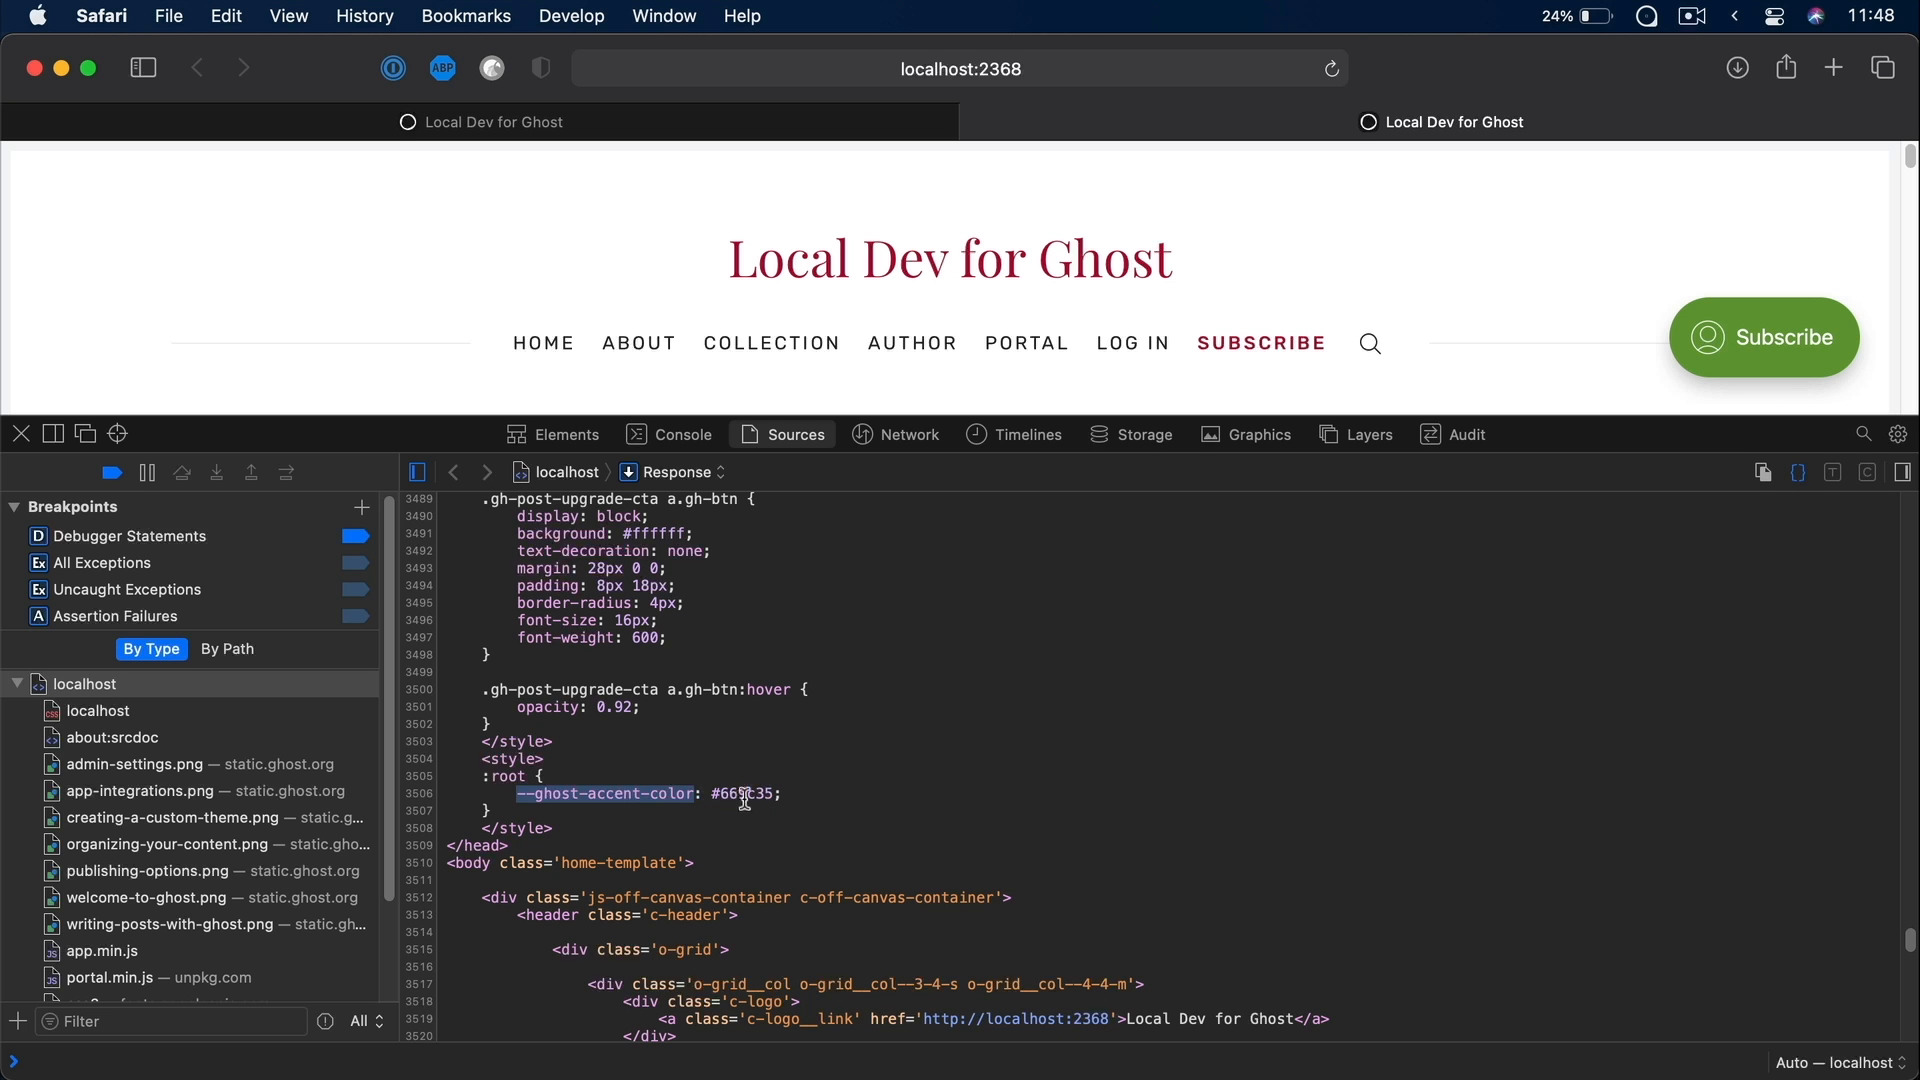
- Overview
- Transcript
2.4 Changing the Theme Files
In this lesson, we’re customizing the Nubia theme we installed previously, and this is something that you’ll do often when using Ghost. Most of the time, you'll want to change the colors, the typography, or the layout. All these can be done very easily with a Ghost theme, so let me show you how.
1.Introduction
1.1Welcome to the Course02:02
2.Building a Blog With Ghost and Envato Elements
2.1What Is Ghost?04:35
2.2Setting Up a Local Development Environment for Ghost09:26
2.3The Theme We’ll Be Using04:31
2.4Changing the Theme Files20:10
2.5Publish Your New Blog08:05
2.6Add a Contact Form03:50
2.4 Changing the Theme Files
[MUSIC] Welcome back to the course. In this lesson, we'll be customizing the new BIA theme that we installed previously. And I think you'll be doing this in the majority of cases, because very rarely you'll be using the theme as stock, right? Just as it came from the theme author. In most cases, you'll want to change maybe the typography, or the colors or the layout. And this is something you can do very easily with a ghost theme, and I'll show you how in just a little bit. Now before we begin, let me just quickly say something, the amount of customization you will do to a ghost theme is entirely up to you. Because this is a shorter course, I'll only be making a few changes. So I can show you how it's done, so you can understand the basics of customizing the theme with ghost. From there, you can take it as far as you like. All right, let's begin. So before changing our theme files, there are a couple of steps we need to take. First, we need to open the ghost dashboard. And for that we need to go to the address that was set for us. If you can't remember the address, or we didn't save it anywhere. You can open up your terminal. You can say ghost LS. And that's gonna give you a list of all the ghost installations that are running, the version of ghost, its status. So is it running or is it stopped? And also the URL. And you can just copy that and just add slash ghost, and that's gonna take you to the dashboard. If, for some reason, ghost is not running on your computer, you can simply say ghost start, hit Enter, and that's gonna start the server. Or if you wanna stop a ghost server, you can say ghost stop. Next, we'll want to find out our theme folder. So in our case, we go to the local installation, content themes. And you can open the new BIA or whatever theme you're working on in a code editor. Personally, I'm a big fan of Visual Studio Code. This is my editor of choice and this is what I'll be using in this course. So once we open this in a code editor, we can see here on the sidebar all the files for our theme. Now, Ghost themes use a tempting language called handlebars. So you can see we have some regular HTML here but inserted. In that HTML are those curly brackets with various commands inside. Well, this is just handlebar's syntax, and it's easy to use. We're not gonna touch on this too much in this course, but I just wanted to mention that, so you know what we're dealing with. Now, also inside our theme files, we can see a file called a gulp file JS. And this is a file created by the author of the theme, and it contains certain tasks. For example, we have a test called sass. This will compile all the sass files into regular CSS, it's gonna add a suffix to them, it's gonna minimize them and so on. We have a task called JavaScript which will take care of all of our JavaScript files. It's gonna concatenate them into one single app.js file, it's gonna add a suffix of min. And so on, now this is extremely helpful for us. And this is the reason we installed Gulp and Bower. If you remember from the lesson about setting up a local development environment. We installed two additional things at the end of that lesson. Well, those things will allow us to run this gulpfile.js and execute some of these tasks. Now we'll be running the Gulp default task, which basically runs two additional tasks, build and watch. Build will make sure our CSS and JavaScript file are compiled and concatenated and minified. And the watch task basically watches our sass folders in JavaScript folders for changes and whenever they detect a change. There are gonna run certain tasks. In short, by using this build system. We can make changes to any of these files. And gulp will automatically compile everything, so we don't have to bother with that. Now to use this Gulf file, we must first navigate To the theme's folder, so I'm gonna navigate to see the content and then themes and then Nubia. So if we do a sample listing here, we can see all of the theme files. So to execute the default Gulp task, we can simply say gulp. But this will not work by default because we don't have any local modules installed. Inside the theme, we also find a package.JSON file, and this contains all the dependencies or all the options. Packages that we need to install in order to use this gulp build system. So in here, we can simply say NPMI or install, it's exactly the same thing. This will read that package dot JSON file, and it's gonna install everything for us. Now if we look back inside the noobs be a folder. We also have two additional folders, node modules, which contains a lot of different packages that we'll be using and also Bower components, exactly the same thing. So now, we can say gulp. This will use the Gulp file that I showed you previously, gulp file j s, and it's starting the default task, which is this. And the default task is basically a series of two other tasks, build and watch. So it's starting the build task. Once the build task is complete, it's starting the watch task. So now basically, we can go into the assets, SAS, and we can open any SAS file in here, make changes And because our golf script is watching for those changes, it's gonna automatically compile SAS for us, all right. So, with this out of the way is scientists to start customizing this theme. And the very first thing we'll do is add support for branding color. So branding color works something like this. Let me open the front end separately. And then in the back end, I'll go to settings, branding. And here, we have a section called accent color. And this will basically set the various elements, as you can see from this preview, to that accent color. It changes the subscribe button, and it should also change some of the colors from other elements like this bar right here, this button right here, but currently it doesn't. And that's because the Nuba theme isn't yet updated to work with this latest version of ghost. I mean it works just fine but it's missing this particular feature, the branding color. Thankfully, it's very easy for us to change the theme files and add support for that accent color. So we're gonna save and close here, and I'm gonna do a refresh, and then I'm gonna right click, show page source. And here, I'm just gonna scroll down until we find this bit. This is an inline style generated by ghost. And it's basically creating a custom CSS property called ghost accent color, which takes the value that we set right here, okay? So 669c35, it's exactly the same value. The theme doesn't actually use the CSS custom property, but it's really easy to change that. So we go to theme files, we go under assets, SASS, settings, and then colors dot SCSS. Here, all we have to do is change this variable color brand from getting this default value to a VAR Ghost, Accent color save. And if we take a look in the terminal because it was watching any change to our files, it triggers this build CSS task which compiled SAS for us. So now, we can actually close this and we can do a refresh and you'll see that the brand color used in the theme now matches the accent color we have set in the back end. And we can change this to let's say a blue. Maybe this one, save and close. And if we do a refresh, you'll see that, that color is now present in all the correct elements. Pretty cool. Now, I also want to change the typography of this thing because, I'm not really a big fan of the fonts that are being used. So let's go ahead and do that. Let's close this file and we'll go to partials. And we'll open fonts dot HBS, HBS stands for handlebars, and this is a partial file, right? This is being loaded into the main HTML template, right? So if we open default HBS, this is the start of the HTML page and as you can see the font ones are nicely loaded in the head section of the page. So under fonts, the author uses two fonts from Google, Rubik and playfair display. All we got to do is change these with the font that we're using. And we'll be using a font called Allahgram, and also Poppins. So, we can go ahead and target this Replace it with hologram and also play for display. Replace it with puppets. Okay, so now, this partial file will load the elgrand Poppins font families from Google. Next let's go to assets. SAS, settings, type dot SCSS. Here we're gonna change the font serif to allegoria. And we're gonna change this to Poppins. We'll also be changing the font sizes so instead of 19 we'll add 21 pixels medium is gonna be 18 small is gonna be 16 and tiny is gonna be 12. Alright, so now we can do a refresh here and as you can see we are using different typefaces And I like this much better than the default fonts that were used. Next, I want the title of each card to be bold. For that, let's do a quick inspection here. So, we are using a class called a C post card title. For that, we're gonna open the components folder, and then postcard dot SCSS. And if we scroll all the way down to line 139, you can say the title class is using, by default font weight medium. We wanna change this to font weight bold. And by the way, these are SASS variables, they're defined right here. So font weight medium is 500, font weight bold is 700. So once we make that changes, save, refresh, and now this is using a bold typeface. All right, another change that I wanna make here is a right here in the footer. I have four social icons, but I would like to add an extra icon for YouTube. So, how do we do that? Pretty simple. We go to partials and we open social icons dot HBS. So here we can see that for each icon we basically have this line of code. To add a new one, well, I will just copy and paste this here. Let's add one for let's say YouTube. So we'll say YouTube, here. And we'll replace Pinterest with YouTube. Now, we can go back, refresh. And, well, the Subscribe button is kind of in the way here, but you can see that we just added a new YouTube icon. And you can change the href for the links either from this page. So for these three links, we change it to right here. We can set, for example, this link to Envato's Instagram account. For Pinterest, you can change it here. YouTube, you can change it here. But for these two, Twitter and Facebook, that's done a little bit differently. Because instead of a hash sign, we have this handlebars reference, twitter_url and facebook_url. These are actually defined in the backend. So let's go here. We go to Settings > General > Social accounts. And here, we can change the Facebook and Twitter links. And once we're done, save changes. All right, let's quickly browse through our website and see if we need to make any more changes. This is an archive page that displays all the posts that belong to a particular tag, in this case, Getting Started. I would like this to be bold. So, we can go to partials or, sorry, components, not partials. So assets > sass > components, _archive.scss. And for the title, we're gonna add font-weight as $font-weight-bold. Save that. And now this will be using a bolder typeface. Finally, when it comes to navigation, we have a main navigation here on the top. But we also have a secondary one here at the bottom, in the footer, but this is currently using the main navigation items as well. If we go to Ghost, to the dashboard, we go to Settings > Navigation, we can see that we have a primary and a secondary. So how do we display this secondary navigation right here in the footer? That's actually very, very easy. We need to open the footer.hbs file. And let's see if we can find it in here. There it is. So footer.hbs. And right here, at line 20, it says navigation. Well, you need to say {{ navigation type = "secondary" }}. That's it, save, refresh. So now that navigation, or that block, will display the secondary navigation instead of the primary one. And these are all the changes that I'm gonna make to this theme at this point. As I said, it's not a lot, but I think it's enough to give you an idea of how to change certain aspects of a theme in Ghost. All right, so with these small changes done, it's time to take this theme and upload it to a live Ghost blog. We'll do that in the next lesson. So I'll see you there.


