

Introduction
In this course, we'll create a simple blog with Webflow. Yes, I know that Webflow is not a blogging platform! That doesn't matter because Webflow has a content management system (CMS) that allows us to create collections.
"Collections in Webflow can be about anything: your favorite movies, the latest shoes you bought, or in this case, blog articles."
We'll take it one step at a time:
- Look at a Figma design and do some planning for our blog.
- Set up all the necessary collections in Webflow.
- Create two blog pages: one for a single article and one that displays a list of articles.
You'll also learn cool stuff like importing from CSV files, creating fields that reference other collections, and filtering and adding limits to collections.
Envato Elements
This course is brought to you by Envato, the largest unlimited creative subscription in the world.
Planning the Blog
Before we do anything in Webflow, it's a good idea to plan your blog structure. That way, you'll know exactly what fields you need to add to each collection and also how the blog will be laid out.
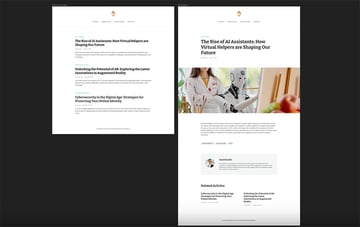
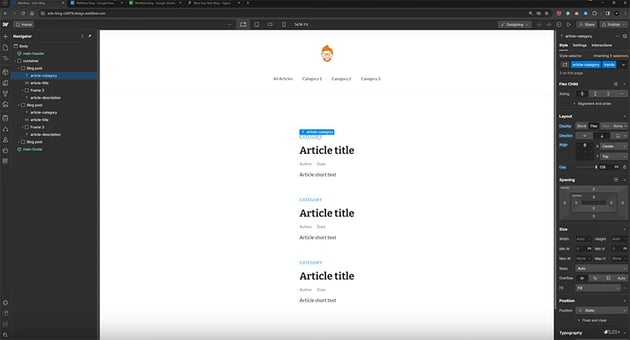
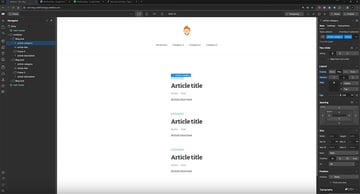
So let me show you what we're working with. I quickly designed this simple blog in Figma. We have a blog index page where we see a list of our blog articles, and we also have a very simple header and footer. And then there's a page for a single blog article.


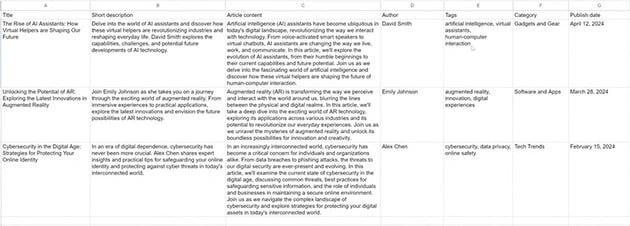
I have the content of the blog set up in two spreadsheets. The first is a list of the articles:


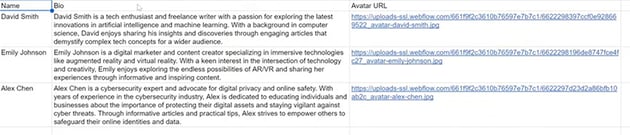
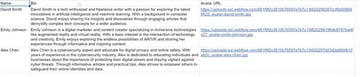
And the second is a list of the authors:

Now what I want to do is create a structure for our Webflow blog. We need to think about what collections we need to add to our blog.
Here are the four collections we need for this blog:
- Blog articles
- Authors
- Categories
- Tags
And here are the fields we'll need inside each collection:
1. Blog Articles Collection
- Title/name
- Author
- Publish date
- Tags
- Short description
- Content
- Cover image
- Categories
2. Authors Collection
- Name
- Bio
- Avatar/cover image
3. Categories Collection
- Name
4. Tags Collection
- Name
Setting Up Collections in Webflow
Now that we have the structure, it's time to jump into Webflow and create those collections.
If you've worked with Webflow before but you haven't really touched on the CMS part of things, don't worry: it's simple. CMS stands for Content Management System, and it's a feature in Webflow that allows you to create content and store it in a database. Then, at any point, you can retrieve that content and display it on your website.
How to Create a Collection in Webflow
To create a collection, go to the sidebar and click on CMS > Create New Collection.


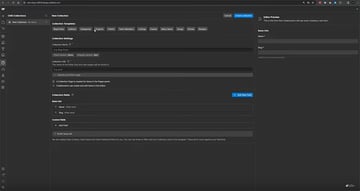
Here you have the option to choose a "collection template", which will automatically populate some of these fields for you. But we're going to do it from scratch so you can learn the process.
Let's create the first collection for tags. So we'll just give it the Collection Name of "Tags", and by default it comes with two fields, a name and a "slug" which is basically an ID. If you refer back to the structure, you'll see that's all we need, so just click Create Collection, and we're done.
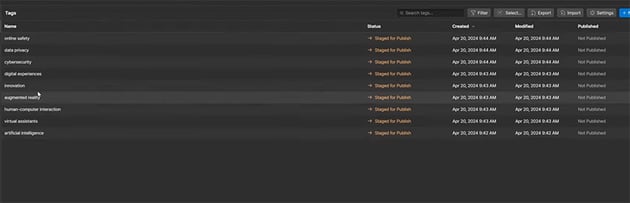
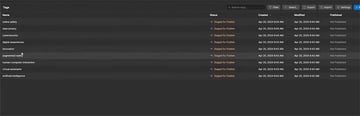
Now we'll get a message saying we have zero tags in our collection, so we'll just click New Tag to add a new one, and then keep adding until we have all the tags we need.

Next, let's follow the same process to add a new collection for "Categories". It's very simple because it uses the same fields, and we only have three categories to add.
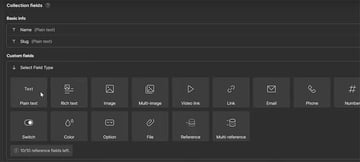
The "Authors" collection is a little different because it has three fields: the name, the bio, and the avatar image. We'll follow the same process to begin with: create a new collection, and this time add an extra plain text field for the bio, and then add a new one for the avatar.
You'll see plenty of field types to select from. We're adding an image, so click Image.


So now we have the fields set up, and we just need to add the author information. We could do it manually, as we did for the categories and tags, but there's a faster way. Webflow gives us the option to import content from a CSV file. Just click Import in the toolbar at the top.


Make your spreadsheet into a CSV file and import it using this button. Webflow will automatically match up the fields in the CSV file to the fields in your collection. You can make any adjustments to the mapping if needed, but in this case it looks good.

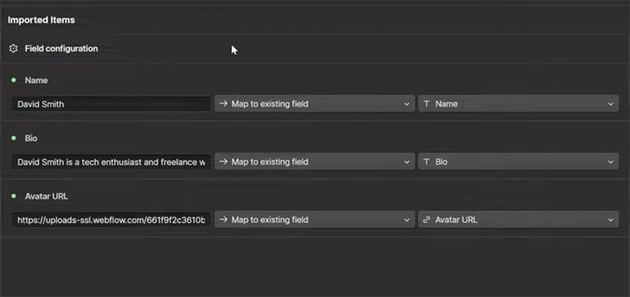

And just like that, without any copying and pasting, we now have the "Authors" database populated.
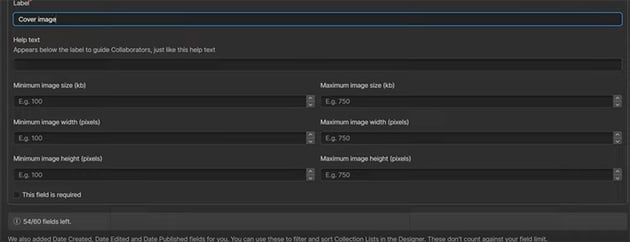
Finally, we need to create a collection for our blog articles. We can use some new field types for this. For the author and category, we're going to use the Reference field, which allows us to refer to the collections we've just created. For tags, we're going to use the Multi-Reference field, which does the same thing but allows us to choose multiple tags for each post. For the blog content, instead of plain text, we'll choose Rich Text so that we can apply formatting. And for the image, we'll use the Image field, which gives us some useful options for specifying the dimensions if we need to.

If you'd like to use the same images as I did, you can find them here;
Now we're done with our blog article collection, and we can start adding the content. Here's what the interface looks like for creating a new post in Webflow using the collection we just created.


We can just copy and paste our content, upload our images, and choose things like the author, categories, and tags from the dropdown menus, thanks to the references we just set up. And now we have created our basic blog content! We have three posts, with authors, categories, tags, and images.
Envato Elements
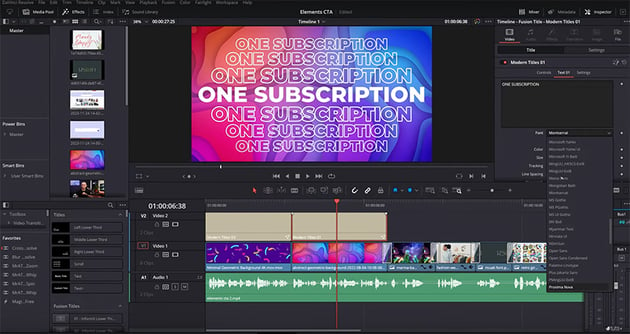
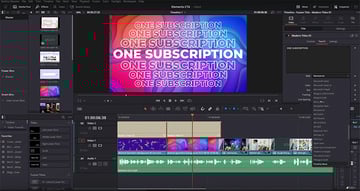
Recently I needed an eye-catching intro for one of my videos, but video editing is not my strong suit. So I turned to Envato Elements for a creative boost. For the first ten seconds of the project, I used these two video titles along with these two geometric backgrounds:

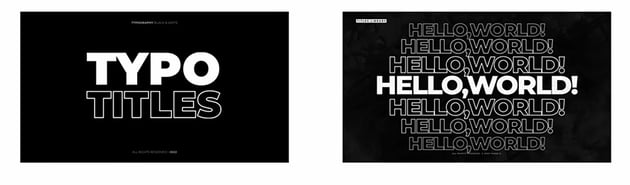


I imported everything into DaVinci Resolve and made a few adjustments to the text, and the result was a vibrant, eye-catching intro that set the tone for the rest of the video.

I'm no Spielberg, but I love the end result. So I would highly recommend Envato's huge library of assets: one subscription gives you unlimited downloads.
Create the Blog Page
So we've set up the collections, which means the blog content is now in the database, but we still need a way to display that information on the actual website. Let's do that now.
I created a couple of static pages in Webflow to match the styles and layouts we created in Figma: one for the article index, and one for the articles themselves.

What we need to do now is link those up to the collections we created so that they update dynamically to reflect the blog content.
You'll see that Webflow has helpfully created page templates for us based on the collections we just created.

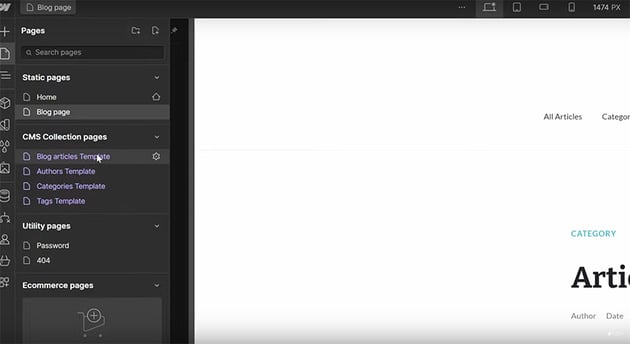
That's very helpful because instead of creating a new page for every single blog article, Webflow is going to do that for me automatically by using one of these templates.
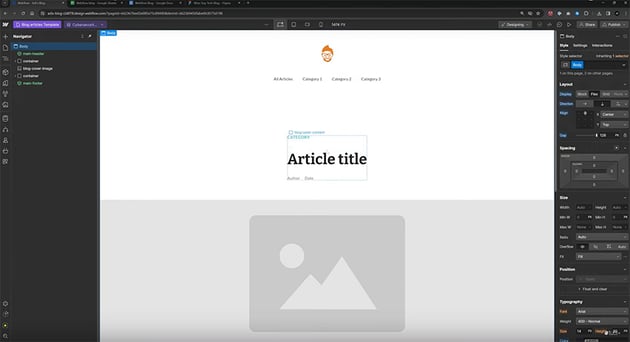
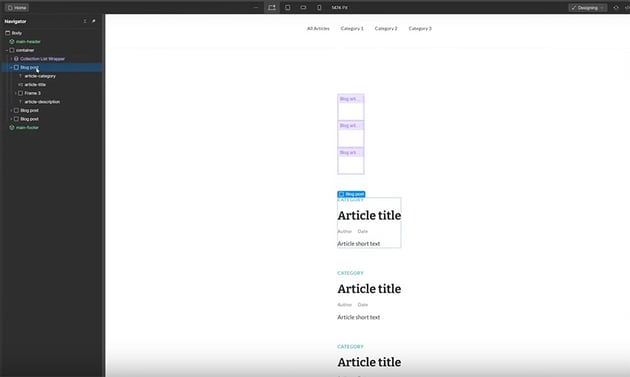
So now I can take the containers and styling from my static page and copy them over to the Blog Articles Template.


The next step is to link all of the necessary fields or elements on my page to a field in the collection. Let's start with the category. So select that, click on the cog icon, and click on the purple plus icon that appears.

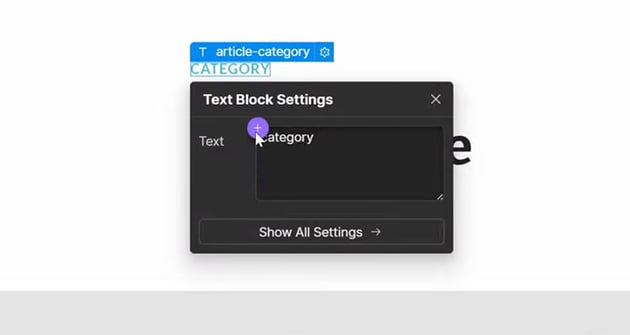

You'll see a list of all the fields we created, and you can connect it to the category name from the database.
Then it's just a case of going through field by field and updating them so that they link to the appropriate field in the database. And now, the pages will update automatically with the appropriate title, category, blog content, etc.
The process is slightly different for the tags because we have multiple tags per post. So for this, we need to use a Collection List, which you'll see in the left sidebar under the CMS heading.


Just drag it onto the page, where the tags are. Then we connect it to the database in the same way, and it will bring in the appropriate tags for each page. Now we just need to apply the right styling, and then delete those static elements because we don't need them any more.
Finally, let's work on the Related Articles, where we need to display two additional items. So because there are multiple items, we'll use a Collection List again. Choose Blog Articles as the source, and make the formatting match the design. Now you can start linking each item to the corresponding field in the database.
Now it will display all the articles from my blog, but I just want the related articles, not all of them, and I certainly don't want the current article to be shown. So in the Collection List, we can go to Settings and choose how many items you want to show (in this case, 2). Then filter the collection to exclude the current article. And to make it show only related articles, you can choose to display only those articles that share the same tag as the current page.
And that's it! Our blog article page template will now update automatically to create individual pages using the content from our blog database.
Create a Blog Index Page
Now we just need to create the blog index page, which is a page that displays all of the articles on the blog.
We can simply use the static page I created, but instead of the static elements, I'm going to add a Collection List.
Then, we just need to select the source as the blog articles and link each field to the corresponding field in the database. You should end up with something like this:


Now there's one final thing to do, and that's the category menu at the top. Again, we'll use a Collection List to get the different categories from the database.
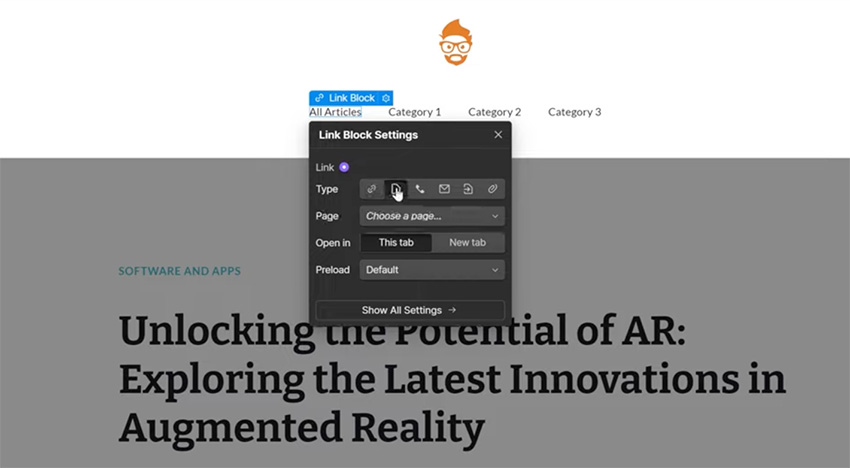

Because this is a component, it's going to be displayed the same on every page that it's used on. Clicking on All Articles will now take us to the home page, and clicking on any of the other items will take us to the relevant category page, which we haven't actually set up in this project.
So that's how you can create a very simple blog with Webflow. Obviously, you can go much further with this, e.g. adding comments and share buttons, but this course was about teaching you the basics of working with a CMS and creating a simple blog. You learned about the CMS functionality in Webflow and how you can use it for lots of different things.
If you want to learn more about Webflow, try these free tutorials:

 Webflow for Beginners (Full Webflow Tutorial)


 10 Useful Webflow Integrations for Your Website


 How to Create a Website with Webflow

 How to Use Webflow’s Collaboration Tools for Better Teamwork


 7 Tips for Managing Your Web Design Business with Webflow


 6 of the Best WordPress Alternatives in 2024
Or watch these videos from our YouTube channel:


