

- Overview
- Transcript
2.1 Creating a Grid Container
Let’s create a grid, shall we? The very first step is to define a grid container. This will be the parent of all the grid items and can be pretty much any element you want: the body, a div, a list, and so on.
Let’s begin.
2.1 Creating a Grid Container
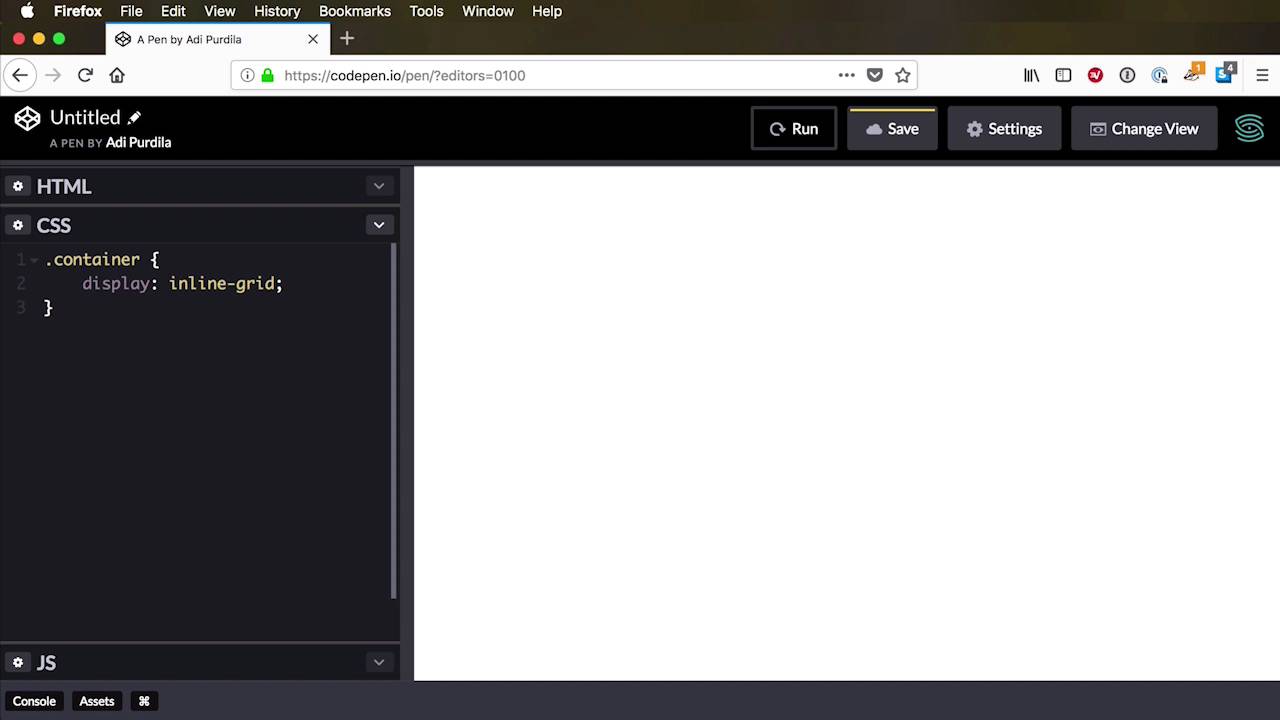
Let's create a grid shall we? The very first step is to create a grid container. That's the parent element. What holds the grid together. It's the parent element of the grid items and it can be anything you want basically. The body, a div, a list. The list can go on. So let's keep things simple, I'm gonna use a div with a class of container. Now this class name is totally random, it doesn't have to be container, it doesn't have to be grid, it doesn't have to be anything, really. As long as you can target or reference this element properly in CSS, you don't need a class name, you don't need an ID right? What's important is the CSS, not the name or the class name you give that particular element. So in my CSS I'm gonna target the container, and I'm gonna set display grid. And that's it, really, there are two options, basically. Here, you can set a display grid, or you can set a display to inline grid. Now, the difference between these two modes is that display grid creates a grid container box. That is block level. And the other one, inline grid, creates a grid container box that is inline level. That's all there is to it. For this demo, we're gonna stick with display grid. So now, any kind of element that we're gonna add in our container would be considered a grid item. So, let's add a few. I'm gonna use the class of item, although this is also arbitrary. It can be whatever you want and I'm gonna simply say Item 1. Let's duplicate this like four times. Item 2, 3 and 4. So, if we run this. We'll just see item 1, 2, 3, and 4. And just to make this a little bit clearer, I'm gonna add a simple Demo Style. I'm gonna say it's not necessary for grid, I'm simply gonna style that item. I'm gonna give a background color, something like this, and let's give it a color of white. And also, give it a padding of 1rem, for example. Now, you might say, well, we don't have any rows and columns, what's going on? That's because we haven't defined them. By default, grid will simply create a flowlayout, as you can see here. It goes from top to bottom in a single column. Now if we want to position the elements and create columns and stuff, we have to define them and we’ll learn how to do that in the next lesson.


