

- Overview
- Transcript
4.4 Styling the Slides
Before we get to our animations, let's add some more CSS to get our slides styled as we want them.
1.Introduction
1.1Introduction00:42
1.2Frameworks for the Win06:05
2.Easy Parallax Scrolling With Parallax.js
2.1What Is Parallax Scrolling?04:56
2.2Setting Up the Site06:47
2.3Bootstrap Basics08:03
2.4Structuring the Header12:49
2.5Structuring the Body11:21
2.6Parallax Backgrounds08:27
3.Scroll Events With Wow.js
3.1Downloading Wow.js05:03
3.2The HTML09:27
3.3Simple Animations06:39
3.4More Animations13:06
4.Scrolling With Skrollr
4.1Downloading Skrollr05:31
4.2Data Attributes14:07
4.3Filling Out the Content11:25
4.4Styling the Slides04:38
4.5Slide and Fade10:05
4.6Narrow the Margins11:04
4.7Nested Animations07:26
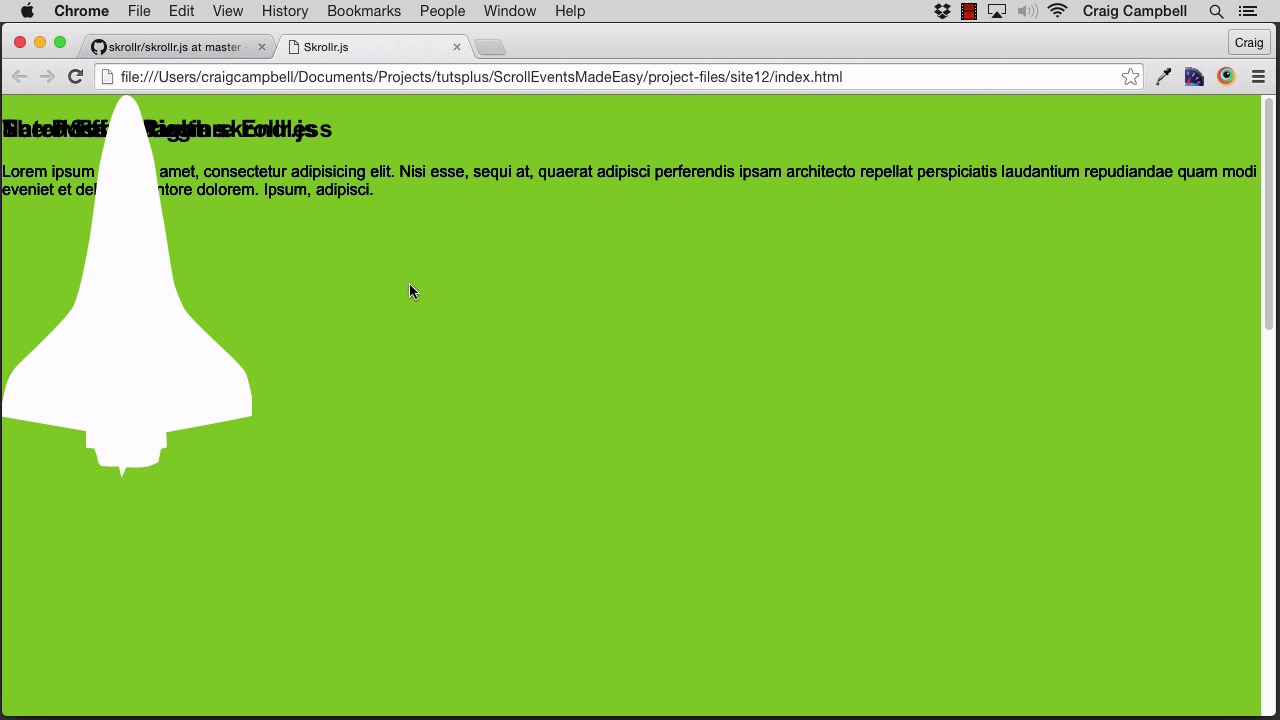
4.8Animating the Shuttle05:38
5.Bonus Content: Creating Scrollable Navigation
5.1jQuery Click Events05:53
5.2Animated Scrolling With jQuery05:52
5.3Setting Up Your Scroll Positions13:49
5.4Detecting the Current Position11:00
5.5Manual Scrolling Issues06:15
6.Conclusion
6.1Conclusion01:39
4.4 Styling the Slides
Hello and welcome back to Scroll Events Made Easy. Now that we've gotten our content in place, we've created a few different slide elements. We've created these section elements with a class of slide, and remember, they also each have their own ID, so this one is scroll01, 02, 3, 4. Not scroll, slide, sorry. But now, I wanna go ahead and style these slides, and they're all gonna have very similar styles, so we're gonna use the slide class to do that. If we need to create any specific styles for a different slide for a particular slide, we can do that using the IDs that we gave them. So what I want is, I want each slide to take the full width and height of the stage, and I want the content inside the slide, the text, I want it to be narrower and I want it to be centered. So, let's get started. I'm gonna jump back into Brackets. I've copied everything into a new folder now, so all the changes we make in this lesson will be saved in the site12 folder. And, I want to jump into our CSS file, so we'll jump into main.css. And here is our class for our slide. Now initially, I set its position to relative, just so that we could see the text. And again, we can jump into our browser, and we can see the text over that green background. However, I am gonna change that because I want each of these slides to be fixed as well. And, we'll explore a while later. But, I'm gonna set the position of each of this to fixed. The slides themselves are not going to scroll because we're moving the scroll bar. Instead, their going to scroll because the scroll bar is going to trigger certain events in scroller.js to cause these animations to occur once we apply the data attributes that we need to, to each of these slides. So again, we don't want these to react to the normal sliding events. We don't want to just react to moving the scroll bar. So again, I'm going to set the position for each of these to fixed. Now, let's see what that does. If we save everything and refresh our page, you'll see that everything is fixed now in place. We can scroll up and down and those aren't gonna move which is kind of what we were going for. Instead, we want them to move with these data attributes. But, it's moved them all up to the top left, which is fine for now. We will fix that soon. But, let's jump back into our code. And, what we wanna do now is, I wanna set the width, first of all, of our slides to 100%, and I'm gonna set the height to 100%. I'm gonna add some padding to each of these slides of maybe about 50 pixels. And then, I wanna set the top and left attributes to 0, or properties to 0. And, that's where they were by default anyways, but I just wanna make sure that they're there. We'll save that and we'll refresh our page here and you'll see that not much has changed except for the padding has made everything come in a little bit from the sides. Everything is still on top of each other and again, that's fine, we're going to fix that later on. But, let's jump back into our code and now, I want to style the content inside the slide. So, if you remember in our index.html file, we have our section elements with a class of slide and inside those, we have a div with a class of slide content. So, I want that content to be narrower and centered, so let's jump back into our main.css page, and let's create a new rule for .slide-content. So, for this, I want to set the width here to about 600 pixels and we're gonna set our margin to 0 space auto, and that will center the content in the center of the stage. And, let's see how that looks, we'll save that, jump back into our browser and refresh. And, that already looks better. Obviously, these are still stacked on top, cuz they've all been given the exact same style. Let's jump back into our code now, and with everything in place, we've got all of our slides where we want them to be but we're gonna change their positioning using the data attributes that we've talked about. And, when we change these attributes, this first slide is gonna be the only one that we see by default on the stage. All of the others are going to be somewhere off to the bottom of the stage. We're gonna nudge all these other slides down, and we'll just move them on to the stage as we need them. But, we'll get to that in the next lesson. For now, we've got our slides styled how we want them, and as we move forward, we'll get started with our animations. Thank you for watching, and I'll see you then.


