
 Lessons: 4Length: 20 minutes
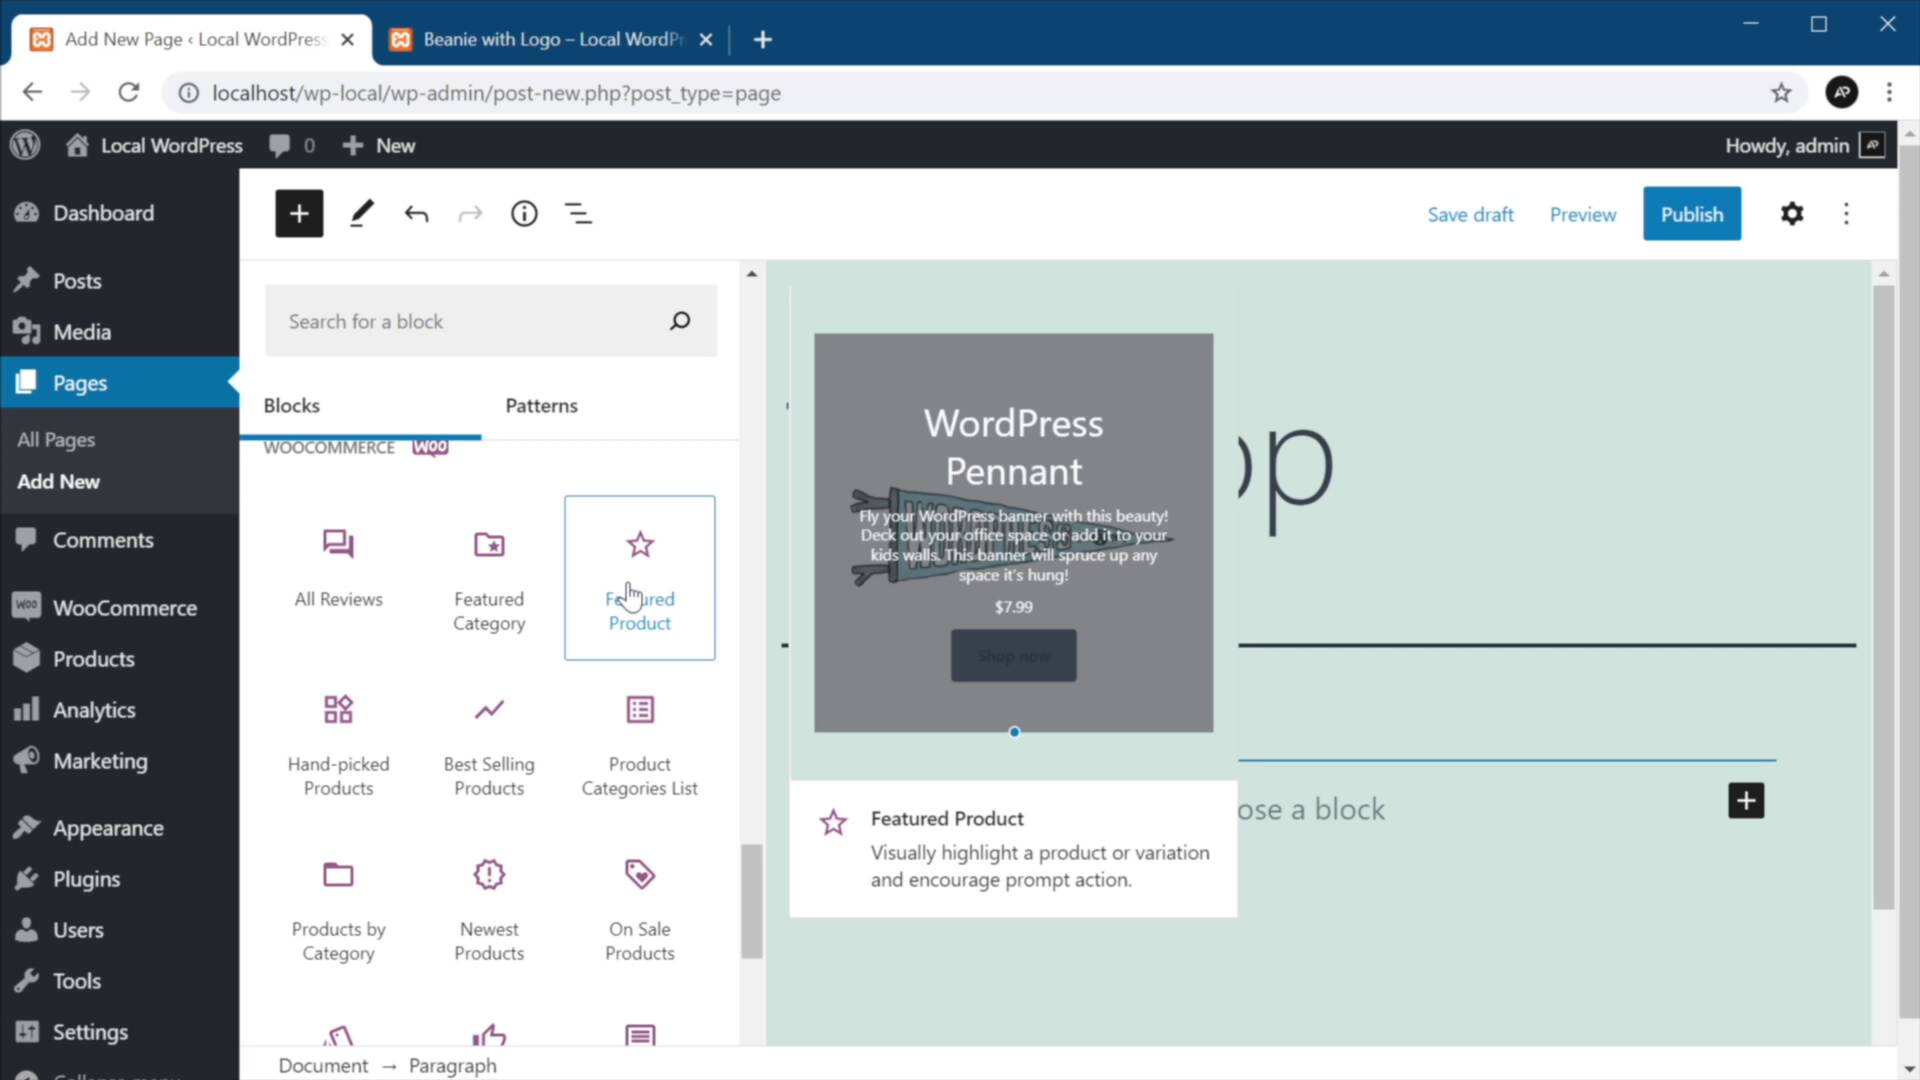
- Overview
- Transcript
2.1 Getting Started With the New WooCommerce Blocks
Welcome back to the course. In this lesson, you’ll learn how to install the new WooCommerce blocks and how to use them. Let’s begin.
Related Links
1.Introduction
1.1Welcome to the Course01:04
2.Introduction to WooCommerce Blocks
2.1Getting Started With the New WooCommerce Blocks07:32
2.2Creating a Custom Shop Page04:33
2.3Creating a New Cart and Checkout Page06:38
2.1 Getting Started With the New WooCommerce Blocks
Welcome back to the course. In this lesson, you'll learn how to install the new WooCommerce Blocks and how to use them. So let's begin. First, let's go ahead and install WooCommerce. For that you need to go to your WordPress back end, go to Plugins > Add New, search for WooCommerce and install it. After the installation is completed, go ahead and activate the plugin. Here, WooCommerce will take you through a setup wizard to be able to set up your store correctly. For the purposes of this demo, I'm gonna skip the store setup, hit Continue here, and we can close this down. So now WooCommerce is installed, but we don't have any products. So in order to demonstrate the functionality of the new blocks, I'm gonna have to add some products. And the plugin actually gives us some sample data we can use. Now, you can find the sample data in wp-content > plugins > woocommerce > sample-data. You'll notice that my path here is a little bit different because I'm using a local installation of WordPress. But regardless of how you have it installed, either it's local or on a live server, this right here is the path that you'll always use to find this data. And the sample data contains some sample products in both CSV and XML format, and also some sample tax rates right here. So once you found these files, you can go ahead to WordPress > Tools > Import, and scroll down until you find WooCommerce products (CSV), Run Importer. You can choose a file, then navigate to the location I just showed you and select sample_products.csv and hit Open. Continue, here it's gonna ask you to map CSV fields to products. You can just run the importer here if you don't have any other products and wait until the products are being imported. Now the import is complete, 25 products imported from sample_products.csv. And they're all added here nicely. And they each have a picture, name, SKU, price, stock information categories, and so on. And we can actually see them on the front end as well. This is what it looks like. This is a great way of testing WooCommerce without having to worry about adding your own products. Now, going back to WooCommerce Blocks, let's go ahead and create a new page. And I'm gonna show you how to add these new blocks and explain what every single one of them is doing. So this is a test shop page, and to add a block, we can just click on this button. We can click Browse all, and we can scroll down all the way down until we find WooCommerce, and here they are. And when you hover on one of them, they actually give you a preview on the right side here and also more information about that particular block. So let's go through each one. This will show you all the product reviews for a specific product. So if I wanna add that, I can simply click on it. And currently the shop doesn't have any reviews, but when they are available, they will show up right here. And to delete it, you simply click on that and remove block. The second block is featured category. Basically, you can choose one category that you can highlight and display anywhere you want on your page. Same goes for this one, but this is for products, so you can feature a specific product. Let's click on that one, for example, and let's search for a beanie, for example. All right, I'm gonna select Beanie, or let's do Beanie with Logo, and Done. And now this placed only a specific product in this page, and we can go ahead and publish this page. And we can view it right here. And as expected, here is our product. What else do we have? We have a collection. This is actually a grid of handpicked products, so you can basically choose which products to display in a grid format. This is a collection of your best selling products. This is a product categories list, which shows you in a list format all product categories, and you can also display this as a dropdown. This is products by category, which basically displays a grid of products from the categories you choose. Newest products, pretty self-explanatory. On sale products, this will display a grid of products that are currently on sale. We have products by attribute. Again, you can display certain products in a grid, and you can choose those products based on certain attributes. This is for top rated products. Reviews by product, so you can choose to display reviews just from a single product, reviews by category. Product search, this is basically a search box that allows you to search for products by keywords. Same thing here, but you can display products with a certain or certain tags. This is a very useful one. It allows you to display all products. And here we get to filters. So you can use these three to filter products by price, by attributes, and this one shows you the active product filters. So these are the blocks that you get by default with the WooCommerce plugin. All right, and that's how you can get started with these new WooCommerce Blocks for WordPress. Now, as I was saying in the introduction, you can use these blocks to display products in various parts of your website, either in posts or in pages, but you can also use them to create a custom shop page, for example. And I'm gonna show you how to do that in the next lesson. I'll see you there.


