


- Overview
- Transcript
2.1 Transitions
The main function of Motion UI is to transition elements, and you can apply these transitions to pretty much anything you want. Let’s see some examples.
Related Links:
2.1 Transitions
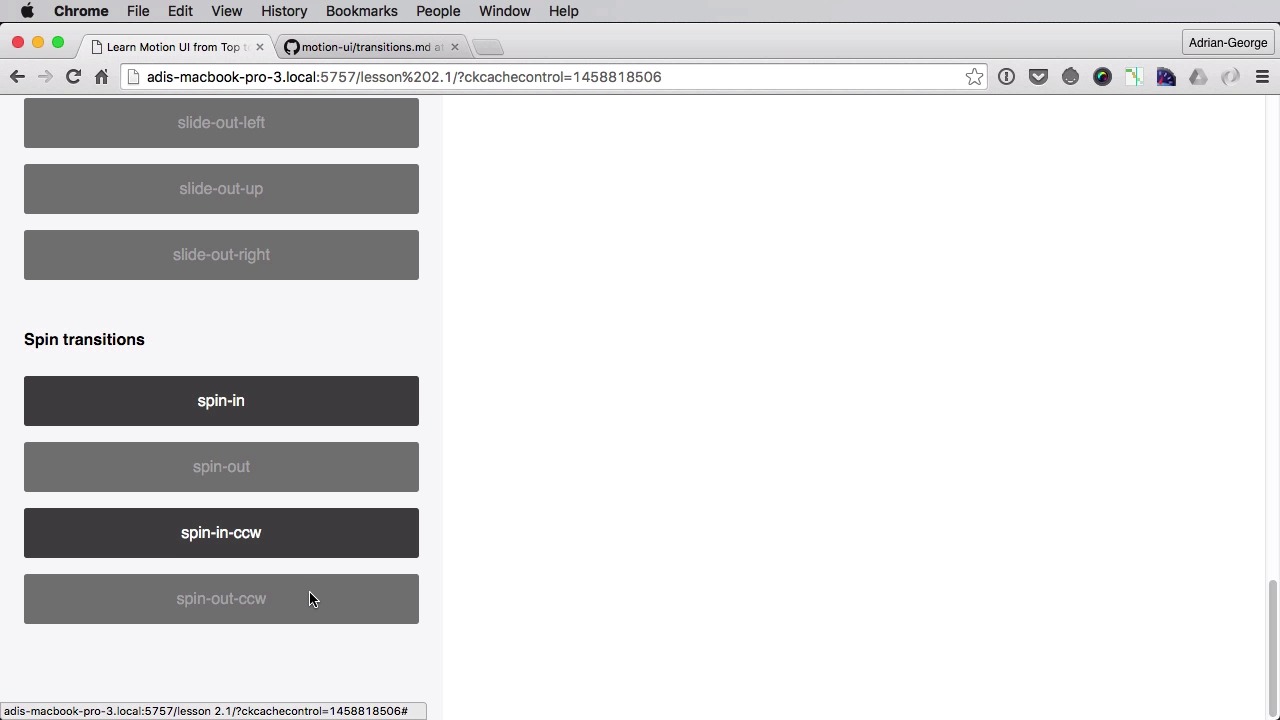
Transitioning elements is the main function of Motion UI. And you can use any kind of elements you want. Let's see some examples. First of all, what is a transition? Well, a transition is a transformation, basically, that goes from point A to point B. To give you an example, the fade transition. It goes from 0 opacity to 100% opacity. So it goes from invisible to visible, point A, point B. Or let's say a scale transition. It goes from point A where it's, let's say 10 by 10 to point B, where it's 50 by 50, for example. Or let's say a slide transition, it goes from point A to point B on the x-axis or the y-axis. So you get the picture. Now the motion UI transitions can only be applied via JavaScripts. And you can do that by using two methods, called animate in, and animate out. So animate in will be used for the in transitions, like Fade in, like hinge in and so on. And animate out will be used for the out transitions. So scale out, slide out and so on. Now this demo that I prepared here might seem really complicated but it's not really. All I want you to focus on is these two methods, the animate in and animate out. That's how you apply a transition to an element. You pass in the object or the element you want to transition and you pass in the transition class or transition name. Now motion UI has five transition. Let's call these classes. You have a fade, you have a hinge, scale, slide and spin. And you can see all of these have like subcategories. So for example the fade has fade-in, fade-out. In fact, any transition has an in and out state. But on top of those, some of them like the hinge has different variants. For example, hinge-from-top, from-right, from-bottom-left, middle-x and middle-y. Scale has up and down, slide has all directions and spin has spin and spin counterclockwise. Now the texts that I have in all of these buttons, corresponds to the exact class names generated by a motion UI. And I've actually shown you those in the previous lesson. So in your styles.scss, if you include this mix-in here, motion UI transitions, you will get a list with a bunch of transitions. As you can see here, slide-out-up, slide-out-left and so on. All of the transitions that I shown you here are present or have a corresponding element right here in the CSS. So by doing this, you can start using these transitions right away. Now the scripts file that I have here might seem really complicated, but it's not. Pretty much all of the code that you see here is for the demo page. But in reality, just like I said earlier you only need two methods to use motion UI. So let's see how that's being done. So we're gonna do it here on fx button click. So when we click one of these buttons, we want to take the text that's inside a button and apply it to our currently invisible object here on the right. And by doing this, we'll transition that object. So we get the button text in the fx variable. If the button is disabled, we don't do anything, we prevent the default behavior. And then we're gonna do this. We have two states here. If the button we click is an in-state, then we have to do animate-in. Otherwise, we have to do animate-out. So we're gonna start with this, if we're gonna do fx.indexOff Out is higher or equal than 0. That basically means if the FX contains the word out, then we're gonna call the motion UI objects and we're gonna do animate out. And we're gonna pass in the object which in our case is a div with an id of the object. And we're getting it in the object variable. And we're gonna pass in the effects. So the effect basically. And then I'm gonna say, disable the out buttons. Now this is for the demo only. The only thing you're interested in, is this line of code right here. So for this I'm just gonna call my function there toggleElements( "-out"), okay? And then we'll do else, we'll say MotionUI.animateIn. So if our buttons contain the text in, we're gonna pass in again theObject and the effect. And then we're going to disable the in buttons. So now let's see what we have here, so we'll do a quick refresh. We fade in. And there it is, the element fades in. And you see that we switched the buttons here, so now we can fade it out. We can apply another transition. So all I'm doing here is calling the animate-in and animate-out methods and passing in these transition names here. So scaling down, it looks like this, slide out the left, it looks like this. Spin in and we'll do counterclockwise spin out. So that's pretty cool. That's really easy to do. Now these two methods have a third optional primer called a callback. And a callback can basically be used to do certain things once this transition is finished. So here I can basically either type in a function name or declare a function like this. And I can have it do something like maybe do a console log. All right, so I can do console log. Lets see, transition finished. And I can even say out transition finished. And we can do the same here. I can log this. So now if we take a look at the log, at the console actually. Fade in. And you'll see this log entry is made only after this transition is finished. Yeah, so fade out. And there it is, in out transition finished. Of course it works with all the other transitions. Now these are the default transitions. But the cool thing about motion UI is that it gives you the option to create your own transitions by using certain make sense. So for example, let's say that we want to make a custom fade-in and fade-out transition, right? So for that let's actually go here and add another section here. So we're gonna say custom transitions and we're gonna have a custom fade-in and a custom fade-out. Then you got to go to styles.css and we're gonna do this. We'll declare a class custom fade-in, you can use any name you want, it doesn't matter. And then you're gonna do this. include mui-fade, this is the mixin, and you're gonna pass in certain parameters. Now what are those parameters? Well let's take a look at the documentation here. You can find this on GitHub docs/transitions.md and you'll find all the mixins you can use here. Mui-fade, mui-hinge, slide, spin, and zoom. And for each one of these, you get a full list of the accepted parameters and their default values. So if we take a look at fade, we have five parameters. We have state, in or out, we have from where you start your opacity, the default is 0. 2, so where it should end. Default is 1. The duration, which is the speed of the transition. The timing or the easing and the delay which is the number of milliseconds before the transition starts. Now these default to NULL. Because they are optional. So let's create our own fancy transition here. We're gonna say this, we want in. We want to start at 0 and at 1. And then we want the duration to be 1 second. We want the timing or the easing. By default it's linear but let's change this to ease in and out. And let's also do a delay of 2 seconds, okay? So once we do this, if we take a look in our styles.css, you're gonna see a custom transition here. You will see our new duration, our new easing, the new delay, the opacity and the transition property. And then let's do one for fade out. Fade out is quite simple. We just change to out here. Let's do a duration of 2 seconds here, same timing and the delay, let's make it 5 seconds. All right, so let's do a default fade in and see how it looks. And there it is. Let's do a fade out and now let's do a custom one. So not as that two second delay there and now a fade out. And hold on. Something's wrong here. So custom fade-out. Let's see custom fade-out out, sorry, 1 and 0. So it goes from 1 to 0, let's try that again. So custom fade-in, 2 second delay there and out of fade-out, that should be a 5 second delay. So And there it goes. So that's how you can create custom transitions. And you can use this list here, to create any kind of transition you want. Now I talked about transition defaults, what exactly are those? Well there are more categories and those categories are as follows. I'm just gonna write them all here and I'm gonna walk you through them. So the defaults are 500ms for speed, linear for easing and 0 for delay. On top of that, you can also add your own modifier classes. Slow or fast for slower or faster speed, more options for easings, and two options for delays. And you can actually apply these classes to the object that you wanna transition. So for example, the default fade-in. Looks like this 500 ms. But if I want it to be really slow. I can go in my HTML and I can add the class of slow to my object here, to the stuff that we'll be transitioning. So now when I fade in, it's a little bit slower and you can add any of these classes to your element. Either directly in the HTML or via JavaScript, it doesn't really matter. And that's how you can use transitions. Now motion UI also allows you to use animations and you'll learn all about those in the next lesson.


