

- Overview
- Transcript
2.3 Background Images
You already have background colors in place, but in this lesson you’ll be adding a little texture by including some tiling background images into your design. You’ll learn how to make background images appear in your sites, as well as how to control their position and the way they repeat.
1.Introduction
1.1Start Here: Learn CSS Colors and Backgrounds00:58
2.Learn CSS Colors and Backgrounds
2.1Background Colors12:13
2.2Text and Link Colors06:40
2.3Background Images05:48
2.4Border Colors03:17
2.5Shadow Effects06:26
3.Conclusion
3.1Wrapping Up02:54
2.3 Background Images
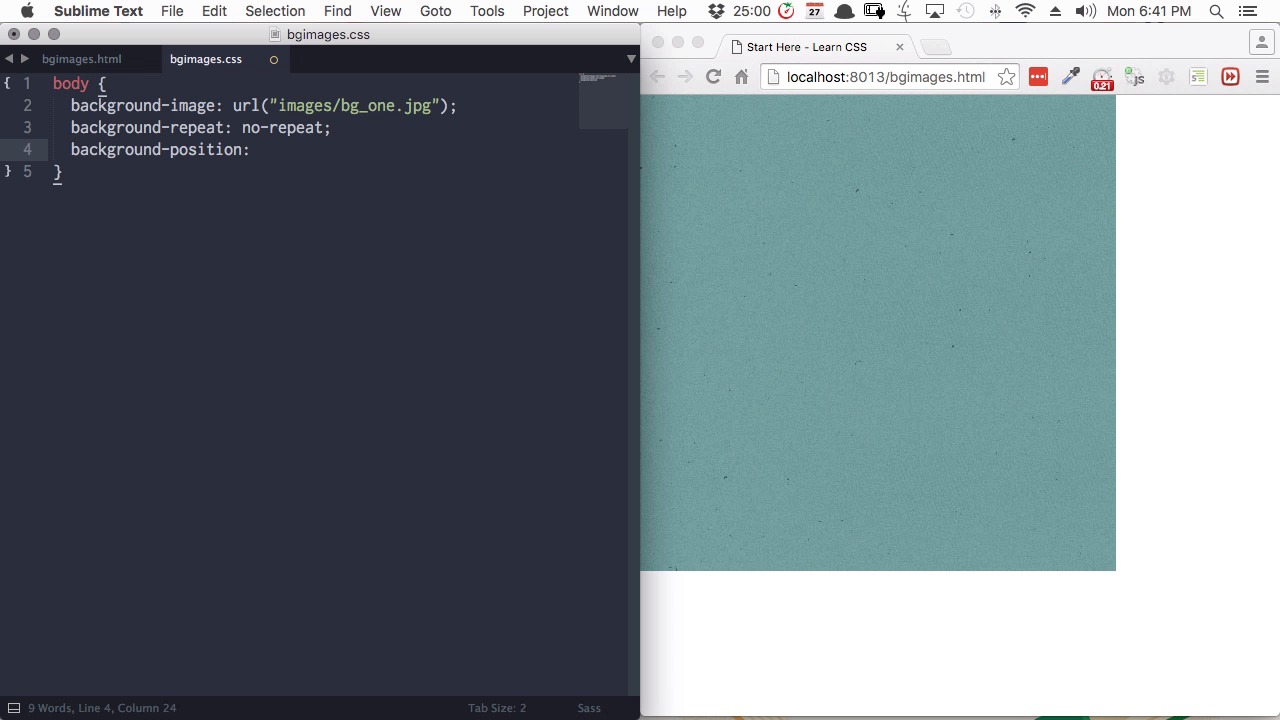
Hi and welcome back to Start here, learn CSS colors and backgrounds. In this lesson you gonna learn how to work with background images in CSS. So what we've got here is just a basic HTML page once again. This time we don't have any HTML inside the body, because we're just going to be styling the body element directly. And these are the files that we're working with. So we've got the HTML and the CSS file that we are using, and then inside the same folder we have another folder named Images. And inside that, we have a background image. And we're gonna use this background image inside our body element. Now the way that we do that is with the property background-image. Now in order to place the image we then need to add URL followed by a pair of brackets and then add a semi colon. And then in between the brackets we need to add some talking marks and then in between those talking marks we can put the location of our images. And as we saw that's inside the images folder and then we're gonna put the name of the image which is bg_one.jpg. Now we'll save that, and now as you can see our background image has filled up our entire body element. Now the background image itself is only about this wide and about this high, but by default, any background image that you place is going to repeat itself horizontally and vertically. If you wanna change the way that a background image is repeating, then you can use the property background-repeat. Now let's say we don't want this background image to repeat at all. We just wanna place it once. In that case, we'll set this value as no-repeat. Also, there is a background image, it's just in there one time only. Now if we want to repeat it horizontally. The in two dimensional design, the horizontal axis is also referred to as the x axis. So if we want something to repeat horizontally, we want it to repeat on the x axis. So in that case we'll set this value to be repeat-x. And there we get now that's horizontally tiling. And if you wanna tile it vertically that's called the y-axis. So then we can just change it from repeat x to repeat y, and now the image is repeating itself horizontally only. And then if you want to explicitly state that it needs to tile in both directions then you just use the value repeat with nothing else attached to it. And the third property you most commonly work with, when dealing with background images, is background position. I'm just gonna change the value of background repeat to no repeat again. Now add in a background position property. By default, our image positioned itself on the left side at the top of the screen, but we can change that if we want to. The background position property takes two values. The first one is the position that the image should take on the x axis, and you remember that's the horizontal axis. The second one is the position the image should take on the y axis and that's vertical. So let's say that on the x axis, horizontally, we want to be on the right side instead of the left then we'll enter right. And on the y axis the vertical let's say that we want it to be in the bottom instead of on the top. Then we'll set the second property after space to bottom. And now before we say that we're also just going to add in html,body. And we're gonna give our html and body elements some height to make sure they take up the full window. All right, now we'll save that and as you can see a background image has moved itself down to the bottom right corner. Now this first value for the x axis can be set to either left, center, or right. The second value for the y axis can be set to either top, center, or bottom. So if you wanna position a background image right in the middle of an element, then you can just set both of these to center. All right, so that covers all the essentials of working with background images. Now let's go ahead and add some background images into the design we're working on. Okay so here we are back in our site. The first thing that we're gonna do is add a background image to our body. So just like we just did we'll add the property background-image. Then we'll add URL with a pair of brackets and we'll end that with the semi-colon, add talking marks, and then provide the location of the image in between the talking marks and that's images/bg_one,jpg. Now we're not specifying the background repeat property here and that just means that it will automatically tile in both directions on the x and y axis so save that. And there we go now we can see that our background image, just expanded this so you can see it is now tiling all around the body. So you can see that coming up around the edges and all the way down to the bottom of the screen. So now let's do the same thing with our wrapper. Scroll this down a little bit. Find our wrapper class. Now once again we'll add background hyphen image url with a pair of brackets. Talking marks in between and then we'll provide the location of our image. Which is images/bg_two.jpg. And once again we're just gonna leave this with its default behavior of repeating in both directions, and there we go. Now we can see that we've got some texture added in to the wrapper section. So now we've got our background colors added in. We've got our text and our link colors added. We've added our background images and we're almost done with coloring our sign. We've just got a couple of little extra things that we're going to do to finish up with the polishing process. Right now we've still got default colors on our borders. So in the next lesson we're going to go through working with border colors. I'll see you there.


