

- Overview
- Transcript
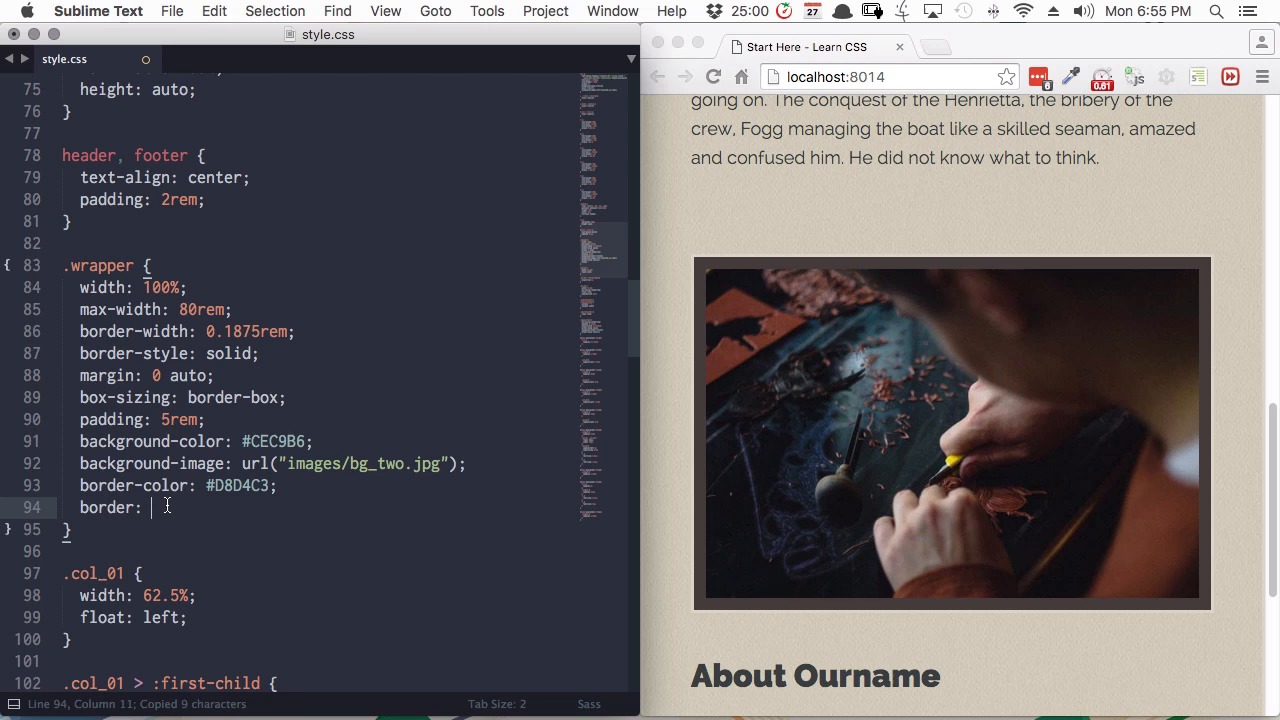
2.4 Border Colors
The major elements of your site’s colors and backgrounds have now all been added, so it’s time to add some finer points of polish. In this lesson you’ll learn how to control the colors of the borders in your design.
1.Introduction
1.1Start Here: Learn CSS Colors and Backgrounds00:58
2.Learn CSS Colors and Backgrounds
2.1Background Colors12:13
2.2Text and Link Colors06:40
2.3Background Images05:48
2.4Border Colors03:17
2.5Shadow Effects06:26
3.Conclusion
3.1Wrapping Up02:54
2.4 Border Colors
Hi and welcome back to Start Here: Learn CSS Colors and Backgrounds. In this lesson we're gonna go through and change the colors of our borders. Then once we've done that I'm also gonna show you how to compress all the border properties that you've added so far into a single line to make borders a little bit easier for you to work with from here on. So we have two borders. We have one around our wrapper, and then we have another around our image frame. So let's start by changing the wrapper border color. And you can probably guess what the property is going to be for this. Inside our wrapper class we'll add border-color, and we're gonna set that to the hex code D8D4C3. All right, so now that has turned our border here into a nice subtle sandy yellow. Now let's do the same thing down here with our image frame border color. So we'll find our image frame class, and with the property border color and we'll add the hex code D8D4C3. And there you go. Now just like with our wrapper, we've got a nice, soft, sandy-colored border around our image frame. Now we'll scroll back up to our wrapper class, and right now we've got three different properties controlling our border. We have border width, border style, and border color. But you can actually set all three of these in a single line. So instead, you can just use the property border and then you can put all of the values that you've used for each of those three properties as a value in this line. All you need to do is separate them by a space. So we'll grab our width property. Copy and paste that, make a space, our border style property, and finally our border color property. Now we can delete all three of those lines. I'll scroll up here, so we can see the wrapper border. Now if we save, you'll see absolutely nothing has changed, and that's because this shorthand is the equivalent to what we wrote before in three separate lines. So just get rid of these empty spaces, and now let's go and do the same thing with our image frame. So we'll add the border property. We'll add in our border width, our border style. And our border color. And then we can delete these other lines. And when we save. We see that nothing changes. So that's the quick and easy way to set up your borders. All in one line, and the only thing that you have to remember is that the order those properties go in is width, style, color. All right, so we're almost there. Our colors and backgrounds are nearly done. We're just going to do one more thing, and that is adding some cool shadow effects. First to our main headings, our h1 and h3 elements. And then we're also gonna add a cool dropdown shadow to our wrapper element and we're gonna do that using CSS 3 shadows. So we'll see, in the next lesson.


