

- Overview
- Transcript
2.4 Getting Started With the Grid System
In this lesson, we’re working with the Bootstrap 5 grid system. The grid system is pretty complex, and because this is a short course, we only have time for a quick introduction. But I think this will be enough to get you going in the right direction. Let’s begin.
2.4 Getting Started With the Grid System
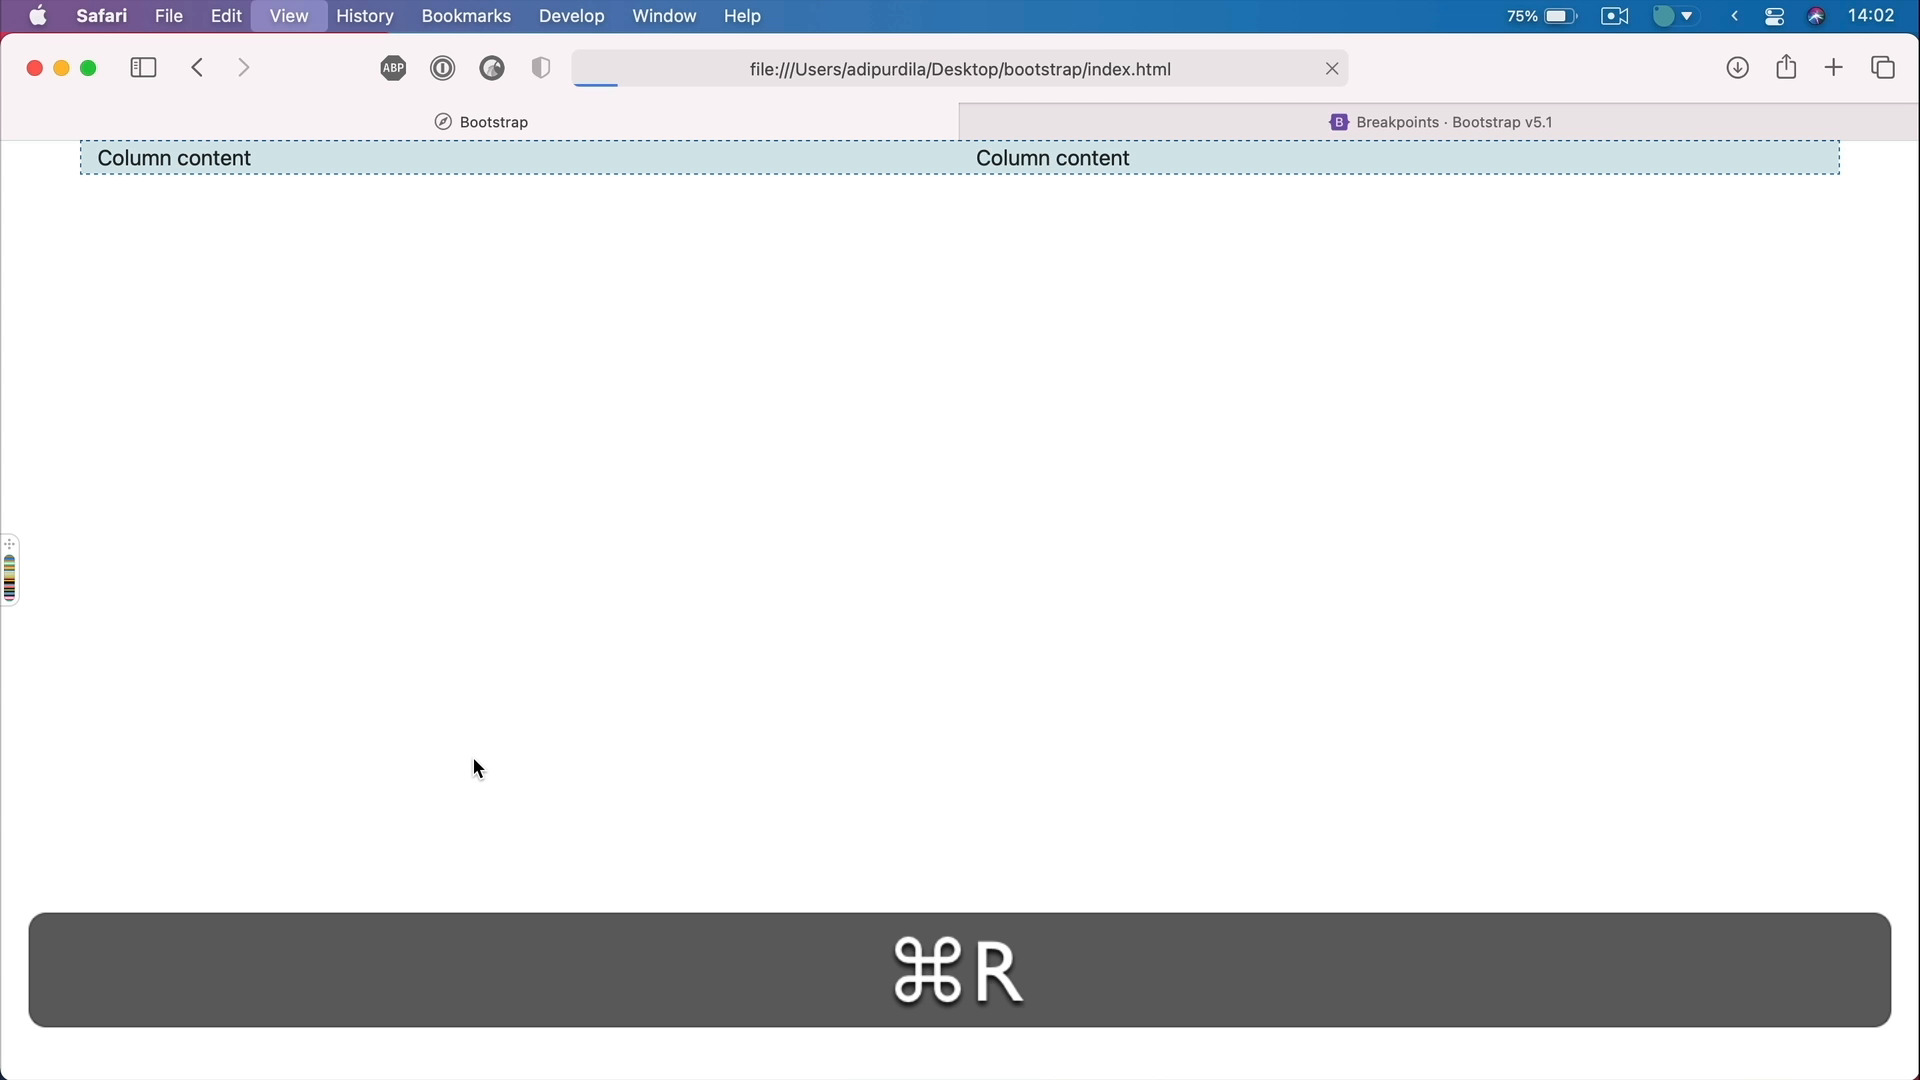
Welcome back to the course. In this lesson, we're talking about the Bootstrap 5 grid system. Now, this is pretty complex. And because this is a shorter course, we only have time for an introduction, but I'm sure that everything I'm gonna tell you right now is gonna set you on the right direction. So let's begin, all right. So to understand how to work with the grid system, there are three aspects of the framework that you need to know, breakpoints, containers, and then columns and rows. So let's start with breakpoints, because as I was saying Bootstrap is a responsive framework, right? But in order to be responsive, it needs certain breakpoints, certain dimensions are a screen width at which It makes changes to the styling of the elements. So if you go to the documentations and by the way, when working with Bootstrap, the official docs are your best friend. You can find everything you want about the framework here, it's very well documented, and it's gonna be a huge help for you. So talking about breakpoints, we can go to layout breakpoints, and I just wanna show you the available breakpoints in the framework. So for a dimensions smaller than 576 pixels, there is no break point, or actually there is the extra small break point, but there is no class in fixes they call it here. And then, we have small for higher or equal than 576 pixels. Then medium for 768, large 992, extra large 1200, extra extra large, this is the one that was added in version 5. This is for screens higher or bigger than 1400 pixels and width. So very, very large screens. So just remember these five class in fixes as they call them, sm, md, lg, xl and xxl. So those are the breakpoints and the corresponding dimensions. Let's quickly talk about containers. And for that, I'm actually gonna write a little bit of code. Now, a container is a fundamental aspect of any Bootstrap layout because that's going to well contain. It's gonna add some padding around your content, and it can also align your content within a certain viewport or device. And there are three types of containers you can use. The first one has the class of container. And I'm just gonna add some some dummy Lorem texting there, so you can see what's going on. This container sets a max width for the content at each responsive break point. So if we go ahead and inspect the element. Now, you'll see that this container. Now, let's actually make this bigger. This container has a max width of 540 pixels right now, okay? But as soon as I make it bigger or as soon as I make the view point bigger, the max width, pay attention here, is gonna change to 720 pixels. So depending on the width of your viewport, the container will change that max width, and will display your content centered like this very nicely, with also some margins added to the left and a right. And those margins are also bigger or smaller depending on the break point. Notice in this situation with the max width set to 720 the margins are 24 pixels, but if I go smaller, we have bigger margins now 113.5 it says here. While the max width is 540, and it goes like on the very small screens, this just goes to 100% with a fixed padding here of 12 pixels. So that's the first type of container, and that can be used with the class of container. We also have the second type, that's called fluid, so container-fluid. This is basically 100% width at all breakpoints. We just have a nice padding on that container of 12 pixels, left and right. And then, we have kind of a hybrid type of container. That's container-breakpoint which is 100% until that particular breakpoint. So for example, if I say container, MD, that's container medium, right. So that's gonna be 100% until it reaches that medium breakpoint after that, it reverts back to a normal container that has a max width set to it. So those are the three types of containers. And these are the starting blocks for using the grid system, because any row or any column should be placed Inside a container. So now, let's do the following. Let's get rid of this content. We'll use just the regular container for the rest of this demo. And now, let's talk about the meat and potatoes of the grid system, and that is columns and rows. And we'll actually start with rows because these are wrappers for your columns. So you will start with a div with a class of row, and then inside you would place your columns. The Bootstrap grid system works with 12 columns, which means you can make any combination of columns to reach that sum total of 12. And I'll show you that in just a little bit, but for now to create the actual columns you would create a div with a class of col and inside, you would place your column content, right? So now let's refresh, and there's our first column. Now, to make this a little bit easier for you to follow, let me add some styles here for the container, and then the rows and then the columns. Okay, so I just added a dashed border on the container, it's this blue color. And then on every single element that has class, match, and col, I added this very faint background color, and you can see the result here. So the dotted or dashed is our container, and the one with a color background is our column. Notice our column stretches full with by default. Watch what happens when we add another column. So I'm just going to duplicate this, save. See, now we have two columns and each one takes up an equal amount of space in that row. Let's add a third column. Again, the remaining or the available space splits evenly between these columns. Now, if I'm gonna add another row here, And let's say with just two columns, our content is gonna look like this. And I'll tell you what to make these columns more visible, let me add a border right of one pixel solid white. All right, so you can see exactly where they end and where they start. Now earlier, I was telling you about making different combinations of column widths to reach that sum total of 12. So what exactly do I mean by that? Well, let's consider the following example. For my columns, I can add a dash with a number from 1 to 12. So I can say for example, column 12 for the first one, and that's kind of span the entire width of my grid, that means it takes up 12 columns of my grid. I can say, column 4 here, and that's gonna take up four columns of my grid. And then the remaining space is equally divided between the other two. I can say col-4 on the second one as well and col-4 here, it's gonna be exactly the same result. But what if I say col-2, 2 and 2, so two plus two plus two, that equals six. Now, this first row will only take up half the amount of available space in my grid because six is half of 12. So out of the available 12 columns in my grid, I'm only using six, each columns of my content taking up two columns of my grid, if that makes any sense. And of course, as you saw, you can mix and match. You can have the first column take up the rest of the available space, and the other two only taking up two grid columns each. Now, here's what's cool about the Bootstrap grid, you can use certain special classes and just for clarity purposes, let me just get rid of this row. So you can use special classes that tie into the break points. For example, I can say col-md-2, col-md-6, and col-md-4. So what does that gonna do? Well, let's find out, let's refresh this. So we have 2, 6 and 4, two columns here, six columns here, and four columns here. But that's only available from medium screens and above. If I'm gonna shrink this, You'll see that on smaller screens. Now the content is stacked, but I can go one step further. I can say okay, on larger screens, I'm gonna say col-large. Let's say I want this to be 5. We'll do the same here col-lg-5. So 5 plus 5 that's 10, col-lg-2. Now, things will start shifting a little bit, because on large screens, we now have five plus five plus two. But as soon as I shrink this on medium screens, It's going to be different. It's gonna go back to the styles that I said here 2, 6, and 4. And just to make this a little bit clear, let's go 1, 1, and 10, okay, so that's one here, one here, and 10 here. This is on medium screens and above. That is until we get to the large screens here. We have the other sizes 5, 5, and 2, so five, five and two, and this goes large screens and above. There are of course, two extra break points after large, right? We have the XL and the XXL, and we can go even further. If you wanna change how those columns should resize at larger viewport sizes, we can do that, we can say col-xxl. Maybe I want this to be one column, right, I can do that, no problem. This is a super easy way of creating responsive websites, because you have control over every single breakpoint. Do you have a layout that should behave differently when the screens are larger? Well, you can simply use these classes right here to fine tune things to exactly how you want them. Now, this is just scratching the surface of what you can do with the grid system. As I was saying this is a shorter course. So I'm only giving you an introduction to the grid for the more advanced behavior like, nesting and mixing and matching all of the different values you can use for the columns. The documentation, the official documentation for bootstrap is your best friend. Or if you would like us to do a course on this subject for the more advanced aspects of the Bootstrap grid or the framework in general, just let us know and we'll definitely take a look. But until then, remember the three basic things you need to know in order to work with the Bootstrap grid, breakpoints, containers, and then columns and rows, or rows and columns if we're gonna put them in the correct order. Alright, so that's a quick introduction to the Bootstrap grid system. You would use this to create your layout, and then you would add your actual content into that layout, into that series of rows and columns. When it comes to the actual content, of course, you can write it from scratch. You can do that yourself or you can use some pre made components from Bootstrap. And that's usually the easier option especially when you're dealing with more complex components like recordings and tabs that require JavaScript. You don't have to write those from scratch instead, you can just use the ones from Bootstrap. So in the next lesson, I'm going to quickly show you how to work with some of these components, and also some of the utilities or helpers from Bootstrap to create your content. That's coming up next.


