

- Overview
- Transcript
2.5 Working With Components and Utilities
In this final lesson, we’ll take a look at components and utilities in Bootstrap 5 and how to work with them.
2.5 Working With Components and Utilities
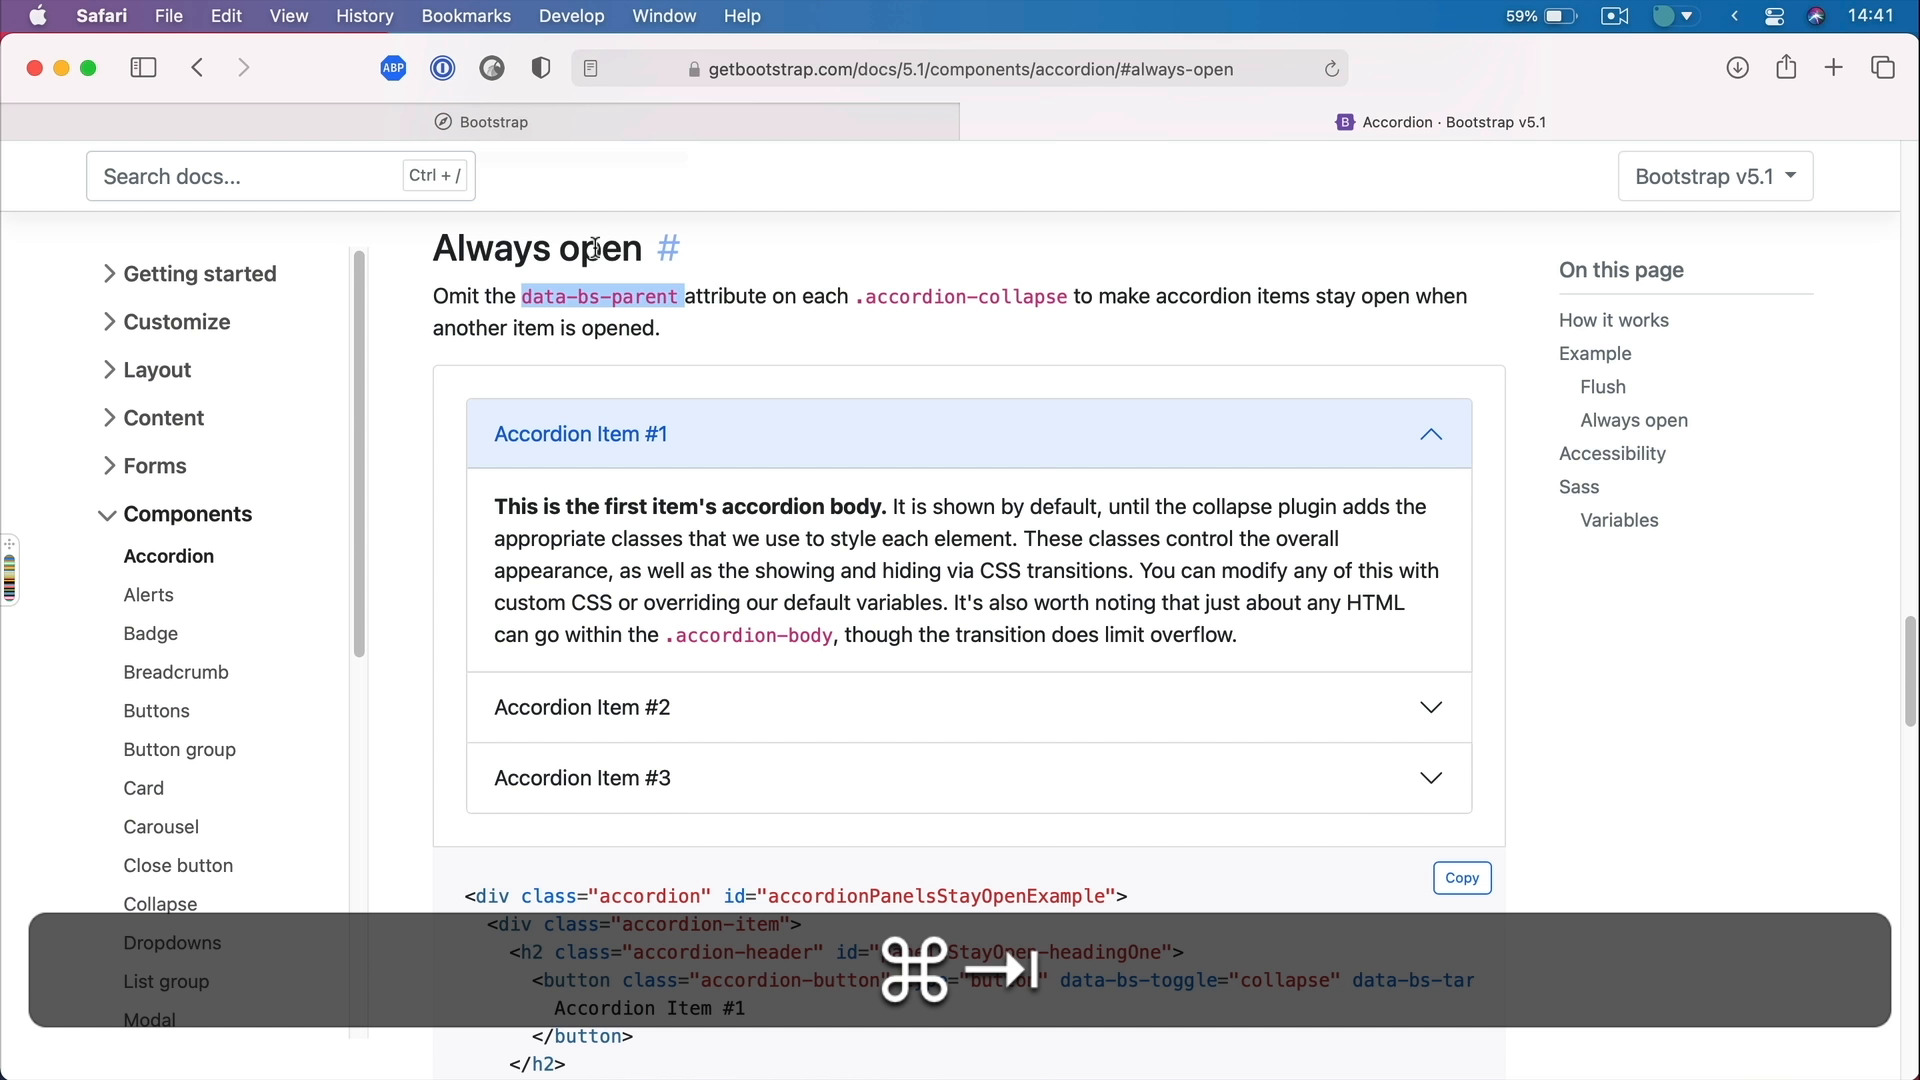
Welcome back to the course. In this final lesson, we'll take a look at components, and utilities in Bootstrap 5, and how to work with them. Let's go. Now Bootstrap has a lot of components as I was saying previously in this course. And you can find all of them if you open up the documentation, and you go to Components. Here, you can see the entire list of all the available ones in the framework. Now, as I was saying previously, when it comes to content, you can write it yourself from scratch, or you can use one of the pre-made components. Because chances are, whatever content you wanna add to your website or web application, you might find a component in the Bootstrap library that already has everything you need. All you got to do is copy that code and slightly tweak it, if necessary, to match your own needs. So let's say that I wanna add some buttons to my website, right? Buttons are a quintessential component of every website and Bootstrap has a couple of different options for buttons. And you can see a couple of examples here from the various styles like primary, secondary, danger, info, light, and so on, to using different tags for buttons like a regular link. A button on input class, button, or type button, submit or reset. You can use outline buttons, and really, once you find the one that you need, let's say I want this one, you can simply copy, Paste it in your page. And here it is, all ready to go. It's already styled, you don't really have to do anything. Maybe you wanna add an accordion for a Q&A or something like that. Well, you can navigate to the Accordion, see it in action here. Copy the code, paste that in. And there it is, then you can go back to that particular component and see all of its options. So for example, you have an alternate style here called flush. And you can simply modify this one. And that's gonna create a slightly different appearance. You also have the option to keep certain items always open and it tells you the instructions here. In this case, you have to omit the data-bs-parent attribute on each accordion-collapse. So that would mean that you'd have to get rid of, These bits, so delete those. And now, you'll see that the accordion items will stay open even if other items are opened as well. So it's really easy to change the behavior of a certain component built with Bootstrap by simply using the options that they provide right here. And the same story goes for all the other components, as you can see there's a big list here. There's carousels, dropdowns, models, navbars, all sorts of good things that save you a lot of time because you don't have to code those things from scratch. Now, I also mentioned some utilities or helpers, and Bootstrap has a couple of those as well. You can find them under the Helpers category here. And I'm just gonna go through a few of them quickly. Let's go to Colored links, for example. All right, let's say we have a link, let's just get rid of this thing. Let's add a link here, and let's say test a link. So by default, this is colored like this, but I can use certain link-classes to colorize link, which is pretty cool. So let's say link-success, it should be this green one. Simply add the class and there it is. See how easy that is? What else do we have here? A ratios. So with this helper, we can actually manage the aspect ratio of certain iframes and embeds and videos really helpful for when you're embedding a YouTube video, for example. And you wanna keep it at a certain aspect ratio when you're resizing it. So as you can see your wrap that in a div class ratio and then ratio dash, and whatever that ratio is, pretty cool. There are also helpers for position like if you want an element fixed at the top or bottom, there are classes for that, sticky, responsive sticky, very nice. There are a couple more here, and I highly recommend you go through these and learn all the helpers or utilities that come with Bootstrap. All right, folks, and that's about it for this course. Version 5 is a great installment of this very popular platform or framework. And I'm sure a lot of people will start using this new version very, very shortly. As I was saying, this is a shorter course so I didn't demonstrate the full capabilities of Bootstrap. But I highly recommend you download this and play with it yourself and determine if it's a good fit for your workflow or not. With that said, thank you very much for watching. I'm Adi and until next time, take care.


