

- Overview
- Transcript
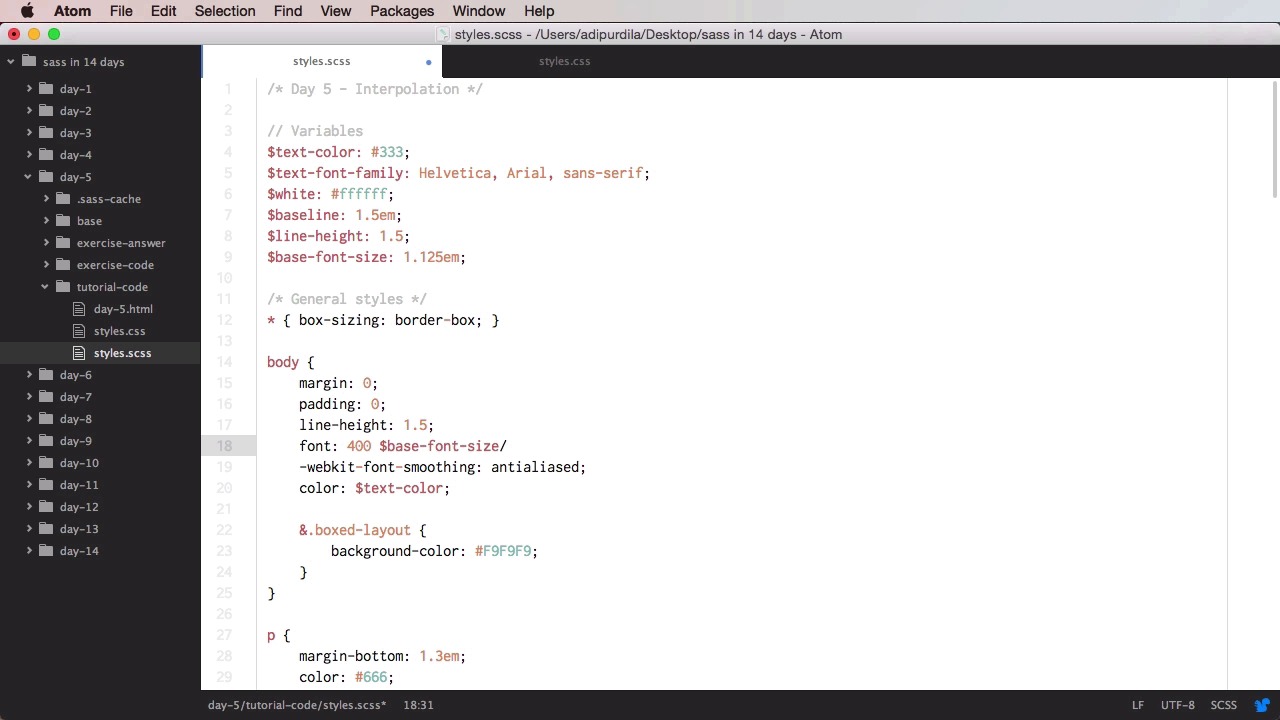
3.5 Day 5: Interpolation
Welcome to day #5, where you’ll learn about "interpolation". This is also known as "variable interpolation" and it refers to replacing one or more variables in an expression with their value. It might seem complicated, but it’s not really. So, let’s go ahead and see some examples in Sass.
1.Introduction
1.1Welcome00:27
1.1
Welcome
00:27
1.2What Are Preprocessors?02:43
1.2
What Are Preprocessors?
02:43
1.3The Course Structure02:29
1.3
The Course Structure
02:29
2.Installing and Using Sass
2.1Install Method 1: The Command Line03:07
2.1
Install Method 1: The Command Line
03:07
2.2Install Method 2: Dedicated Apps and Services02:41
2.2
Install Method 2: Dedicated Apps and Services
02:41
3.Week 1
3.1Day 1: Syntax08:09
3.1
Day 1: Syntax
08:09
3.2Day 2: Nesting11:50
3.2
Day 2: Nesting
11:50
3.3Day 3: Nested Properties05:04
3.3
Day 3: Nested Properties
05:04
3.4Day 4: Variables06:22
3.4
Day 4: Variables
06:22
3.5Day 5: Interpolation05:36
3.5
Day 5: Interpolation
05:36
3.6Day 6: Data Types13:32
3.6
Day 6: Data Types
13:32
3.7Day 7: Operations08:38
3.7
Day 7: Operations
08:38
4.Week 2
4.1Day 1: @import Directive06:04
4.1
Day 1: @import Directive
06:04
4.2Day 2: Partials03:02
4.2
Day 2: Partials
03:02
4.3Day 3: @media Directive04:35
4.3
Day 3: @media Directive
04:35
4.4Day 4: @extend Directive05:43
4.4
Day 4: @extend Directive
05:43
4.5Day 5: @if and @for Directives08:36
4.5
Day 5: @if and @for Directives
08:36
4.6Day 6: @each and @while Directives11:03
4.6
Day 6: @each and @while Directives
11:03
4.7Day 7: Mixins05:24
4.7
Day 7: Mixins
05:24
5.Conclusion
5.1Final Words00:54
5.1
Final Words
00:54


