- Overview
- Transcript
8.1 Building the Flexbox Modal
In this, the first of a few new bonus lessons, I will walk you through the creation of an HTML page with a modal at the bottom. This modal will eventually be laid out and styled using the Flexbox model. Begin by forking the pen, and then let’s get stuck in!
Useful Links
1.Introduction1 lesson, 00:39
1.1Introduction00:39
2.Project 1: Flexbox Menu2 lessons, 11:59
2.1Basic Menu Styles03:56
2.2Styling the Flexbox Menu08:03
3.Project 2: Complex Layouts2 lessons, 12:16
3.1Flexbox for Page Layout06:44
3.2Nested Flexible Boxes05:32
4.Project 3: Banner With Centered Content1 lesson, 07:25
4.1Vertically and Horizontally Centered07:25
5.Project 4: Ordered Content1 lesson, 05:23
5.1Changing the Order05:23
6.Project 5: Image Grid2 lessons, 10:03
6.1Basic Styles05:00
6.2Using Flexbox to Finish the Layout05:03
7.Project 6: Uneven Image Grids2 lessons, 12:39
7.1Basic Image Styles05:05
7.2Styling the Grid07:34
8.Bonus Project 1: Flexbox Modal2 lessons, 11:58
8.1Building the Flexbox Modal04:46
8.2Flexbox Modal Functionality07:12
9.Bonus Project 2: Flexbox Content Slider1 lesson, 12:49
9.1Building the Slider12:49
10.Conclusion1 lesson, 00:38
10.1Final Thoughts00:38
8.1 Building the Flexbox Modal
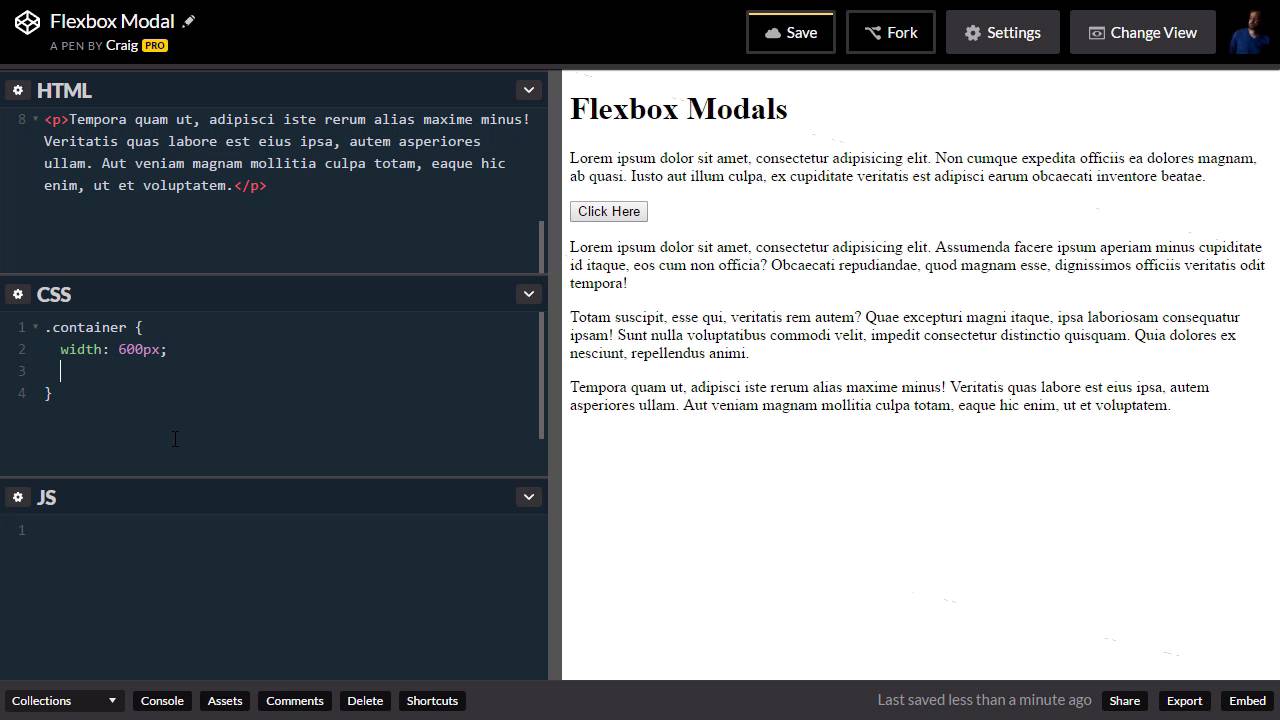
Hello, and welcome back to Six Flexbox projects for web designers. In this bonus project, we're going to create a pop-up modal using the Flexbox layout model. And so we're going to throw a little bit of content on the page, we're going to create the HTML for a modal, and then when we click on a button we want that modal to show up. Now as you can see here we're starting from scratch in CodePen, so there's no starting pen that we need to start with. We're just going to throw together some HTML here. And I'm going to use Zen-coding to do this a little bit quicker and the way that works if we want to create a div with a class of container we can type div.container, and then when we hit tab it will fill that out for us. So I'll hit enter to nudge that closing div tag down a little bit. And then I'm going to have an h1 here, so I'm just going to type h1 tab, and let's just put Flexbox Modal is here. And then I'm going to have a paragraph with some lorem ipsum text in it. And the way we can do that in Zen coding is p, and then the greater than sign, and then the word, lorem, and then just hit tab, and it will fill in some text there for us. After that paragraph, I'm going to put a button. So we'll use the button element here. I'm going to give it a class of BTN for button. And we're not using Bootstrap here, but I am kind of giving it the same naming convention. So we're getting a class of BT and we're going to use that class to style our button, but I'm also going to give it a class of BT N modal and that's the class we're going to use in J query to point to our modal and trigger it and then we're just going to put some text inside that button. Click Here and then we'll close that button element. Let me spread this out a little bit so we can see a little bit more of our HTML there. And then we're just going to put a couple more paragraphs here. So again using zen coding inside parentheses this time, I'm going to do p greater than lorem, and then outside that closing parentheses I'm going to do maybe times three so that'll create three copies of this paragraph with some Loren ipsum text in it and that gives us enough content to work with. Now I'm going to jump into that container class, which is the class that contains all of this content, and I'm just going to give this a width of 600 pixels, and a margin of zero auto to center it. So now if we drag this out a little bit, you can see that the top part is inside that container, but it looks like we move the bottom part outside. Yeah, there's our closing div right there. We need to grab these three paragraphs. And I'm going to cut them and move them inside that closing div tag just after that button. And there we go and then we can nudge that over. There we go okay, so now they're all inside that container div. And that looks good. So now I'm going to grab some CSS for the BTN class, so that we can style the button itself. I'm not going to make you watch me type it all out here, so I'll just paste it. And there we go, we have a nice blue button. And I'm also going to bring over some basic CSS for the body to change the font and the margins of the document. And then I'm going to make the modal itself. So we're going to jump into our HTML section here, and this is where we need to think about the Flexbox Modal and how we're going to be using it. So we're going to start by putting everything inside a div with a class of modal hyphen container. This modal container is going to contain everything for a modal, but it's also going to include the background. So we're going to have a semi-transparent background that's laid over the entire screen. And we're going to apply that semi-transparent background to this modal container class. But we're also going to make this a flex container, so that we can very easily vertically and horizontally center the modal that we put inside it. So we're going to put another div inside that with a class of simply modal. And then that class, we'll have a little bit of, or inside that div I should say we'll have a little bit of content, we're going to have an h2 and it's just going to say modal heading. And then we'll just have another paragraph here with some random content. Now for now, that modal is down here at the bottom, and we'll get into actually styling that in the next lesson. But for now we've got all of our HTML where we want it. So we can save our changes, and once you've got your changes saved, we'll move on with the next lesson. Thank you for watching.


