

- Overview
- Transcript
2.1 Writing the Markup
Welcome to the first lesson of this course, where we’ll start building a simple version of the final slider. The first step is to write the markup, so let’s get started.
Related Links
1.Introduction
1.1Welcome to the Course01:27
2.Let’s Create a Simple Slider
2.1Writing the Markup07:11
2.2Writing the Basic CSS13:43
3.Let’s Add Some Advanced Functionality
3.1Simplifying the Markup With JavaScript13:16
3.2Adding an Automatic Slide Change12:35
3.3Adding Better Styling to the Slides08:31
3.4Styling the Pagination06:03
2.1 Writing the Markup
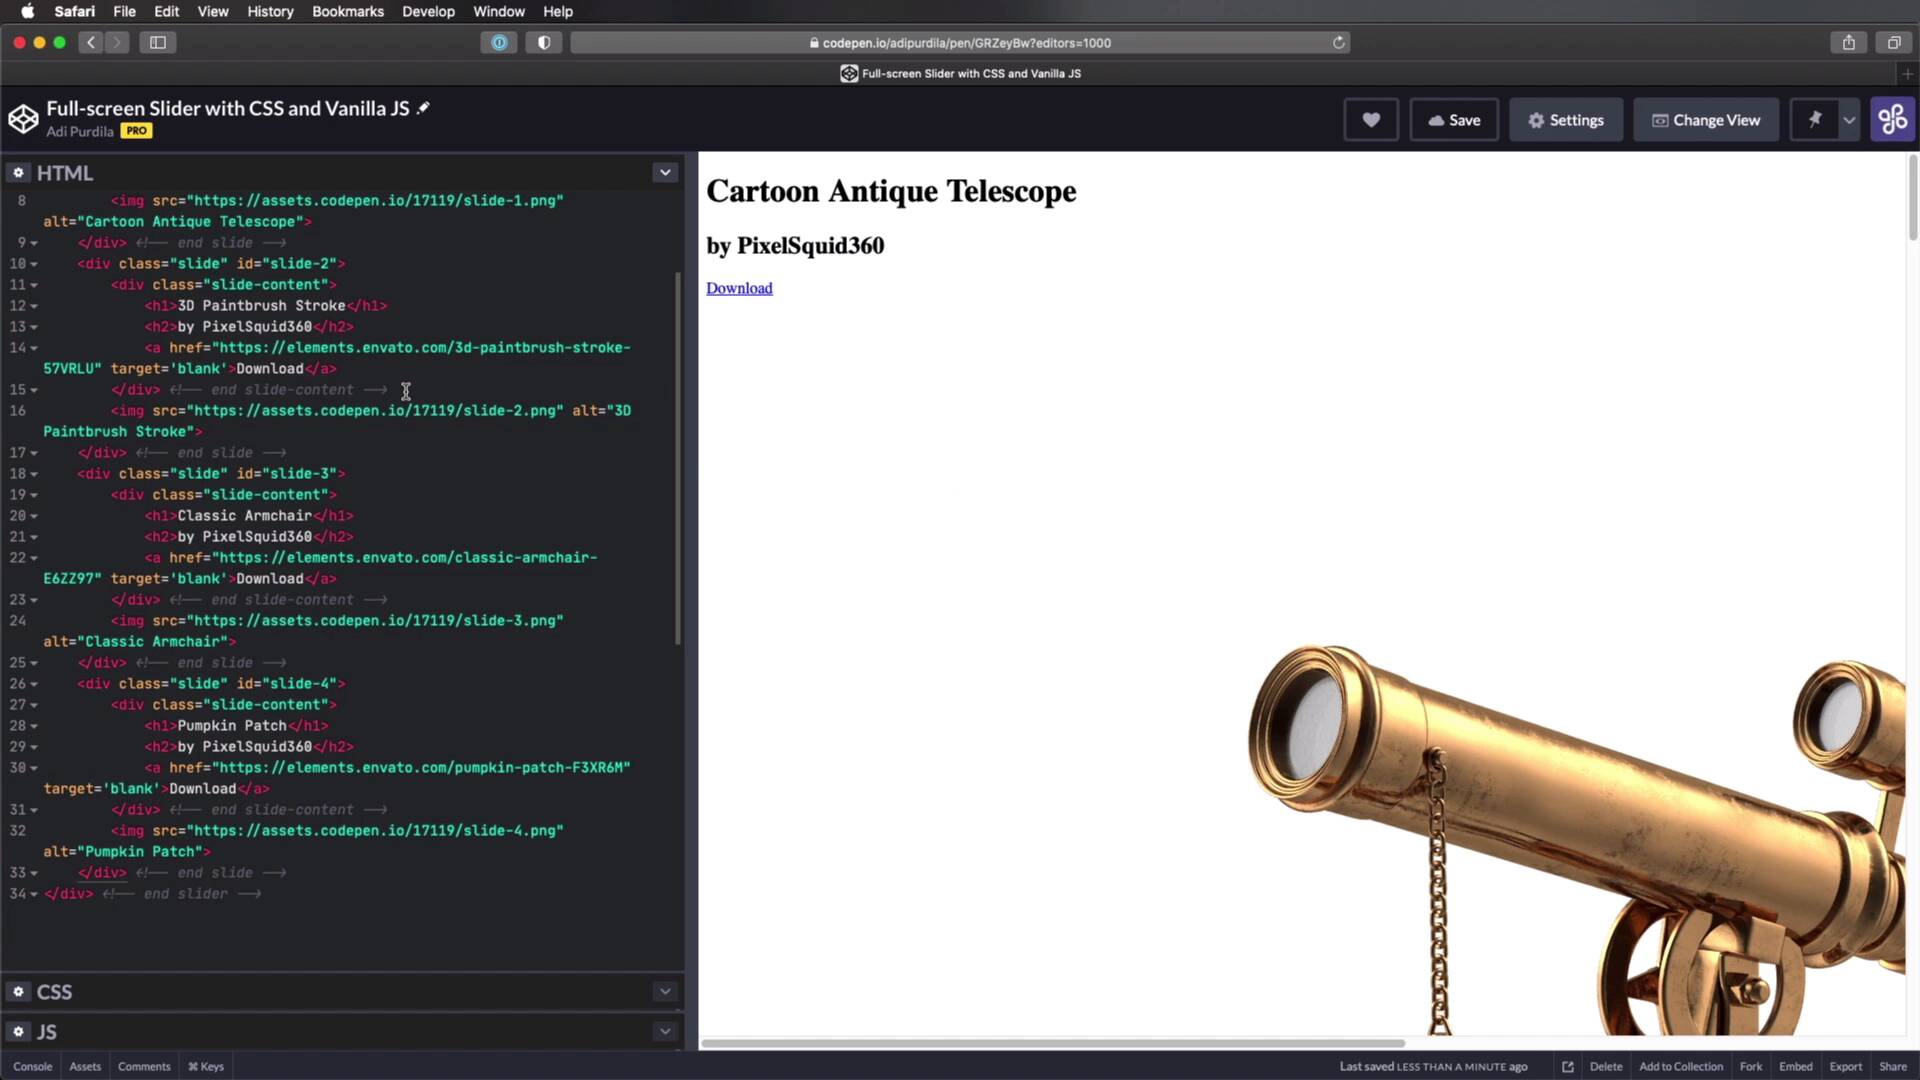
Welcome to the first lesson of this course where we'll start building a simple version of the final slider. And we'll start by writing the markup. So let's begin. I'm gonna be using CodePen for this course, but obviously, you can do this with a regular code editor the result is gonna be exactly the same. I'm using CodePen, because it's a little bit more convenient. So, for the markup, I'm gonna start with a div, class slider and I'm also gonna give it an id of slider. And inside, I'm gonna create four slides and each will have a class of slide and an id of slide- and the number. So slide-1, slide-2, slide-3, and slide-4. So let's start by doing slide-1, inside each slide to keep this very simple I'm gonna do a div class slide-content. And then we're gonna have an image and that's it. So our slides for the purposes of this demo will be very simple. They'll have an image on one side and then a title, a subtitle, and a button on the other side. So for the slide content, I'm gonna do h1 + h2, and I'm gonna do an a and I'm gonna say target as black. So now the images that I'm gonna be using are downloaded from Envato elements, they're 3D images. And I went ahead and uploaded those images here in CodePen. And they are called slide-1 and we can see a preview there, slide-2, slide-3, and slide-4. So for each of these I'm gonna simply copy the URL, and I'm gonna paste it in here and here you can already see a preview of that. And for alt, we're gonna say, Cartoon Antique Telescope, I'm just grabbing this information from the original image file on Envato Elements. For the a href I'm gonna link it to the actual item on Envato Elements. For h1, I'm gonna say the same text as the alt, and for the h2, I'm gonna say the author. All right, so that's my first slide. Now, I'm simply going to duplicate this and add the other three images. All right, and I also added some comments at the end of each div. So it's a little bit easier, for us to navigate this code. So now I basically have a slider container with four slides inside it and each slide has the structure that I mentioned earlier. So right now, This is what our page currently looks like. Now, there are two more things we need to add to this markup. And those two things will be used to add the actual slider functionality, right, to change to the next slide, to the next slide, and so on. And we'll be using radio buttons and labels for that, it's a very elegant approach, and it's super simple to use. So, I have four slides, I'm gonna add four radio buttons and I'm gonna say input type = "radio" I'm going to give it a name of slide-radios. And I'm also going to give it a class of slide-radio. This is the first item, so I'm going to add the checked attribute, let me just make this a little bit bigger. And I'm gonna give it an id of slide-radio-1, then I'm gonna copy this three more times. The difference here is that we don't have checked on the other three and the ids are also different. So this is slide-radio-2, slide-radio-3, and slide-radio-4, right, and that creates these four radio buttons. Now in case you don't know I added the name so that these radio buttons belong to the same group. If you add a different name to each radio button, Then you can actually check every single one of them. But if they belong to the same group, then you can only check one radio button at a time. And we're gonna be using these radio buttons indirectly to change slides. So each radio button corresponds to a slide and we'll make it so that when we for example, select the third radio button, the third slide will become active. And I'll show you how to do that in the next lesson, but for now, we must finish writing the markup. And I'll do that by creating a div class pagination and inside I'm gonna say label for slide-radio--1, and I'm just gonna say the number 1 on the label. And then I'm gonna copy this three more times, And I'm gonna say slide-radio--2, slide-radio--3, and slide-radio--4. So now, we have the labels for these radio buttons in a div in a separate div class agitation. And you'll notice that when I click a label the corresponding radio button becomes checked. And this is how we're gonna create our pagination these labels will become our little bubbles. I'll show you how we'll style these later, but essentially, when we click on these labels, the slides will change. But that's for the next lesson, for now, this is all the markup we need. All right, with the markup done, it's time to add some styling to make this slider functional. We'll do that in the next lesson. So I'll see you there.


