
 Lessons: 13Length: 1.3 hours
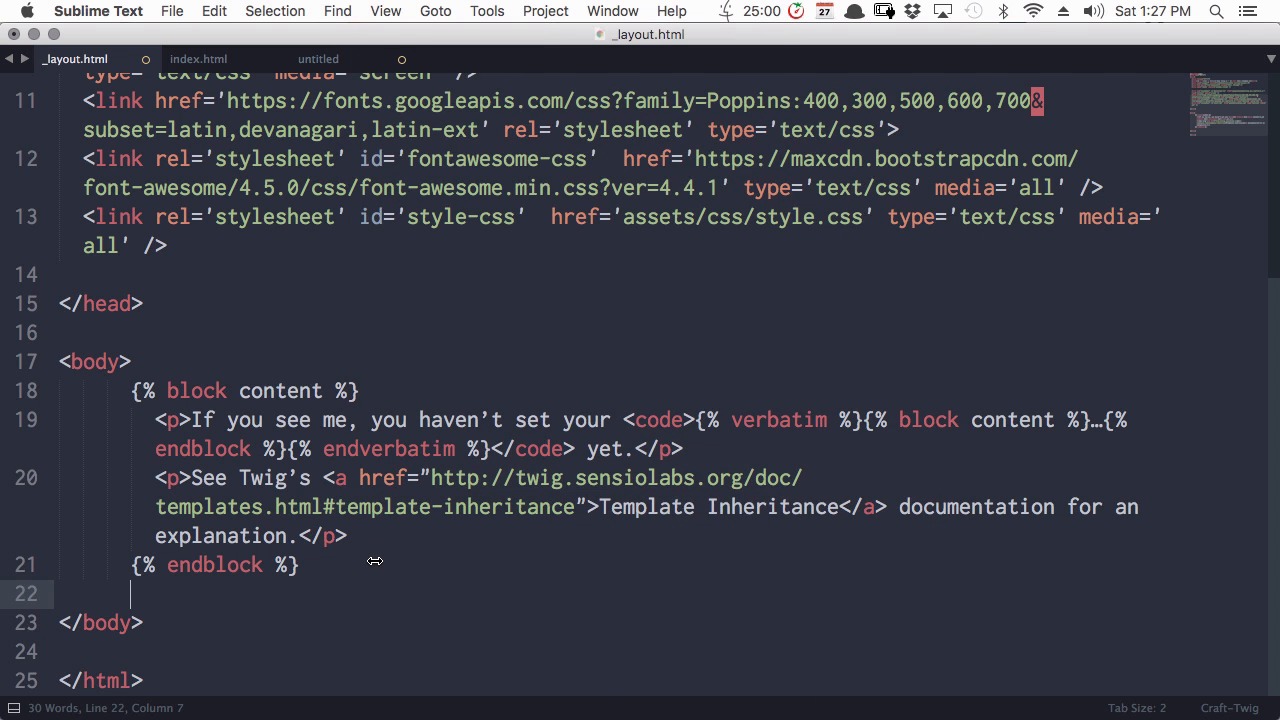
- Overview
- Transcript
2.1 Setting Up the Template Essentials
The approach we’ll be taking is to convert an existing single-page HTML template into a Craft CMS driven site. In this lesson we get the process started by getting our assets and fundamental code in place.
Relevant Links
1.Introduction
1.1Building Landing Pages With Craft CMS00:51
2.Building Landing Pages With Craft CMS
2.1Setting Up the Template Essentials09:36
2.2Setting Up for the “Hero” Panel Entry08:52
2.3Adding the “Hero” Panel Entry and Template10:27
2.4Setting Up for the “Features” Panel Entries03:53
2.5Adding the “Features” Entries and Template08:57
2.6Setting Up for the “Pricing” Panel Entries05:18
2.7Adding the “Pricing” Entries and Template13:33
2.8Setting Up for the “Footer One” Panel Entry01:27
2.9Adding the “Footer One” Entry and Template03:53
2.10Setting Up for the “Footer Two” Panel Entry03:56
2.11Adding the “Footer Two” Entry and Template05:52
3.Conclusion
3.1Wrapping Up01:43
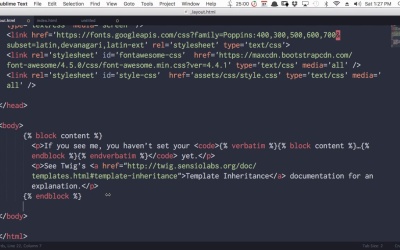
2.1 Setting Up the Template Essentials
Hey this is Kezz Bracey for Tuts+. Welcome to Building Landing Pages with Craft CMS. In this course we're gonna be building on everything that you learned in the last course, Up and Running With Craft CMS. So we're gonna start with a vanilla install, just as you learned to do in the last course. And then we're gonna take a Bootstrap-based HTML template, this template, and we're gonna convert our Craft CMS site from this, as it looks out of the box, into a dynamic version of this. So as we scroll through this template, you can see that we have a layout that you could kind of split into distinct panels. So we have our hero panel the top and then we've got a few different panels, pricing panel here, and a couple of footers. So what we're gonna do is code up templates separately for each one of these panels. Now, if you remember from the last course, you saw that there is an underscore layout.html template inside Craft's default set up and we're gonna use that same approach. We're gonna create one layout template that's gonna have all of our basic HTML in it, then we'll be creating these panel templates to slot into that layout. So getting all the essentials set up to make that layout work is what we're gonna be going through in this lesson. You're gonna need to have a couple of things ready to go before you proceed with the rest of this lesson. One is a vanilla Craft install. Just do exactly the same thing that you did during the installation lesson in the last course. Now if you already have a Craft site installed in your map set up and you wanna leave it there, then what you can do is rename the folders of your old site. You could see here that I have a couple of other Craft sites, and I've just renamed the crafts folder, and I've also renamed the htdocs folders for the sites that I'm not working on right now. So you can rename those and then you can come back to them later. So just make sure you've got an htdocs folder with the public files that you need to have Craft work, and that you've got a Craft folder set up as well. The other thing that you're goinna need is the plain HTML version of the landing page that we're gonna be building up in Craft. This is a really nice Bootstrap-based template created by Andre Doran, and this is just a slightly modified version of that. We've just simplified it a little so it better suits what we're doing here. So check in the notes below this video to see where you can go and download these files. All right, so let's start querying. So over in your craft folder, go into the templates folder. And the first thing that we're gonna do is start modifying the existing _layout.html file. So open that up for editing, We're gonna be replacing almost all of this HTML we've code from our static bootstrap HTML template. But there are a couple of things that we are going to wanna hold on to. So what we'll do is just copy those and put them in just a blank document, so that we can easily get them back in again. One thing we want to hold on to is this dynamic title. So we'll just copy that, it's going to make a new blank document, paste that in there. And the other thing that we want to hold on to is this main block in the center here. And that reminds me, whenever you open up a new Twig file, you're gonna have to select the correct syntax highlighting. So there we go. So we need to copy this block of content over, because, if you remember from the last course, this is basically the placeholder for when we start creating our templates for each one of the panels. They're gonna be loaded into this content block. So we'll paste that over here in our blank document so we can come back for it in just a little bit. Now what we're gonna do to recreate this layout template is basically copy over all the code from our static HTML template, except for the code that comprises those panels that we looked at earlier. So now we gonna need to open up the index.html file from our static HTML template, Then we're gonna copy everything from the opening body tag up, we'll go back into our layout template. Select everything and delete it, and then paste in our code. Then back into our index template, scroll all way down, and we're just gonna grab the closing body and html tags, and then paste them in at the bottom of our layout template. So now we've brought across all the code from our index template that wraps around those panels that we're gonna be creating. And we're ready to grab the code that we put aside earlier and put it back into our layout template. So let's grab our title. We'll just copy that, and we're gonna replace the title that's in here by default. And we're gonna get our block of content, copy that. And now we're just gonna put this straight in between the body tags. And we'll just set up our Syntax highlighting again. All right, so let's take a quick look and see what this has done on the front-end. So this is the default look of the site. We should see this go away, but we should still see the content stay in the middle of the screen. All right, so that's perfect, that's exactly what we want. That tells us our block of content that we added in is still working perfectly. You can see up here our title is appearing, so that's still working just fine, but we don't have any of the look of the default templates. So now let's start bringing over some of the CSS and JavaScript from our Bootstrap template so we can start to affect the look of our site. So what we're gonna do is we're gonna grab a copy of the entire "assets" folder that comes with the Bootstrap template. And you might think that you would have to place your CSS and JavaScript in a position relative to your templates. But remember, your crafts folder is tucked up out of the way on a level above your public files, but you need your JavaScript and your CSS files to be publicly accessible. So for that reason, you're actually gonna put your assets folder inside your htdocs folder, so we'll just paste that in there. All right, so let's start by loading in the CSS assets. And what we're gonna do is look for the lines where we've got internal CSS files being loaded, and then we're gonna use the special tag that comes with Craft CMS, that's expressly designed for including internal CSS files. And that tag is includeCssFile, so we're gonna need a pair of curly brackets. We're gonna need two percentage marks, And then in between those, we're gonna write includeCssFile. Then after a space we have a set of talking marks, and we put the location of the CSS file in between those talking marks. So we have this line here is loading our main style sheet. So we're just gonna copy the location of the CSS file, and paste it in between these talking marks. Now we can delete that one, and then up here, we have Bootstrap itself being loaded in. So make a copy of this, just add it in above here. And then just like before, we're gonna copy this location and paste it in down here. And then we can delete this line too. These other style sheets are external style sheets, so we don't have to worry about replacing the code for those. Okay now let's save and let's see what we've got on the front-end. All right, so now we're starting to see a little bit of styling, so we know that our CSS has being loaded in effectively. Now the next thing that we have to do to finish off our basics here and get our layout template complete, is to carry over the JavaScript from the Bootstrap template as well. So if we have a look at our Bootstrap template again, all of the JavaScript is loaded at the bottom here. So we'll just copy that, and we'll paste it down the bottom, above the closing body tag. And we're gonna use basically the same approach, only this time we're going to be using the tag includeJSFile instead of includeCssFile. So just like before we need a pair of curly brackets, and inside those you need two percentages. And this time, were going to say includeJsFile. All right, so this first JavaScript, that's an external file, so we'll leave that as is. But for these other three, we're gonna take the sources and we're gonna put them inside one of these tags here. So we'll make three of those, we know we're gonna need three. And then we'll transfer those over. And now we'll delete those unused script tags, and that's it. So now we've got all of our JavaScript in. If we refresh on the front page, we won't see anything different right now, but we'll see that JavaScript that we've added in start to take effect as we put in all the panels that we're gonna be setting out. So in the next lesson, we're gonna get that ball rolling. We're gonna start with what we're gonna call the hero panel, which is this great big section here at the top. We'll get the big background image in, we'll set up an asset source to control that, and we're gonna make sure that this part here can all be edited by users. So we're gonna set up fields for that, and it's all gonna feed into a custom entry type that we're gonna create. So we'll be stepping through all of that in the next lesson. I'll see you there.


