
 Lessons: 7Length: 36 minutes
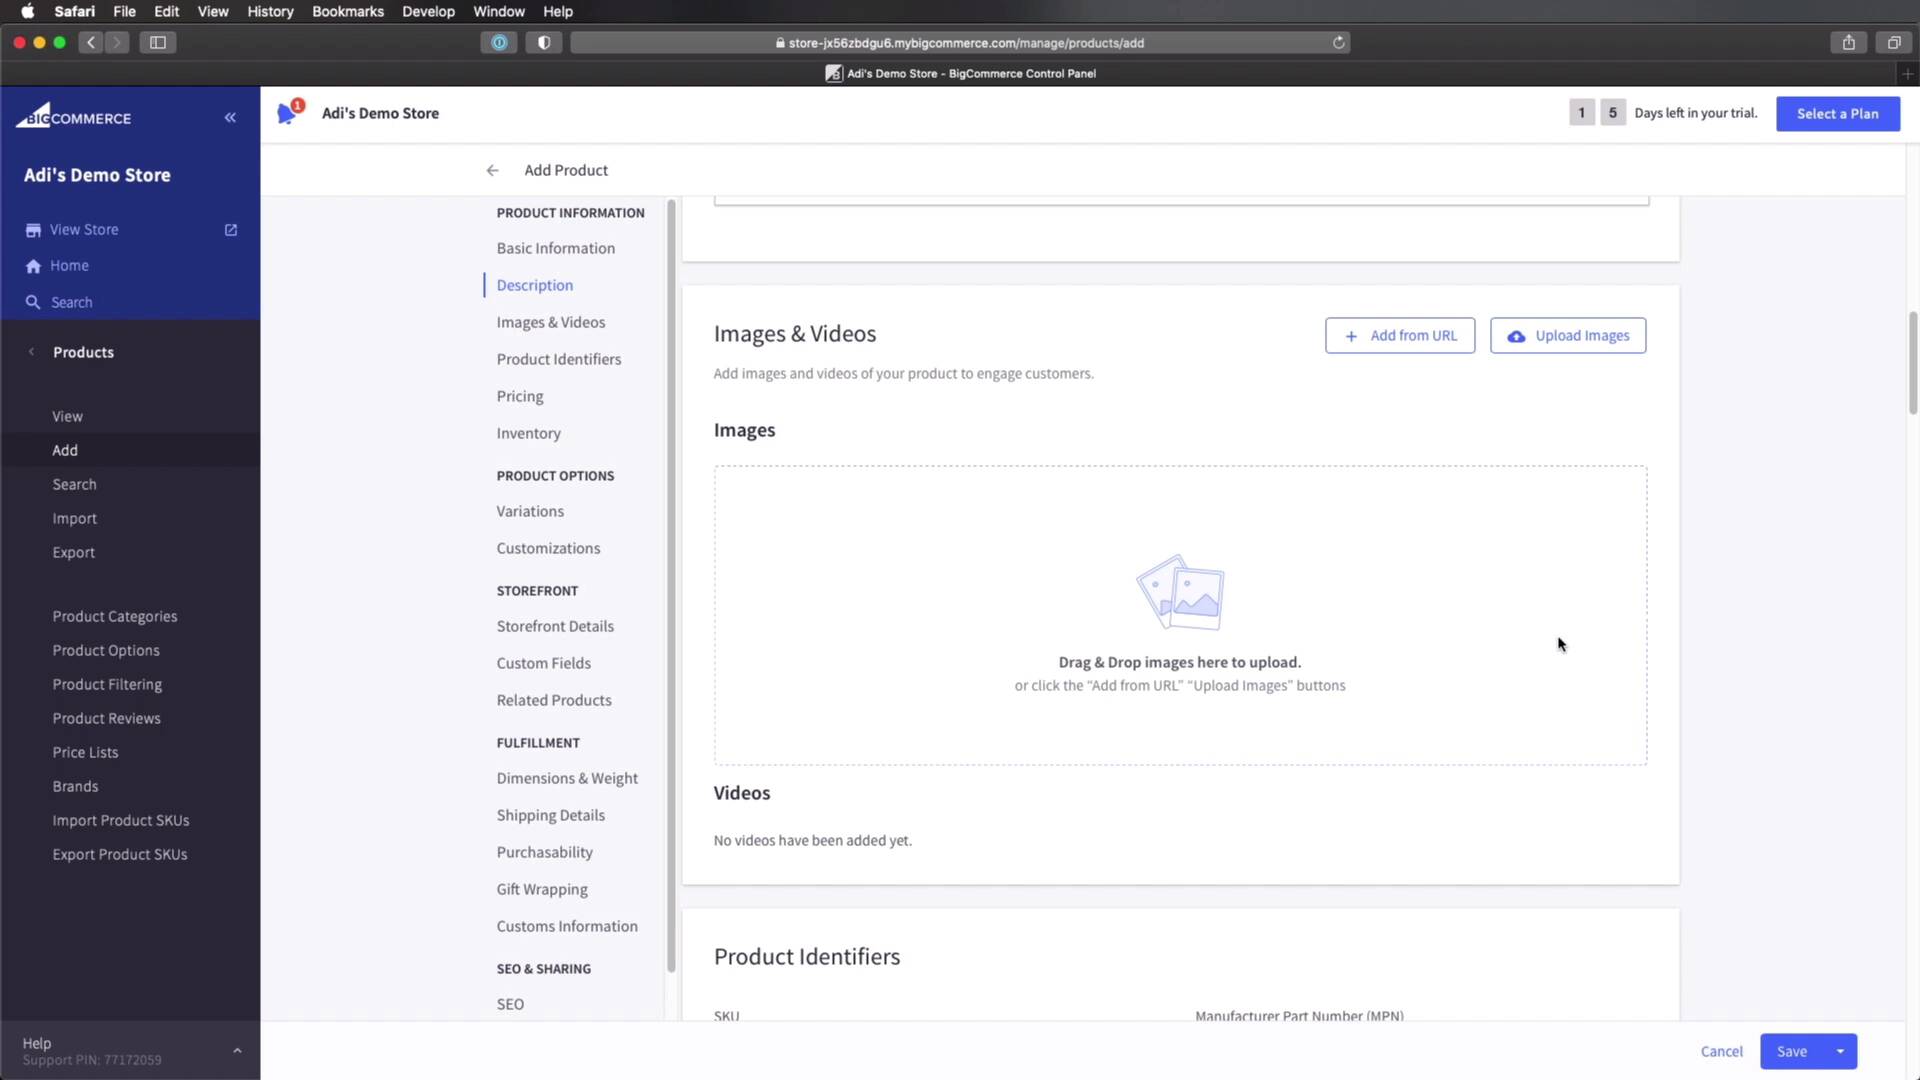
- Overview
- Transcript
2.3 Adding Products to BigCommerce
Welcome back to the course. In this lesson, you’ll learn how to add products to your BigCommerce store.
Related Links
1.Introduction
1.1Welcome to the Course01:07
2.Getting Started With BigCommerce
2.1What Is BigCommerce?03:22
2.2Creating a BigCommerce Account06:22
2.3Adding Products to BigCommerce07:55
2.4Managing Products, Categories, and Brands05:43
2.5Adding and Customizing a New Storefront Theme08:34
2.6Selling on Different Channels02:37
2.3 Adding Products to BigCommerce
Welcome back to the course. In this lesson, you're gonna learn how to add products to your online store. So, let's begin. We are back in the admin interface for our online store and add products we will simply click on Products, in the left sidebar. As you can see, we already have a couple of demo products added by big commerce. But to add a new one, we can click this button, or we can click Add right here. So then products on big commerce are actually quite complex in the sense that they have a lot of properties available to them. And those properties are grouped into several categories. The first one being Product Information that contains product name, the skewed type, price, brand weight and categories, description, images, and videos, and so on. And as we scroll down, and you'll also see this in the left sidebar, we will be able to fill in all of these properties. Now obviously, they're not all mandatory, the mandatory ones are marked with an asterix. But if for example you have products where you have variants like maybe color, size, and so on. You can fill these in right here. So these variations fall under product options, but then we also have settings for the storefront. So what kind of search keywords do we want to assign to a product, the sort order warranty information and so on and so forth. Then under fulfillment, we have details about shipping an inventory. We can set up the weight, the width, the height, basically the product dimensions, and how much does it cost to ship that product. And then at the very end under SEO and Sharing, we can set our custom page titles for our product, the product URL, meta descriptions, very useful tools. But let's do something simple here and let's add a product. We want this product to be visible on the storefront. So we're gonna check this box and under product name, I'm just going to say, watch for men. The product type is physical. If for example you're selling maybe a subscription or a piece of software, you would select digital as the product type. The default price let's call this I don't know $49, excluding tax. Brand, you can actually create brands here, and I'll show you that in the next lesson. Wait, this is required and it's using kilograms as a measurement unit as set in the settings for our store. Let's call this I don't know, 0.1 kilograms, that's 100 grams. Next, we can select which categories we wanna use. In my case for now I'm just gonna select, Shop All. Under description, I'm just gonna say this is a great watch for men. And then under images and videos, you can add images from a URL, or you can upload your own images, or you can simply drag and drop. So I actually have some images prepared here. And I'm just gonna drag two images, and those are gonna be uploaded. And on each image, I can write a description that's used for SEO. And I can also choose which one of these images will be used as a thumbnail for this products, I'm gonna choose maybe this one. You can also add videos to a product. So if you have a presentation video of that product, you can simply drag and drop or hit Upload images here and that's going to be placed in the videos category. Now you can go over the rest of the settings here and enter the correct information. Like for example, adding variations to a product, let's actually add a variant option. We're gonna call this size, I'm gonna choose a, maybe a radio button because I only want two values here. Let's call this 38 millimeters and let's call is 42 millimeters, and 38 will be the default. So I'm gonna choose save a variance. So now we have two variants of the same product. The option name is size, and we have two possible values 38 and 42. And you'll see how these will show up in the front end in just a little bit. All right, so once you fill in the rest of the information, you just hit Save. And now your product is added to the database. So now if we go to View products, you'll see that the new product that we just added is on the top of the list. So let's actually go to the front end and under Shop All, here it is. This is the product that we just added, and if we click on it, we will find the images, we will find the title, the price, this key was automatically added. And here is the custom variant option that we added size. and here we can select between 38 and 42 millimeters and notice these have different SKUs. And if you don't know what this SKU is, is kind of like an ID, it's an identification number that allows us to track that product in our inventory. And if we scroll further down, we can find the description. Obviously, if you're gonna edit the other properties when you're adding the product, some additional sections might show up here. And yeah, that's how easy it is to add a product. After this if you want to add another one. You can do the same thing, click here or click here. And it's gonna take you to the exact same page that I showed you earlier, and you will just repeat the process until you add all your products. All right, so now we have some products added to our store. But what if we want to change their properties? Like maybe the description for a product, or maybe the category they're in, or the brand of that product. Well, we'll see how to do that in the next lesson. So I'll see you there.


