
 Lessons: 7Length: 36 minutes
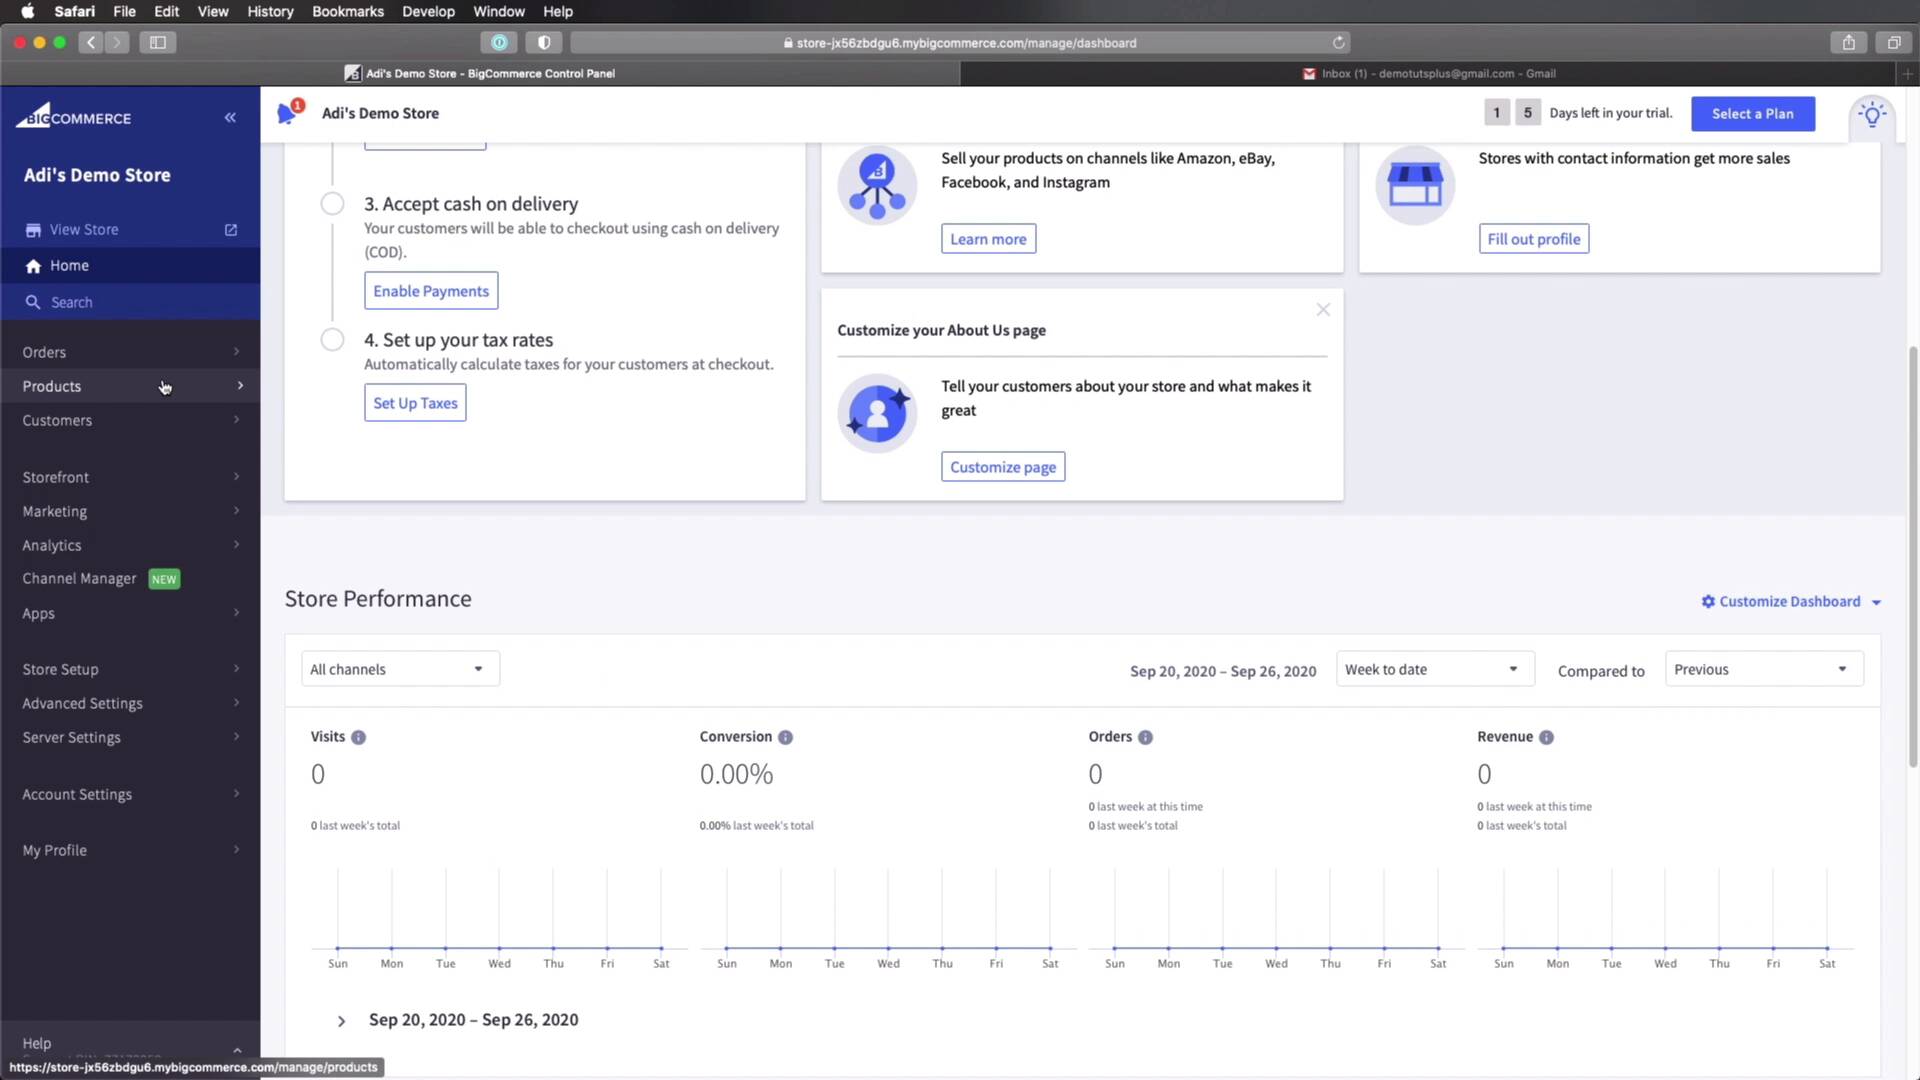
- Overview
- Transcript
2.2 Creating a BigCommerce Account
In this lesson, we’ll start building an online store with BigCommerce. The very first step is to create an account, so let’s do that right now.
1.Introduction
1.1Welcome to the Course01:07
2.Getting Started With BigCommerce
2.1What Is BigCommerce?03:22
2.2Creating a BigCommerce Account06:22
2.3Adding Products to BigCommerce07:55
2.4Managing Products, Categories, and Brands05:43
2.5Adding and Customizing a New Storefront Theme08:34
2.6Selling on Different Channels02:37
2.2 Creating a BigCommerce Account
Welcome back to the course. In this lesson, we're gonna start building an online store with BigCommerce, and the very first step is to create an account. So let's do that right now. For that, we're gonna go to bigcommerce.com. We're gonna click on Essentials, and then Get Started. Enter the email address that you wanna use. In my case, I'm just gonna use a dummy email address. For the store name, let's call this Demo Store or Adi's Demo Store. Let's add a nice password here, enter first name, last name, phone number. And you can basically select any of this. I'm just gonna select the first one. And then I'm gonna hit Create Your Store. All right, and here, it asks us, do you have an existing website? I'm gonna select No. What will you be selling? I don't know, let's just say computers/electronics for this demo. And what best describes how you currently sell your products? I'm gonna select I'm not selling yet, and then hit Finish. And we are in, that's how easy and quick it is. And we just got a confirmation email with the login details. You can keep that for your own records. But here we are in the backend, right? So this is the place where we'll be managing all of our products, categories, orders, everything. We are currently on a trial plan. I have 15 days left. And after those 15 days are over, I'm gonna need to select a plan. And plans for BigCommerce essentials look something like this. It starts at 29.95, and it goes to 299.95 per month. And you can go ahead and check out the differences between these plans right here and pick the one that's best for you. Obviously, if you're just getting started, you would most likely go with the standard plan. All right, so now let's quickly do a tour of this backend. So this is our home screen. This is where we usually land after we first log in. This is kind of a dashboard and you can choose to hide some of these panels. You can customize this dashboard by checking or unchecking some of these boxes that you can see here. And then on the left sidebar, you will have access to everything you need, orders, products. As you can see, currently we have some demo products that were added by the platform. But we can go ahead and delete these. I'll show you how in a future lesson. You can view your customers, the people who bought your products. And then you have access to the storefront. You can customize that here, you can pick a theme for it. Then you have some marketing tools, like creating banners, promotions, abandoned cart notifications, very cool. Then you have access to some analytics, like how many visits you had, what pages were viewed, and so on. If you're familiar with Google Analytics, then you know what I'm talking about. Then you have the channel manager. This allows you to set up multiple channels for your sales. We'll briefly touch on this in the final lesson of the course. And then you have access to some apps that you can install and add extra functionality to your store. And then obviously you have access to the settings for your store, your account, your profile, and so on. So this is just a quick tour of the backend. We'll come back to this in future lessons and we'll explore certain aspects of it in more detail. Now, let's also view the storefront or the frontend. To do that, you can click this link that says View Store. And that's gonna open up your frontend in a new tab, and this is it. This is what it looks like currently. Our storefront is private. I'm able to see it because I'm logged in. But if you want to share a site preview, you can pass in this code. So this is very useful, for example, when you're creating this online store for a client. And you want them to be able to see the progress, you can share this link, and also this preview code. So your client will be able to see it, but no one else will be able to. So that's pretty cool. So yeah, by default, this is using the, I believe, Cornerstone is the theme, and this is what it looks like. A very simple, very clean theme. As you'll see in a future lesson, you can add more themes and you can really customize this frontend to look just the way you want it to. All right, so now that we have an account, we have the storefront set up and ready to go, it's time to add some products, and we'll see how to do that in the next lesson.


