

- Overview
- Transcript
2.2 2D Animation Essentials
In order to understand CSS animation, you first need to understand the essentials of 2D animation. In this lesson, learn about the X & Y axis and how coordinates on those axes work.
2.2 2D Animation Essentials
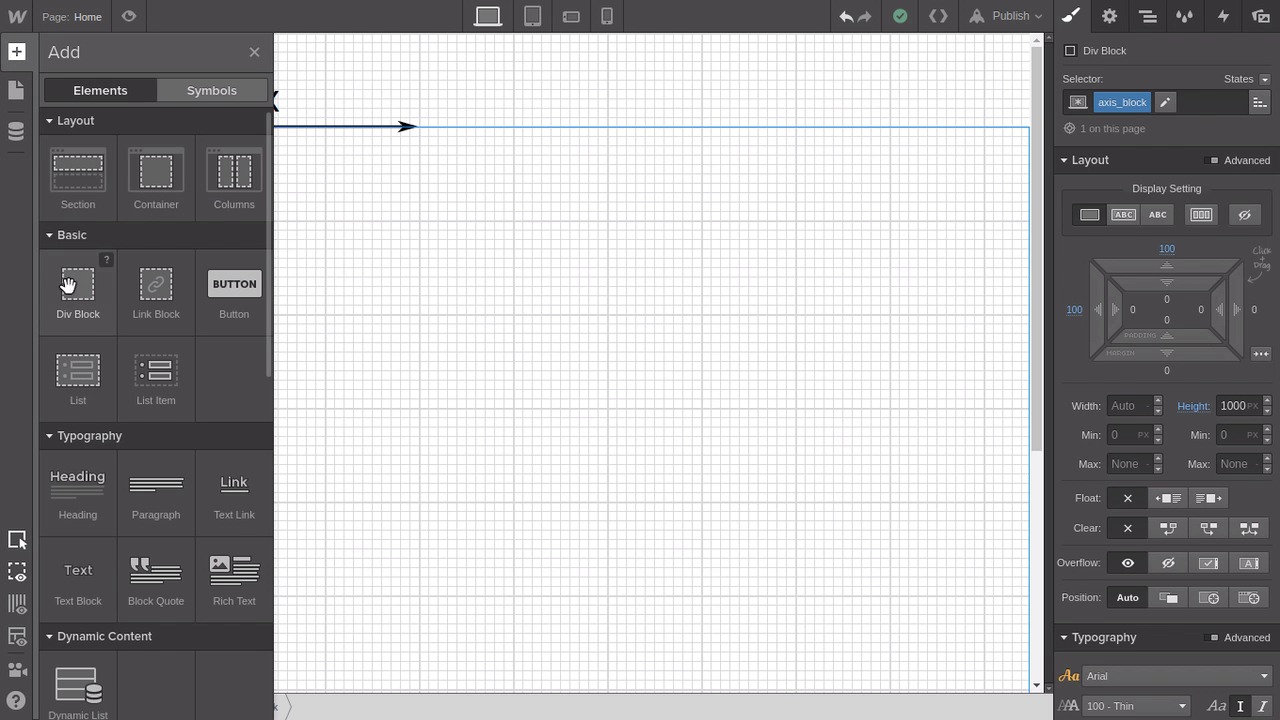
Hey, welcome back to A Visual Guide to CSS Animation. In the last lesson, you saw some of the essentials of working with 2D animations in CSS. And now we're gonna go through some of the theory that you're gonna need to know about. So what we're gonna be talking about is the x and the y-axis. So that when you hear something like, move it negative 20 pixels on the y-axis, you know what that means. So what we're gonna do is take a look at how the x and the y-axis work in action. And to do that, we're gonna set up a grid and an axis as a little project inside your WebFlow page here. So delete anything that you already had there from the last lesson. Then we're gonna drag in a new div block, and then up here in the selector section, give it the class name Grid. Then we're gonna give it a width of 100vw, which is viewport width. That will make it 100% of the width of the viewport. And we'll give it a height of 100vh, which is viewport height. Now, head down to the Background section and click this little Image icon here. We're gonna add in a grid background image. Along with the source files that you'll have access to as part of this course, you'll find a grid.svg image, so I want you to browse for that and upload it. And then when it's finished uploading, just change the width to 100 pixels. So we've just added this grid in to make it a bit more visual when we talk about how the x and y-axis work. Every one of these dark lines represents 100 pixels, and then there's a lighter line every 10 pixels. Now, we're gonna add another image to represent the actual xy axis. So drag and drop in another div block and this time give it the class name Axis. Once again, set the width to 100vw and the height to 100vh. And for this background at the axis.svg file that comes with your source files, and set the width of this one to 500 pixels. And you're also just gonna have to go down here to where it says Tile and hit this X button so that we only have the background image coming up once. So, what are we looking at here? Well, every time we place an element in 2D space, it has x and y coordinates. So the x coordinates represents where it is on a horizontal axis, as you can see represented in the image that we have here. And the y coordinate represents where it is in vertical space, as you can see represented by the y on the axis here. But what you wanna pay attention to is the direction of the arrows on either of these. So you can see that where these two axes intersect we have 0. So if you were to place an element at the coordinate 0, 0 and then move it to the right on the horizontal, the number that represented its x coordinate would increase. With the y coordinate, you're working on the vertical. With y, as you go down, the numbers increase. So if you start with an element at 0, 0 and then you move it down, that y coordinate is actually going to increase. So let's see that in action. We're gonna add another div in here. And this is gonna be something we just set up as a container. We're gonna position it at the origin point on our image here at 0,0 so that we can then move something around inside that container. On your new div, give it the class name axis_block. Then give it a top margin of 100 pixels so we align it with our x-axis on our image. Give it a left margin also of 100 pixels to align it on the left with our image. And then give it a height of 1,000 pixels. You'll notice that's thrown out the positioning of our background images a little bit, so you just select the div with the class axis. And then down here were its says Overflow, pick the last one in the list, that's auto, and then that will correct your alignment again. Now, select the axis block div again, so you can just see a little bit better, and then drag a new div inside that element. Give it the class box, and then give it a width of 100 pixels and a height of 100 pixels. And down in the Background section, just give it a fill color, whatever color that you prefer. Now, we've got this little blue box that we can move around to demonstrate how the numbers increment as you move things around on this axis. So scroll up to the Layout section and then set the position to relative. This is gonna let us move this thing around a bit. Now, you can use these little draggers to move the box around, to see for yourself how the numbers are gonna change as you're altering the element's horizontal and vertical position. For now, just use the one of the left and the one in the top, just ignore the one on the bottom and the right for now. That's just gonna overcomplicate things. The left and the top one are gonna be the best ones to use to just give you a visual demonstration of how the x and y-axis work. So if we grab the left one and we drag it to the right, you'll see our box moving. And you'll also see that these numbers are going up. Then, if we move it back again towards the left, you'll see the numbers decreasing again. And what if we move it past that 0 point on the axis further to the left again? Well then, we move into negative numbers. So the further off to the left we go now, the further we move into the negative. On the y-axis, the vertical axis, if we grab that top dragger and we move it down and you see our box moving down, you can see that these numbers actually increase. It's a bit confusing at first. If the shape moves downwards, the number goes up. But just try to remember the image of this graph in your mind and that will help you remember which direction is up and down. And then just like with the x-axis, if you move it past that 0 point, the y-axis coordinate will start to go into the negative. All right, now that you know how the x and y-axis work, let's make a little animation where we move the little box from one position on the xy axis to another position on the xy axis. Making sure you have your box selected, just like we did in the last lesson, go up to the States dropdown and select hover. Then in this top field that represents the y-axis in our example, insert the number 50. And then in the left box here, that we're using to represent the x-axis, also enter 50. And you'll see how that's displaced our little box 50 pixels on our axis, both vertically and horizontally. Now, switch the state back to none, go down to the transitions area. Add a new transition by hitting that same little clock icon, and then in the dropdown list we're gonna look for Top, so we'll enter that. Now that's created the transition for a vertical movement. So for our horizontal movement, add another transition and this time look for left in the list and add that. And when you hover over the box now, you'll see it smoothly transition from its origin point at 0, 0 to its second set of coordinates, 50 on the x-axis and 50 on the y-axis. So as you go through the process of creating CSS animations and working in that 2D space. Just keep that axis in mind and keep those numbers in mind so that everything makes sense to you as you're starting to manipulate the positions of things. And the rotations of things, and the scale of things, and all sorts of other different aspects that we're gonna talk about a little bit later. But that grid and that axis is at the very foundation of CSS animation and any form of 2D animation. So just keep that tucked away in the back of your mind. In the next lesson, we're gonna dig a little bit deeper into transitions. You've already seen a couple of transitions in action, but you've also seen that in that dropdown list there's a big, long list of things to choose from. So we're gonna go through and create a couple of different basic animations, nothing too fancy. Just to explore a couple of the different things that you can do with the settings. So I'll see you in the next lesson.


