
 Lessons: 17Length: 1.6 hours
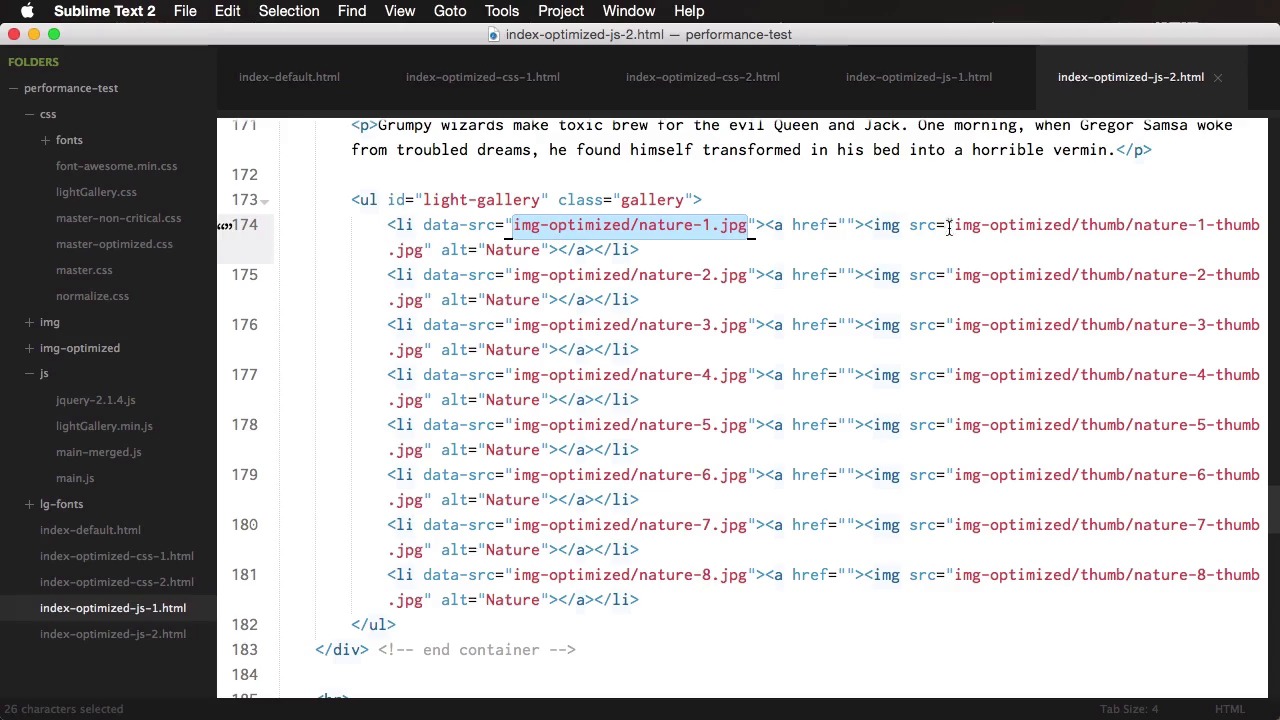
- Overview
- Transcript
4.4 Render Blocking JavaScript
Just like with CSS, the browser needs to download any referenced JavaScript files before it can render the page. So, how do we prevent this from happening? Let’s find out.
Related Links
1.About Website Performance
1.1Welcome00:34
1.2What Is Website Performance?03:42
2.Tools for Measuring Performance
2.1Overall vs. Perceived Performance02:32
2.2Google’s DevTools14:30
2.3Google’s PageSpeed Insights03:22
2.4YSlow and Pingdom Website Speed Test08:51
3.Overall Performance Optimization
3.1Server-Side Optimization05:06
3.2Reducing HTTP Requests03:56
3.3Image and Webfont Optimization07:37
3.4JavaScript and CSS Optimization03:31
3.5Moving Assets Externally03:23
4.Perceived Performance Optimization
4.1About Perceived Performance02:39
4.2Critical Rendering Path03:45
4.3Render Blocking CSS17:20
4.4Render Blocking JavaScript11:44
5.Platform Optimization
5.1Optimizing WordPress Websites02:27
6.Conclusion
6.1Final Words01:00
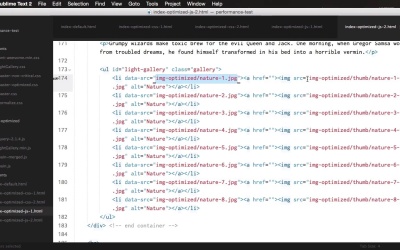
4.4 Render Blocking JavaScript
Just like CSS, the browser needs to download any kind of referenced JavaScript file before it starts rendering. Why? Well, it's simple. You might have a different JavaScript function that help with rendering. For example, you might hide some items after rendering or you might style them. It's not recommended, but it does happen. A good example here is jQuery. This is very popular, it's being used for very simple things as well. Like an animation, for example. So considering the fact that a normal web page has a weight of 10, maybe 20 kilobytes and the minified version of jQuery is 80 kilobytes. 80 kilobytes is a lot for a simple animation, so unless jQuery is needed for rendering. Why not load it after the page has finished rendering? We'll use jQuery here as an example and most people do this. They load it in the head of the document after the CSS. This is not good, because this is a large file. So the browser takes some time to download it and parse it before it can render any content. A solution for this is to place the reference call in the footer of the page right before the end of the body tag, but even this is not the best solution, because the browser still it needs to download that file before rendering. It does download it a bit later, but it still needs to download it. So you could use the async attribute, which basically allows you to download the JavaScript while the pages are rendering. So you're basically, downloading the script in a non-blocking manner. But even that, the async is an HTML5 attribute. So it's not gonna work in older versions of browsers. For example, IE 8 and 9. A solution presented by Patrick Sexton is to defer JavaScript completely. And actually, this is something that Google recommends. The solution looks something like this. We write a function that creates a script element. Set the source to whatever JavaScript we wanna load and then append it to the body, then we only call that function after the entire page has finished loading. This way, we make sure that we have no scripts blocking the render. So with that said, let's see a before and after example. We'll start where we picked off last time and I'm gonna create another file here and I'm gonna call it optimized-js-1.html. Now, the first thing we're gonna do here is we're gonna asynchronously load. Or actually, we're gonna defer the loading of JavaScript using the function by Patrick Sexton that I just showed you earlier. So what we're gonna do first is actually merge these three JS file into a single one. So we took jQuery, the lightGallerymin.js and the main-js and we put them all in this main-merged.js. And we're doing this, so we can reduce the number of HTTP requests. Now, we're gonna remove these from here and we're gonna move all the way to the bottom after the footer and we're gonna use the function I showed you earlier. So downloadJSatOnload. We're basically creating a new element, a new script. We're setting the source to main-merged and we're appending it to the body and this only happens when the page or after the page loads. So let's upload this and see if we get an performance benefits. And for the test, of course, we compared CSS2, which was the version that was loading JavaScript normally and this one. So as you can see, the content starts rendering a bit faster on the CSS version or where we were loading JavaScript normally, but the thing is this finishes at 1.7 seconds. So when loading JavaScript asynchronously compared to 2.1 seconds when we're not. So we can definitely see some performance benefits there. Now we can improve this more, because what we can do is actually stop loading these images until all the the other content on the page has been loaded. Because these are below the fold, we don't need them to render the critical content. So what we can do is actually use a technique call deferring images and we're only going to load these after everything else in the page has finished loading. So let's do that right now. Now for that, I'm gonna duplicate this file yet again and create the JS2 version. And for it, we actually need to change the markup a little bit, because what we have here is a list item with a data source that is actually the required markup for the lightbox. So this is the image that pops up when we click the thumbnail image and the thumbnail image is this one here. So what we're gonna have here is something like this and let me just clean this up a little bit, so it's a bit easier to understand. So we're gonna have the list item data source that takes us to the nature-1. This has not changed, what has changed is this bit. So instead of displaying the full thumbnail image at first, what we can do is display a blank image, that's inlined and then put the actual source in an HTML5 data attribute. So we would have something like data source equals that. And on the src, we're actually gonna put something like this. This is a base 64 format for an image and it's for a very simple transparent 1 pixel image, basically. So now we're gonna take this and we're gonna apply it to the rest of our elements, just like that. So now if we take a look, you can see that we have no images here or whatsoever. So in order to display these after the page is loaded, we need to write a simple function. For this, we're gonna get down here at the bottom and we need to make a couple of changes to this function here. So this function, actually we're gonna rename it to initUI and then at the bottom, we're gonna call another function called loadImg. So let's go ahead and write that function. So loadImg, the first thing we're going to do and this is a JavaScript function not JQuery. We're not gonna use JQuery here. So we're gonna create a variable called let's say, imgReplace and we're gonna get all the images in our documents. So document.getElements by, yeah, actually by tag name here. That's correct. Img. So we're grabbing them all and then we're putting them in this variable and then we're gonna do a for i starts at zero. And we're gonna do with it this while i is smaller than the total length of our array there. So imgReplace.length and then we'll do a simple i++ and then we're gonna say, if (imgReplace[i] getAttribute( 'data-src') ). So if we have that attribute, then imgReplace[i] setAttribute 'src' and were going to copy this bit here. So let's see what's going on here. We're basically testing if the image has a data SRC attribute, then we're gonna take that attribute, which is the real path to the image and we're gonna apply it instead of this. So we're gonna replace the src with data-src and we type this to the initUI function that loads after everything else has loaded on the page. So right now, we're gonna see the same images here. But the difference is they're loaded after everything else. So with that done, let's do some speed tests and we're gonna compare JS1 with JS2. The results are in and as you can see, the content here actually finishes rendering faster than JS1. And this will work actually very well, if you have lots and lots of images on your web page. So as a final comparison, let's do a test between the default and our latest version, which is JS2. So rendering at our optimized version starts at 0.5 seconds compared to 0.9 seconds on the unoptimized and we actually finish rendering everything at 1.6 seconds compared to 2.2 seconds. And let's actually do a comparison using the speed test here. Let's rerun this, as well. We started at 64 on mobile and we got to 75 on mobile. We started at 75 on Desktop and we got to 88 on Desktop. Now of course, there a couple more things that you could do. For example, the CSS file here for the fonts is still a CSS blocking resource, then you could also leverage burrows of caching by setting an expiry date on the HTTP headers and then you can minify the CSS, minify the HTML and so on. So there you have it. Using some very simple techniques, we were able to get from a page that loaded in 2.2 seconds to one that loads in 1.6 seconds. And also, the second one starts rendering much faster. So it presents usable content to the user much, much faster and that's it for render blocking JavaScript now. So far, we've only talked about static pages. But what about some popular frameworks or content management systems that are out there, for example, WordPress? How do you optimize them for speed? That's coming up next.


