

- Overview
- Transcript
3.1 Homepage
Welcome back to the course. In this lesson, we’ll be customizing the homepage so that it matches our project brief.
1.Introduction
1.1Welcome to the Course00:57
2.Building the Store
2.1A Bit of Planning03:36
2.2Creating the Store01:54
2.3Creating Collections05:45
2.4Adding Products to Our Shopify Store13:03
2.5Adding Pages03:52
2.6Installing a New Shopify Theme04:07
3.Customizing the Store
3.1Homepage18:11
3.2Collection and Product Page03:49
3.3About and Contact Page05:18
3.1 Homepage
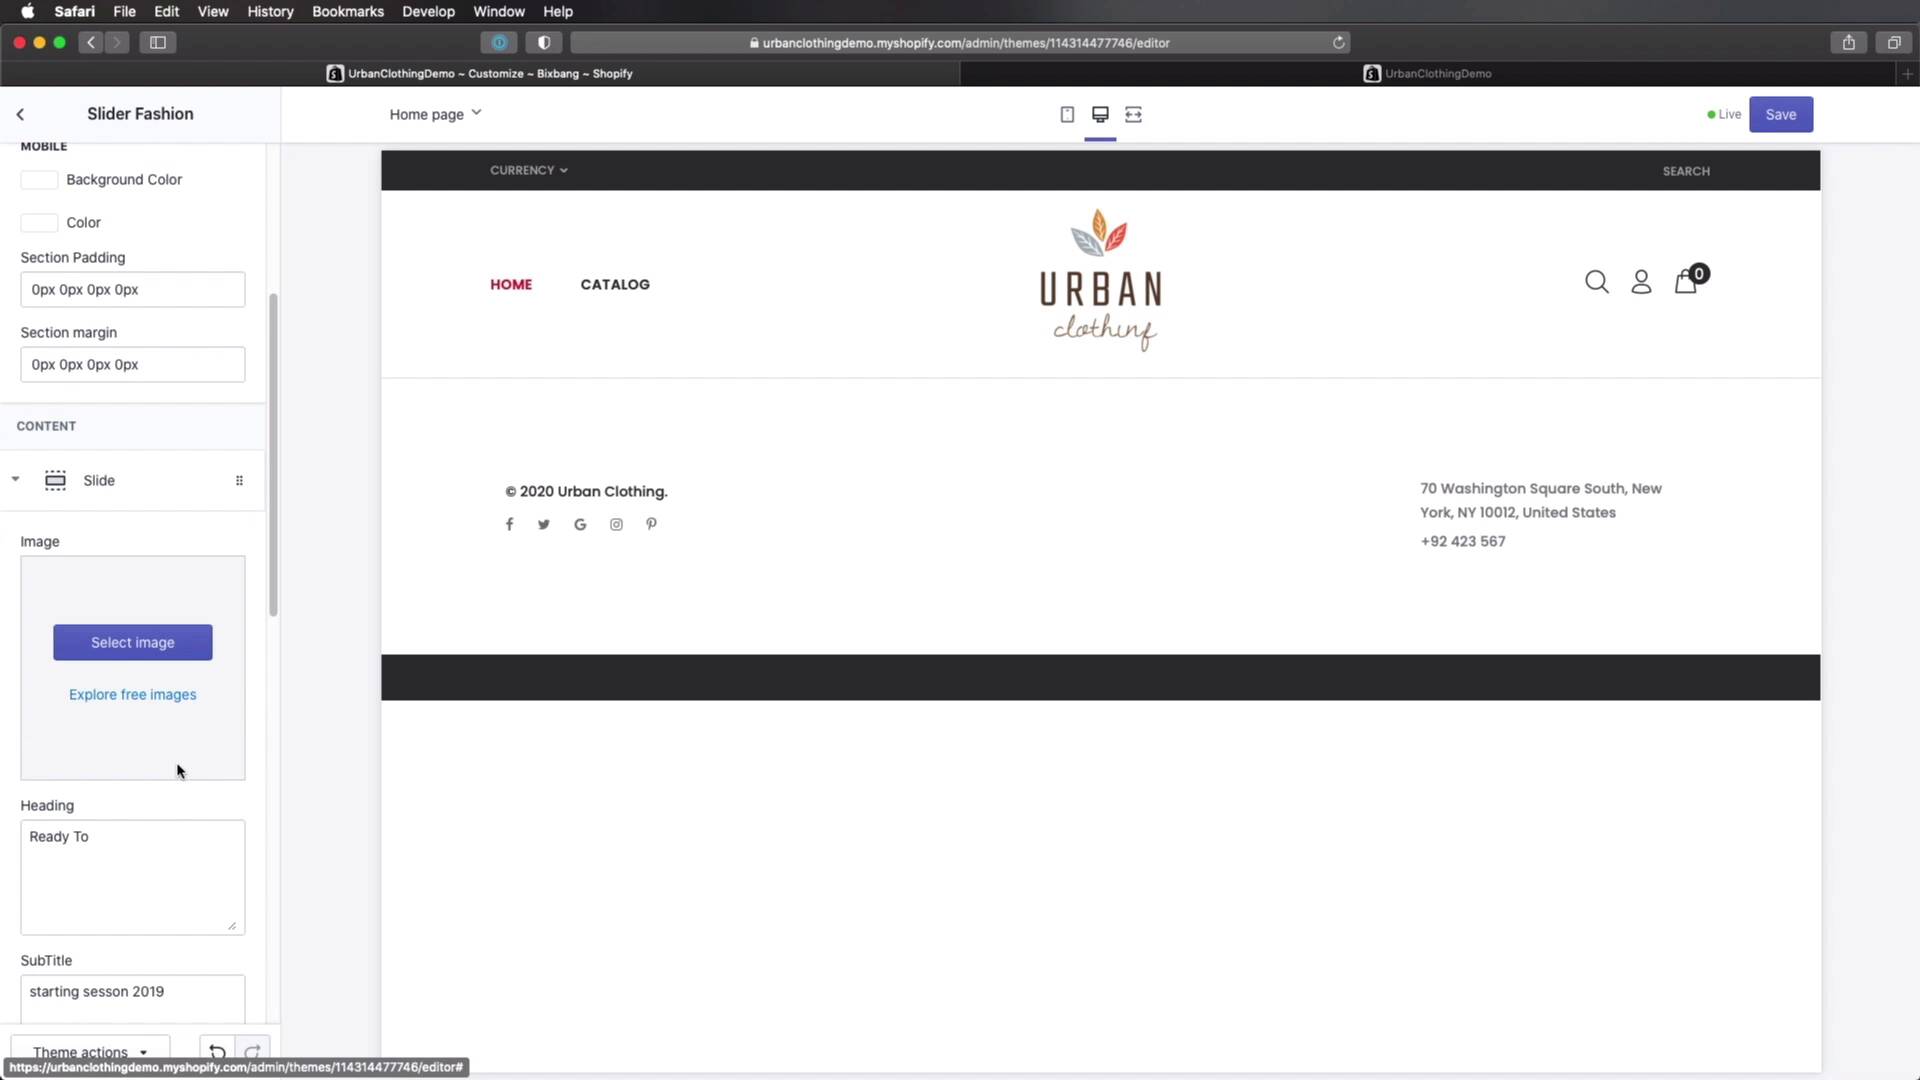
Welcome back to the course. In this lesson, we'll be customizing our homepage so that it matches our project brief. So let's begin. First, let's take a look at the project brief and see what the homepage should look like. So the homepage should feature the latest autumn collection for men and women, the regular collections for men and women, a list of products from all the categories, information about shipping support and return policy, and a newsletter sign up. Now to customize our homepage, we can go back to the admin interface, to the Online Store > Themes. And under the currently active theme, click Customize. And this is actually very cool in Shopify when you're customizing the theme, you'll get this live preview in the biggest portion of the page. And you can actually scale this live preview to see how it's gonna look like on on various devices. And on the left, you have a sidebar that you can use to tweak the various settings and also create sections. So the first thing I'm gonna do is go to Theme settings. And under Settings, I'm gonna uncheck Quick View and Compare buttons. And we can also uncheck Wishlist because we're not gonna be using it here. Once you do that, save. Now let's go back. I'm actually not gonna touch the typography because I think it looks pretty good. But if you want to, you can change the typefaces from here, and also the various font sizes. Again, if you wanna change the main colors, you can do that from here, the header colors as well. Let's go to Page Title. And in the breadcrumbs, I'm just gonna say Home and save. And then I'll go to Header and I'm gonna select the header design to be default. And that's gonna change it from that sidebar header that you saw to this header that's displayed on the top. Let's go back. Under Product Item, I'm gonna select Use One Image Height because I don't want the product to be resized because I have different height images. And then finally, I'll go to Popup Newsletter. And I wanna deactivate this popup right here. You can re-enable it for your own shop if you want, but in my case, I want to disable it. So I can just uncheck that and the popup will now be gone. It's not gonna show up every time we're loading our store. Okay, so now that we have the homepage selected, let's go in and work a little bit closer with the individual sections in this page. The first thing I'm gonna do is actually click on each one of these and remove it. Because I wanna start with a clean slate. And actually, let me quickly go to Footer Template and enable Show Footer. And that's gonna show the footer right here. And if we scroll down a little bit until we find Design Footer, I'm gonna select Footer Column. Yeah, this is the template that I wanna use. And here, we can actually edit the information inside the footer. I'm gonna simply do some quick changes here. I'm gonna say 2020 Urban Clothing. And I'm also going to change this address. Let's see where it is, Footer Links, Payment, it's right here. So if you remember, we do have an address right here. So let's copy that and let's paste it in. Let's actually use paragraphs here as well. And let's click Save. So now the first thing we'll do is change the logo and the navigation. So for that, we'll open up the Header. The logo text, we're gonna set this to Urban Clothing. Logo main, let's go ahead and upload the logo. Right, so we're gonna select that. This is just a PNG file, so select it. Sticky logo, let's actually upload the exact same one. Sticky logo is used on the sticky header, if you enable that page, that option. Logo page is the logo that's being displayed on the additional pages. So let's go ahead and select the same one. Here under Design Header, I'm just gonna leave it at default, just like this. These are the options for the header sidebar, so we're not really interested in that. This is where you can set a custom logo for mobile. Let's actually go ahead and select the same one. Obviously, you can make this smaller for mobile. Then under information bar, you can actually display an information bar. It's gonna look just like that. I don't need it. What I do wanna change is this top bar. And I wanna show a menu there. I'm gonna select the footer menu. And we'll actually edit this in just a little bit. Multiple currency corresponds to this drop-down. And megamenu is something that you can add to the main menu. In my case, I don't really need it, so I'm not gonna tamper with it. All right, so with that, let's go ahead and save. And let's actually go back. Let's go back to the main interface and change the menus. So we'll go to Navigation. And here we can see two menus. Let's click on Main menu, for instance, and, I'm gonna change this to reflect my main categories. So I'm gonna say add menu item. I'm gonna say men. And we can search collections and select the one that we wanna link to. Then maybe for women, you can actually search like this. And maybe one more for kids. So let's go ahead and add that, Save Menu. And let's go back to our navigation and change this footer menu. This, I just wanna display two items. I wanna display the About Us page. And the Contact page. And save, and once we do that, you'll see that if we go to the front end, our navigation is now updated in the main menu, and also in this as I called it a footer menu. But you can call this whatever you want. And these will link to the corresponding pages. All right, so the footer is complete, the header is complete. Now let's see about the content. For that, we'll go back to our theme customizer and we'll add a section. We'll select a slider, let's see, Revolution Fashion. Let's go ahead and add that. And here, we can define our slides. So click on each slide. Let's select a background image, let's upload one. And here, we can edit the heading. Let's say this, the subtitle is gonna say New 2020 Season. This text we can leave it like this. Text background, we can just say 2020. And also let's link this to the Autumn for Men collection. Let's change the background before color to something like this and change the text background to something like this. And we're done with this one. We can't see it yet in the preview, but let's go ahead and save. So it's gonna show up here in just a second, and there it is. It's pretty cool, right? And now the second slide currently has no image attached to it. So let's change that, shall we? So slide number two, select the image. We're gonna select this one. And here, we're just gonna change the heading, subtitle, and colors to match this new slide, all right, and that's it. These are our two slides. So let's save that. And see them in action. That's slide number one. And that's slide number two. How easy was that? Next up, let's add some items here for our main categories. For this, we're gonna add a section which is called constructive banners. I'm gonna uncheck Fullwidth. The rest is gonna be left at default. But I am using two banners and not four, so I'm gonna click each one, or actually two of them, just remove and remove. Okay, the first one, let's select an image. Let's upload the image for the category for women's clothing. Let's link this actually to the, Women's category. As for small text, I'm just gonna say collection. The big text is gonna say women. And you can actually see a preview here. And the only thing I'm gonna change here is the base 1 text color. I'm gonna use this dark one. And the active text color 1, I'm gonna change it to white. So it looks something like this. And that's it. Let's do the second banner. All right, this is gonna be for the men's collection. Very similar here, the link is gonna take us to the collection, men. The text is gonna say collection men. And by the way, you can do HTML here if you wanna set up a custom markup. And here I'm just gonna change, again, the base text colors and the active color. And this is all the customization I'm gonna do to these elements. Let's hit Save. Next up, we need to add a list of products from all categories. So for that, we'll go back here, add section. And all the way down under Products, we'll select Tabs Horizontal. And you can see how that looks like here. So let's click Add. Here you can actually set up different effects for different sections. So for example, this one, I can select, okay, let's fade up when we scroll down to it, which is pretty cool. Here we can define how many products we want in a row. We can show a title, let's call this products. And here, we can choose what collections we wanna display. So under Tab Gallery, we can say men's collection, and I can select it from here. And then for each one, I can choose how many products I wanna show, how many products in a row, how many slides to scroll, and so on and so forth. And also, if we have multiple slides, we can change when the slides will rotate. Every 7 seconds is by default, but you can change this, obviously. Let's do another one. This will be for women, and we can actually just write it like this. And as you can see, this automatically gets the collection image we set earlier. Let's also change this. And the third one, Let's add the kids collection, and we can select it from here, just like we did previously. And we can add another one, maybe for accessories. So let's add the tab gallery, accessories, and we'll select Accessories from here. All right, so once that's all said and done, let's hit Save. And let's do a preview on the front end to see how our homepage is coming together. So here it is. That's the sticky nav that you see there. So that's the slider, the two collections, and then the products. And here, you can finally see how the products that we added look like. So these are products for men, women, kids, and the accessories. Now we had it pretty cool. So now let's quickly go ahead and finalize this homepage. Let's see, we added these, these, and these. Next, we need information about shipping support and return policy and a newsletter signup. So let's quickly go ahead and add those. Let's add a section, we're gonna call this, or we'll actually select one that's called Icon Banners. And this actually has all the information we need. The only changes I'm gonna make here is I'm gonna remove the border. So under Border color, I'm gonna select None, and that's gonna get rid of this border. And finally, for the newsletter, we're gonna scroll down and we actually have a section here called Newsletter that looks something like this. And all I'm gonna change here is the title. And I'm gonna call this Urban Newsletter. You have various styles here for the title. You can change the description, but in my case, this works just fine. So I'm gonna save. And right now, our homepage is complete. It looks something like this. And you saw just how easy it was going from that standard homepage to this one. It's super, super simple. All right, the homepage is now complete. And this was actually the most time consuming because we had to create all of those elements from scratch. And we also set up certain options that will translate to the other pages. Now, speaking of the other pages, it's gonna be much easier on those. And in the next lesson, we're gonna be customizing the collection and product pages. So I'll see you there.


