

- Overview
- Transcript
3.3 How to Add New Pages and Blog Posts
Let’s expand our online shop to serve as a more complete website. In this installment of our Shopify tutorial, we’ll continue to create our online store by adding some new pages and blog posts. Let’s begin.
1.Introduction
1.1Welcome to the Course01:57
2.How to Set Up a Shopify Store
2.1Planning the Store06:53
2.2How to Sign Up and Create an Online Store06:40
2.3How to Set Up Shopify04:51
2.4How to Add Products in Shopify09:37
2.5How to Add and Manage Shopify Collections06:12
3.Customizing Your Shopify Store
3.1How to Apply a Custom Theme07:30
3.2How to Edit a Shopify Theme10:39
3.3How to Add New Pages and Blog Posts04:29
3.4How to Set Up the Navigation03:50
3.5How to Add and Edit Theme Languages04:15
3.6How to Add a Custom Domain02:30
3.3 How to Add New Pages and Blog Posts
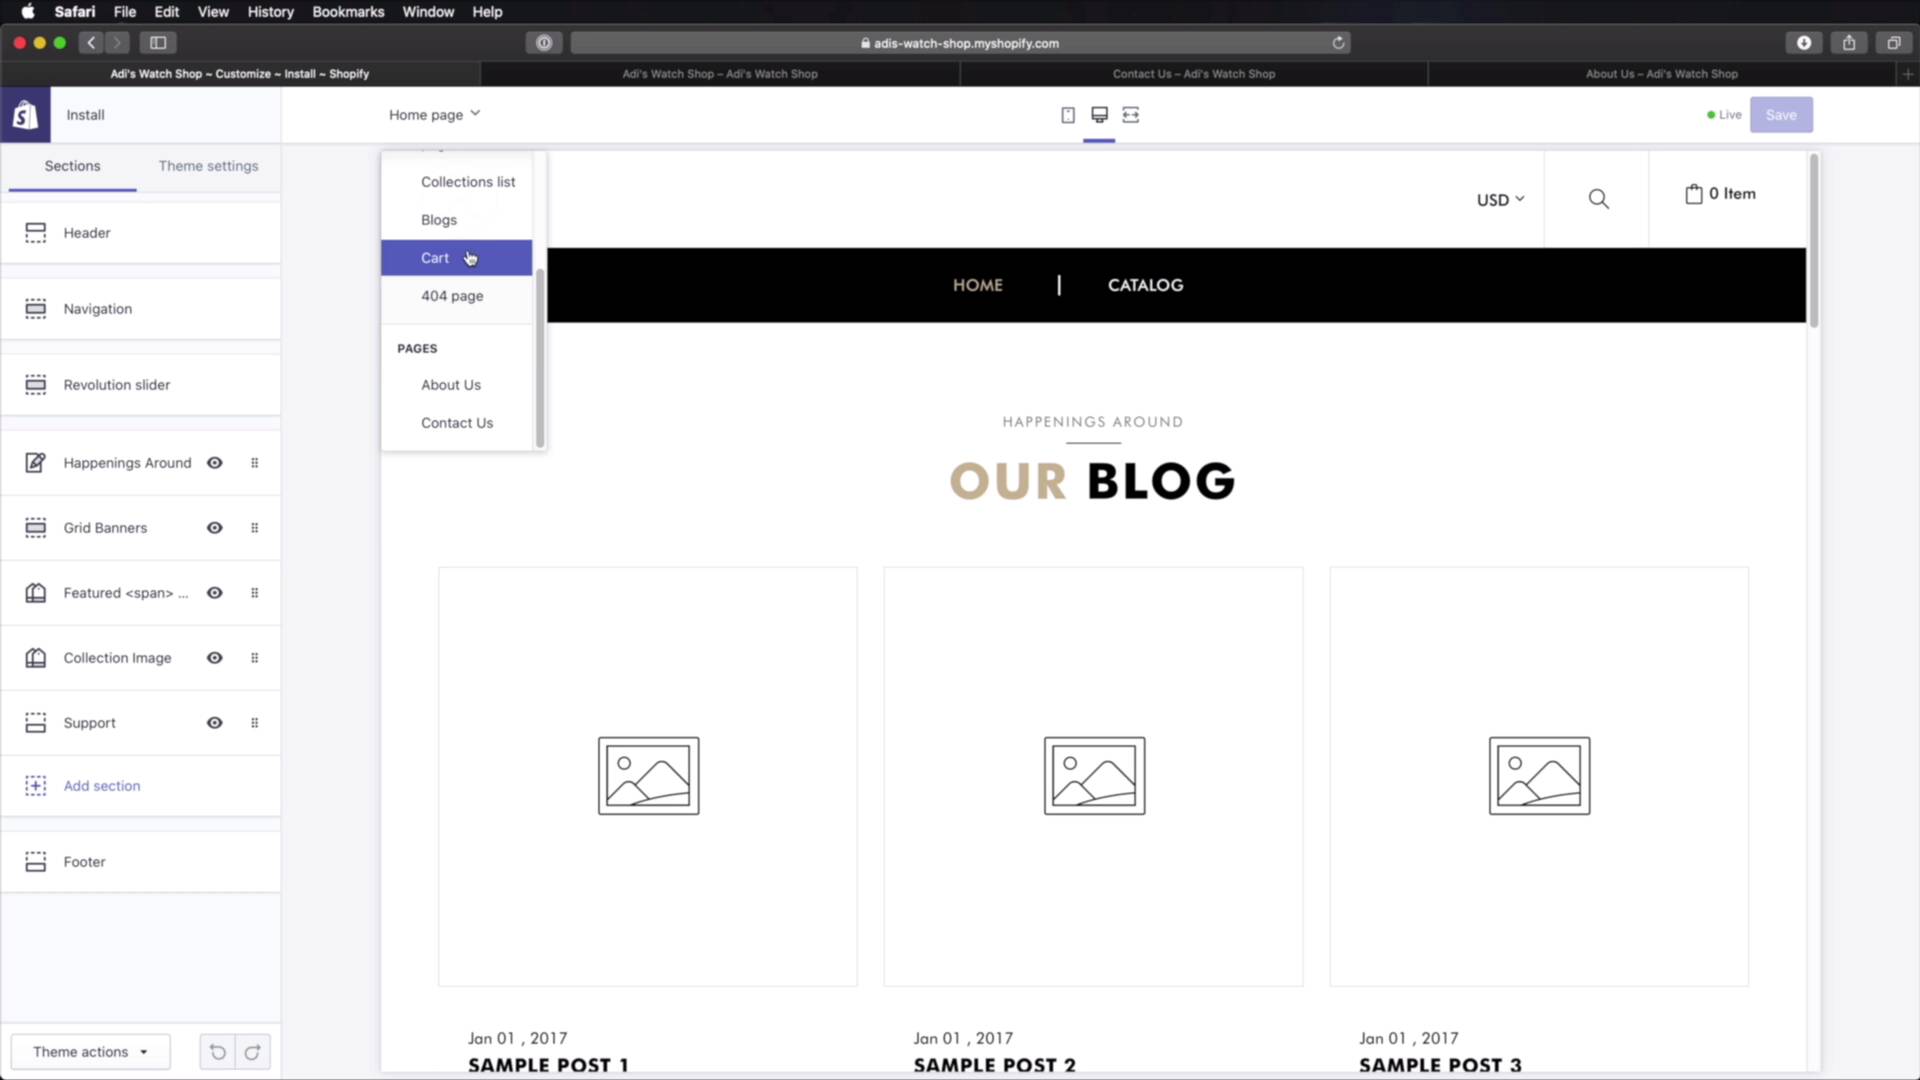
Welcome back to the course. In this lesson, we'll be adding some new pages and Blog posts to our Shopify store. Let's begin. To add new pages, you would go to the backend to the admin interface. You would click Online Store > Pages. Here, you'll see a list of your existing pages. And if you don't have one, simply click Add Page. Let's give this a title. We're gonna call it About us. And then under templates, this theme comes with five page templates. This is the default one. But if we want a contact page or an about page, simply select a Page about set its visibility. So is it hidden for now or is it visible. You can also set a specific publish date. So let's go ahead and hit Save. And let's create another one. Go back to Pages. Add Page. Let's call this Contact Us. Page template, page contact. Save, and there we go. Here is a live preview of the contact page. And, You will see that any content added here, Will be displayed, Right here under the map. And of course this depends from theme to theme. And if you wanna see the other page about, you can just click that link. And this shows us the about page. Of course, what we're missing here are the actual images because the original about page had a lot of images. So to edit those images, you would go to the customizer here, you would select the page that you want to edit. From here let's say about. And then you have access to all the sections inside. So you'll go to your about section and then you will start, Using images where you need to. We need another one here. So select that, right? And you would just go on, very similar to the previous lesson where I showed you how to edit the theme. Just go through each block, you change. It's heading, its description its images until we get to the result you want. And once you're done, hit Save. And now you can see your changes are reflected in the front end. Pretty cool. Now how do you add blog posts? Well very, very simple You go back to the Backend > Online Store > Blog Posts > Create blog post. You would give it a title, you would give it the content, you would add an excerpt or a summary here. You set its visibility. You can set a featured image if that's what you want. And you would set up the blog that you wanna publish it here. So is it news or is it a different type of blog? You can add tags if that's what you want, and then hit save, and then that's created. And this is a live preview of your blog posts. All right, and that's how we can add new pages and blog posts to your Shopify store. Now, these pages are currently not being shown in a menu, so they're kinda hard to access. Let's fix that in the next lesson by setting up our navigation properly. See you there.


