


- Overview
- Transcript
3.2 How to Edit a Shopify Theme
If you want to build a Shopify store that stands out, you'll need to know how to customize your theme. In this lesson, we’ll be making some small edits to the theme we installed previously.
1.Introduction
1.1Welcome to the Course01:57
2.How to Set Up a Shopify Store
2.1Planning the Store06:53
2.2How to Sign Up and Create an Online Store06:40
2.3How to Set Up Shopify04:51
2.4How to Add Products in Shopify09:37
2.5How to Add and Manage Shopify Collections06:12
3.Customizing Your Shopify Store
3.1How to Apply a Custom Theme07:30
3.2How to Edit a Shopify Theme10:39
3.3How to Add New Pages and Blog Posts04:29
3.4How to Set Up the Navigation03:50
3.5How to Add and Edit Theme Languages04:15
3.6How to Add a Custom Domain02:30
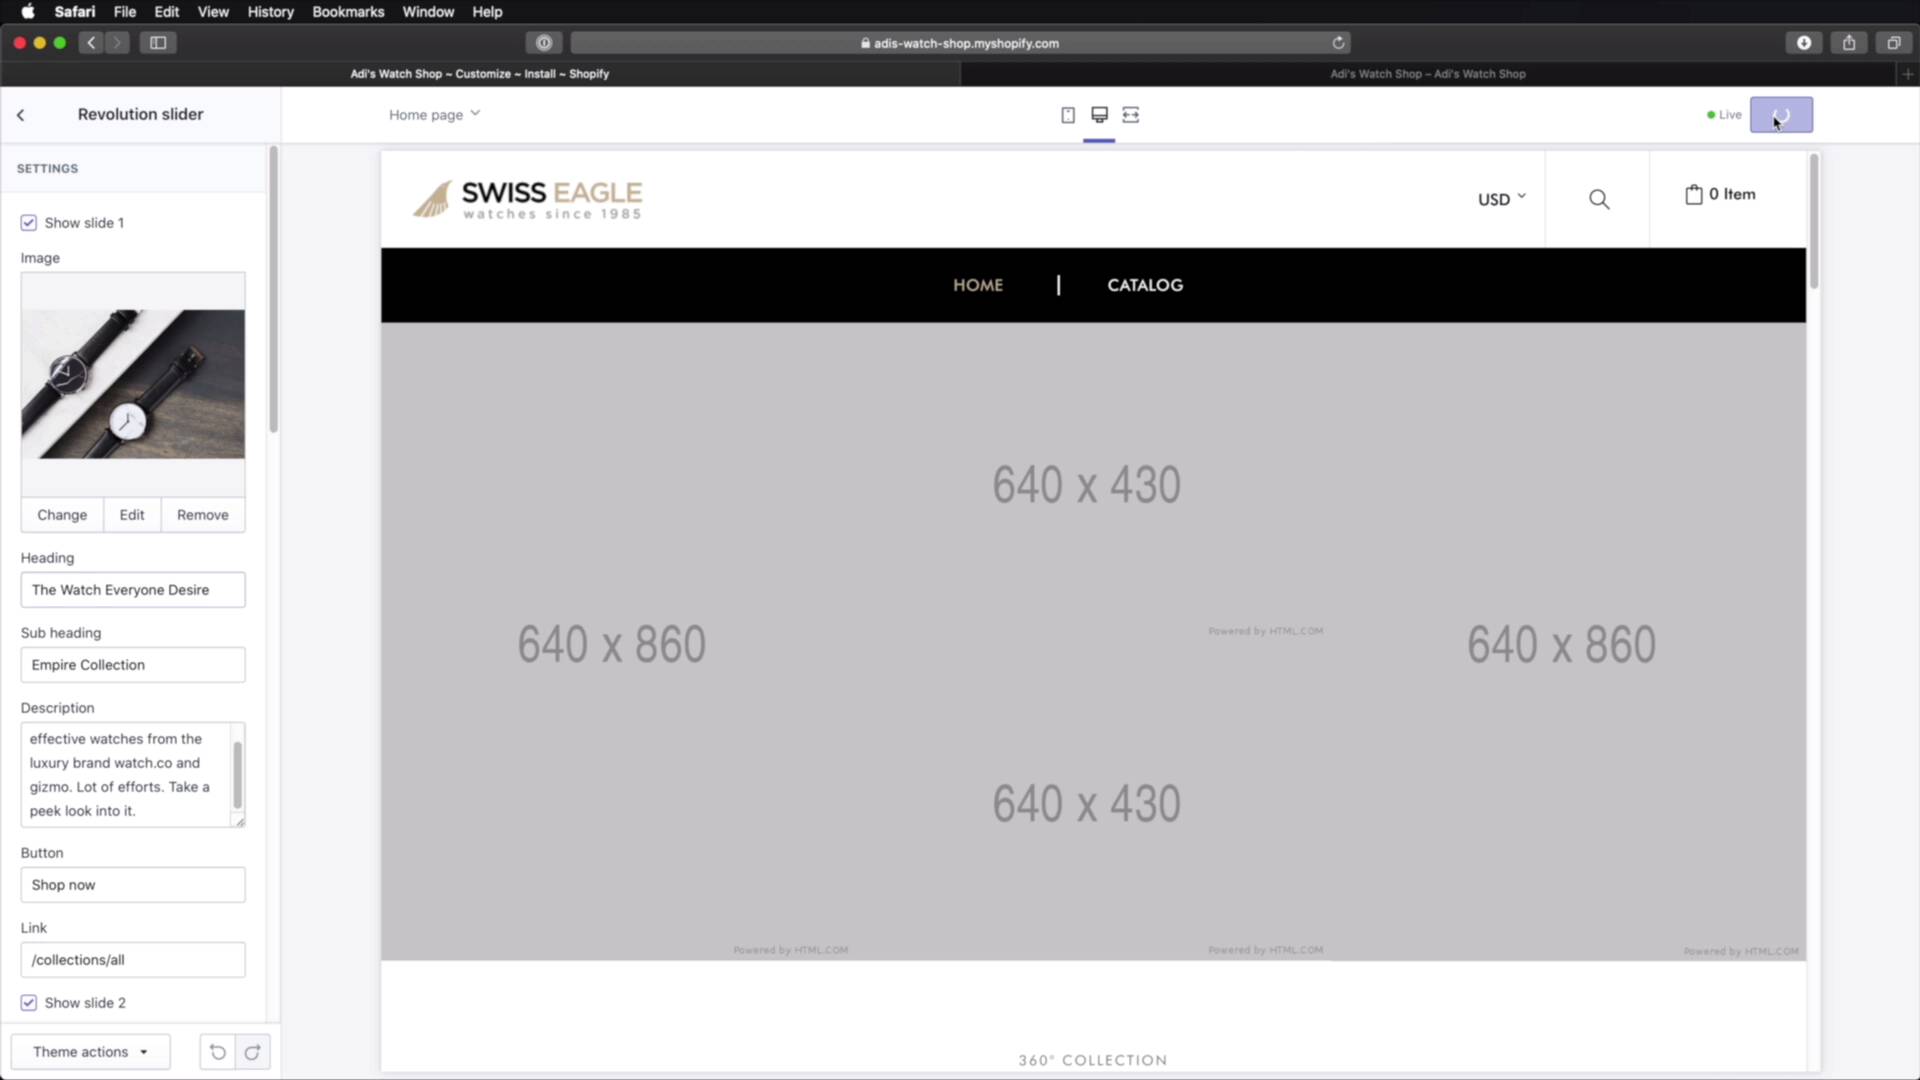
3.2 How to Edit a Shopify Theme
Welcome back to the course. In this lesson, we'll be doing some small edits to the theme we installed previously. Let's begin. So obviously when editing a theme, you would go top to bottom, make sure every single detail is just the way you want it. For this lesson, I'm gonna show you the process. I'm not gonna change a lot of things on this theme. Instead, I'm gonna show you exactly how you change the imagery, maybe some colors, the topography, how to remove or add sections, that kinda thing. So to start you would go to the back end, Online Store > Themes, and then you would go to the Current theme. And you would hit Customize. And this is gonna open up a live preview on this side. And here we can also switch from desktop to mobile. And you can also go full width. And then on the left side, you'll find two tabs, one for sections. So each section that you see here corresponds to a section in the page. And then Theme Settings is where you can control the colors, typography, and so on. We'll get to that in just a little bit. For now, let's start with the first section, which is the header. So you would click it. And each theme is different in this regard. So each section is different, it's gonna have different settings. You won't find two themes that have exactly the same layout, right? So in our case, the header gives us the the option to display, search, or not. And as you can see, we have a real time preview of what that's gonna look like. Let's bring that back. Should we display the mini cart? Should we display the wish list? I'm gonna take that off for now. Then here's where we add our logo. So let's select our image. Let's upload the logo that we generated previously, this one. And we're gonna select that. Here we can change the background and also the text, if you have any text in there. And then you have some additional options to change the border line color, the currency block, right? Which is this, you can change its text color. Let's say you want this to be red, it's now red, okay? The color of the text hover, you can change that here. Let's bring this back to whatever it was before. Currency links, you can display those as well. And by the way, this is fully functional, so you can scroll it. You can hover, you can click on elements, it works just fine. And then for all of these blocks that you see here, like the search block, the cart block, we can change colors for each element individually, which is pretty cool. Okay, so that's the header. Let's go ahead and hit Save to see if our logo will be correctly updated. And if we go to the front end and do a refresh, we'll still have that old logo, but it might be a caching issue. The next section is the Navigation. Okay, and here you have the option to display a mega menu or not, to show drop down icons on items with sub menus. And then we have a revolution slider. And here you can control the slides, the text inside the slides, and also the images. So if we're gonna select an image, let's find one from the business starter kit. I'm looking for a maybe a darker one. Yeah, this looks pretty good, so I'm gonna choose this one. Right, you would select that. And now that image will be used as a background for the very first slide. And then you would go to each slide individually, select the image from here. Or if you don't have any images, you can click on free images. And you can search for the ones that you like. So let's say this, for example, you can select that. And then you can go ahead and change the heading, subheading, the description. And once you save that, I'll actually do a refresh in the front page, and there we go. You can see the new image from slide one, here is slide number two. That's pretty cool. So you would just go on, section by section, and you would edit that section to match your own style. Now let's say that you want to delete a section, maybe this one right here. So this one is, I believe this. Yeah, so you can click this little icon to show or hide it. But if you wanna delete it completely, you would just open it and hit Remove section. And now that's gone. What if you wanna add a section? Well, you would go here, Add section. And you can find the available sections you can add for this particular theme. Let's say I want some text. You just click that, Add, and it looks like this. Right, it has a subtitle, a title, and some content. And here for content you can actually add another section. Let's say you have an image. You can change the Alt text and you can also put a link in here. So once that's done, you hit Save. You can go back and you can grab this section by these little six dots. You can click and drag and move it wherever you want. In my case, I just moved it here, for example. So I just moved it below my blog section here. So hit Save and then you would refresh this and you would see that new section right here. Obviously, this needs a lot of work. You would need to play around with all the elements here, make sure you have the right images, the right text, and so on. Now, once you're happy with all of your sections, you can go to Theme Settings and alter things like colors. Right, so we have a bunch of different categories here for colors like the logo bar backgrounds, the logo background, the colors that you wanna use for buttons. Then for text, the text in the top bar, then the menu bar. So you can simply go to each one, click, select the color that you want, and then hit Save. And you're all done. Now, besides colors, you also have access to typography. So what kind of typefaces you wanna use. And you also have some options from Google Fonts. And you can change the typefaces for the body, header. Other fonts, which are probably applied to different elements. And you can also change the base font size to make the text smaller or bigger, depending on your preference. What else? Under header, this is actually the place where we can upload our custom logo. I made a mistake earlier. So let's go ahead and do that brand. Let's get the logo PNG. All right, and now the logo is updated. And you can also set a custom logo bar height. And this is this top bar right here. We're just gonna leave it at default. We can also replace our fav icon, because that's something we got from the logo generator. You have the option to use a sticky bar or a sticky header. So that's pretty cool, save, or else. Here you basically control the options for the slideshow, for the collection pages, the product pages, and so on. So a lot of customization that can be made using this page, either from the sections tab, or the theme settings. Go ahead and play around with this until you get the theme to look just the way you want it. All right, and that's how you can edit a Shopify theme. Now, in the next lesson, we'll be adding some new pages and also a new blog post. See you there.


