

- Overview
- Transcript
2.3 How to Set Up Shopify
In this lesson, we’ll see how to set up Shopify to make the process of building our store a little bit easier. We'll also get a glimpse of the end product.
1.Introduction
1.1Welcome to the Course01:57
2.How to Set Up a Shopify Store
2.1Planning the Store06:53
2.2How to Sign Up and Create an Online Store06:40
2.3How to Set Up Shopify04:51
2.4How to Add Products in Shopify09:37
2.5How to Add and Manage Shopify Collections06:12
3.Customizing Your Shopify Store
3.1How to Apply a Custom Theme07:30
3.2How to Edit a Shopify Theme10:39
3.3How to Add New Pages and Blog Posts04:29
3.4How to Set Up the Navigation03:50
3.5How to Add and Edit Theme Languages04:15
3.6How to Add a Custom Domain02:30
2.3 How to Set Up Shopify
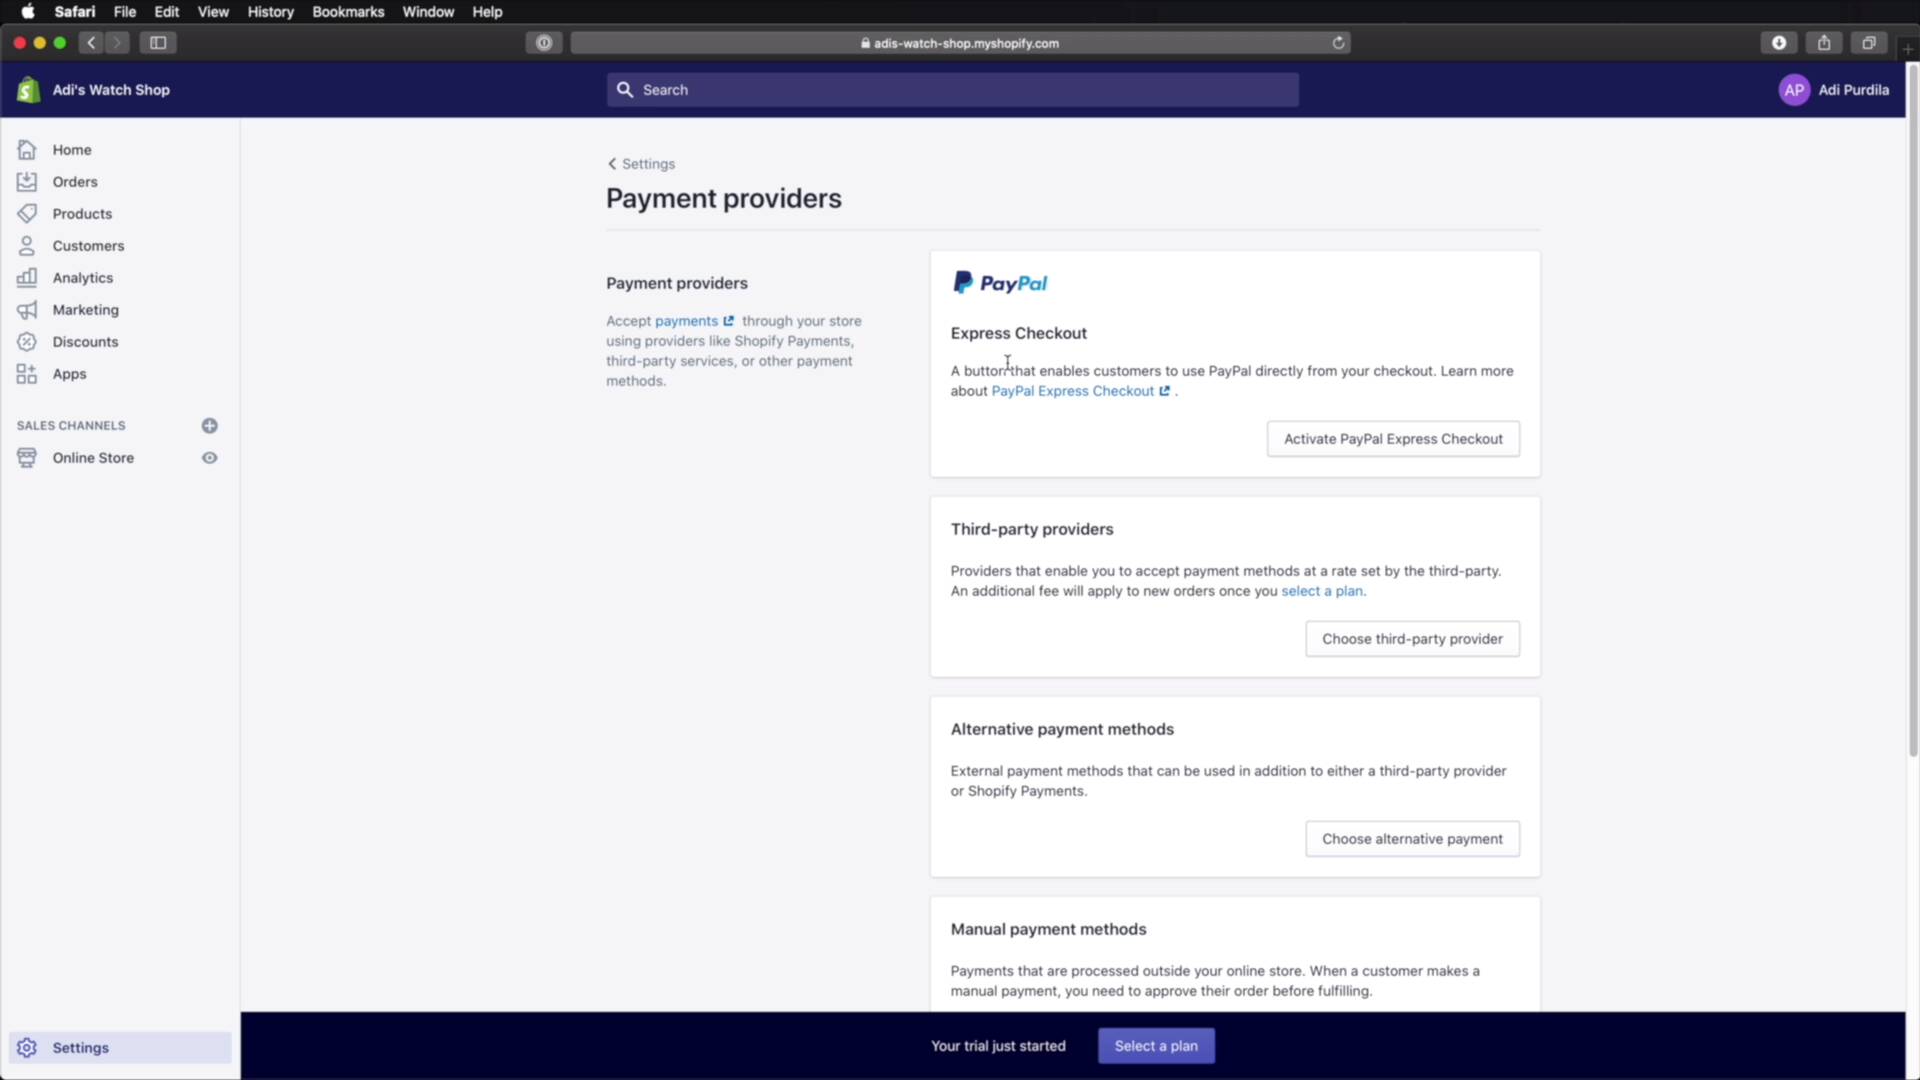
Welcome back to the course. In this lesson we'll adjust a few store settings and this will make the process of building our store a little bit easier and it will give us a glimpse at the end product. So let's begin. To adjust these settings, you will need to go to the admin interface. And all the way down here in the left sidebar, click Settings. And then let's start in General. Here, you'll find the store details that we set initially like the store name, the contact, and the customer email. And then the store address, so this needs to be filled in with the legal information or your legal business information. And then, and I strongly encourage you to do this before you start doing anything else. Select the time zone, mine is set to Bucharest. It's the capital of my country and then select your unit system. So are you using metric or imperial? So imperial deals in pounds and ounces, metric deals in kilograms and grams. In my case I'm gonna select metric and I'm gonna be using grams. Then you need to set your store currency. Because I'm based in Romania, this is my currency. But, obviously, if you're based somewhere else, you would choose the currency that is relevant to your country. So with these changes, I'm gonna hit Save. And I'm gonna go back and I'm going to open up Payments. Here, you basically specify how you want to receive payments. And depending on your country of origin, you will have different options. For example, in my country, PayPal Express checkout is available. So I can go ahead and activate that. And that's gonna take you to PayPal and using your PayPal email address, you're gonna sign up or you're gonna sign in here. And you're basically linking your PayPal account to your Shopify account. If you're not using PayPal, you can select a third party provider. And you can click here and you can choose the one that you want and also the one that is available in your country. Because as you can see, these for example, they say unavailable in your country. But these are ones are available, so you can choose any of them. Let's say I want 2Checkout. Okay, it's gonna tell you a little information about the service and also all the steps required to activate this. And you can also choose which payment methods you want to accept, Visa, MasterCard, and so on. And once you have everything set up, you just hit Activate 2Checkout and you're good to go. Now in addition to that, you can also select alternative payment methods and these include options like BitPay, ePay, and so on. You can also choose manual payment methods, and these include bank deposit, money order or cash on delivery. And you can set up the details here, payment instructions, and then you can hit Activate. And then you also have the option to select either an automatic or a manual capture of payment for orders. It really depends on how you wanna set up your shop. So those are the settings that I recommend you tackle first before you do anything else to your shop. Obviously there are a lot more settings, but we're not gonna go through all of them. It's kind of beyond the scope of this course but obviously you will need to for your own shop. So again to access these, once you're in here, go to Settings, bottom left corner of your admin interface. And you would then go through all of these categories and set your shop just the way you want it. All right, now that the store is created and some of the initial settings are taken care of, it's time to add our products. We'll do that in the next lesson. See you there.


