
 Lessons: 11Length: 1.3 hours
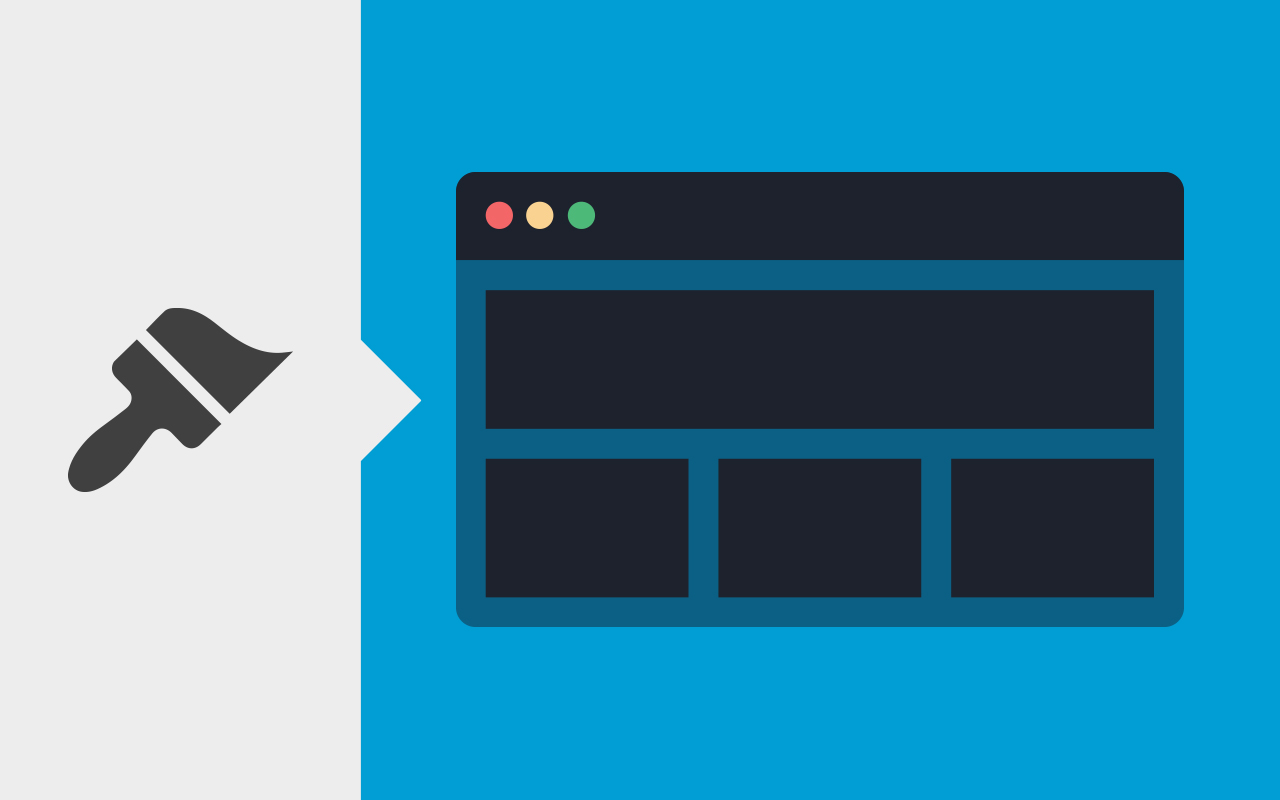

- Overview
- Transcript
1.1 Introduction
In this lesson, I'll give you an overview of what will be covered in the course.
1.Introduction
1.1Introduction00:48
1.2Creating a File for Customizer Code and Setting Up Sections08:04
2.Header Design
2.1Adding Settings and Controls for Image Upload11:29
2.2Displaying Images in the Theme08:51
3.Customizing Layout
3.1Adding Controls for Layout06:23
3.2Adding Classes to Your Page for Layout Styling06:38
3.3Styling the Layout CSS Classes06:53
4.Customizing the Color Scheme
4.1Creating a Control and Settings for Color Schemes04:10
4.2Organizing the CSS11:57
4.3Adding Color Styles to the Theme Stylesheet10:14
5.Conclusion
5.1Conclusion02:55
1.1 Introduction
Hello, and welcome to this Tuts+ course on the WordPress Customizer. My name is Rachel McConnon. And in this course, I'm gonna show you how to add settings and controls to the customizer that allow people to customize the design of their site. So start by adding a site header, where the user can select where it goes, above or below the rest of the header. Then I'll add layout options, so users can select whether the side bar will float left or right or not be visible at all. And then finally, we'll add a color scheme, so people will be able to select from one of four color schemes. And we'll add styling to the style sheet in order to make these color schemes work. Watch this course and find out how to use the customizer to customize your themes design.


