
 Lessons: 12Length: 2.3 hours
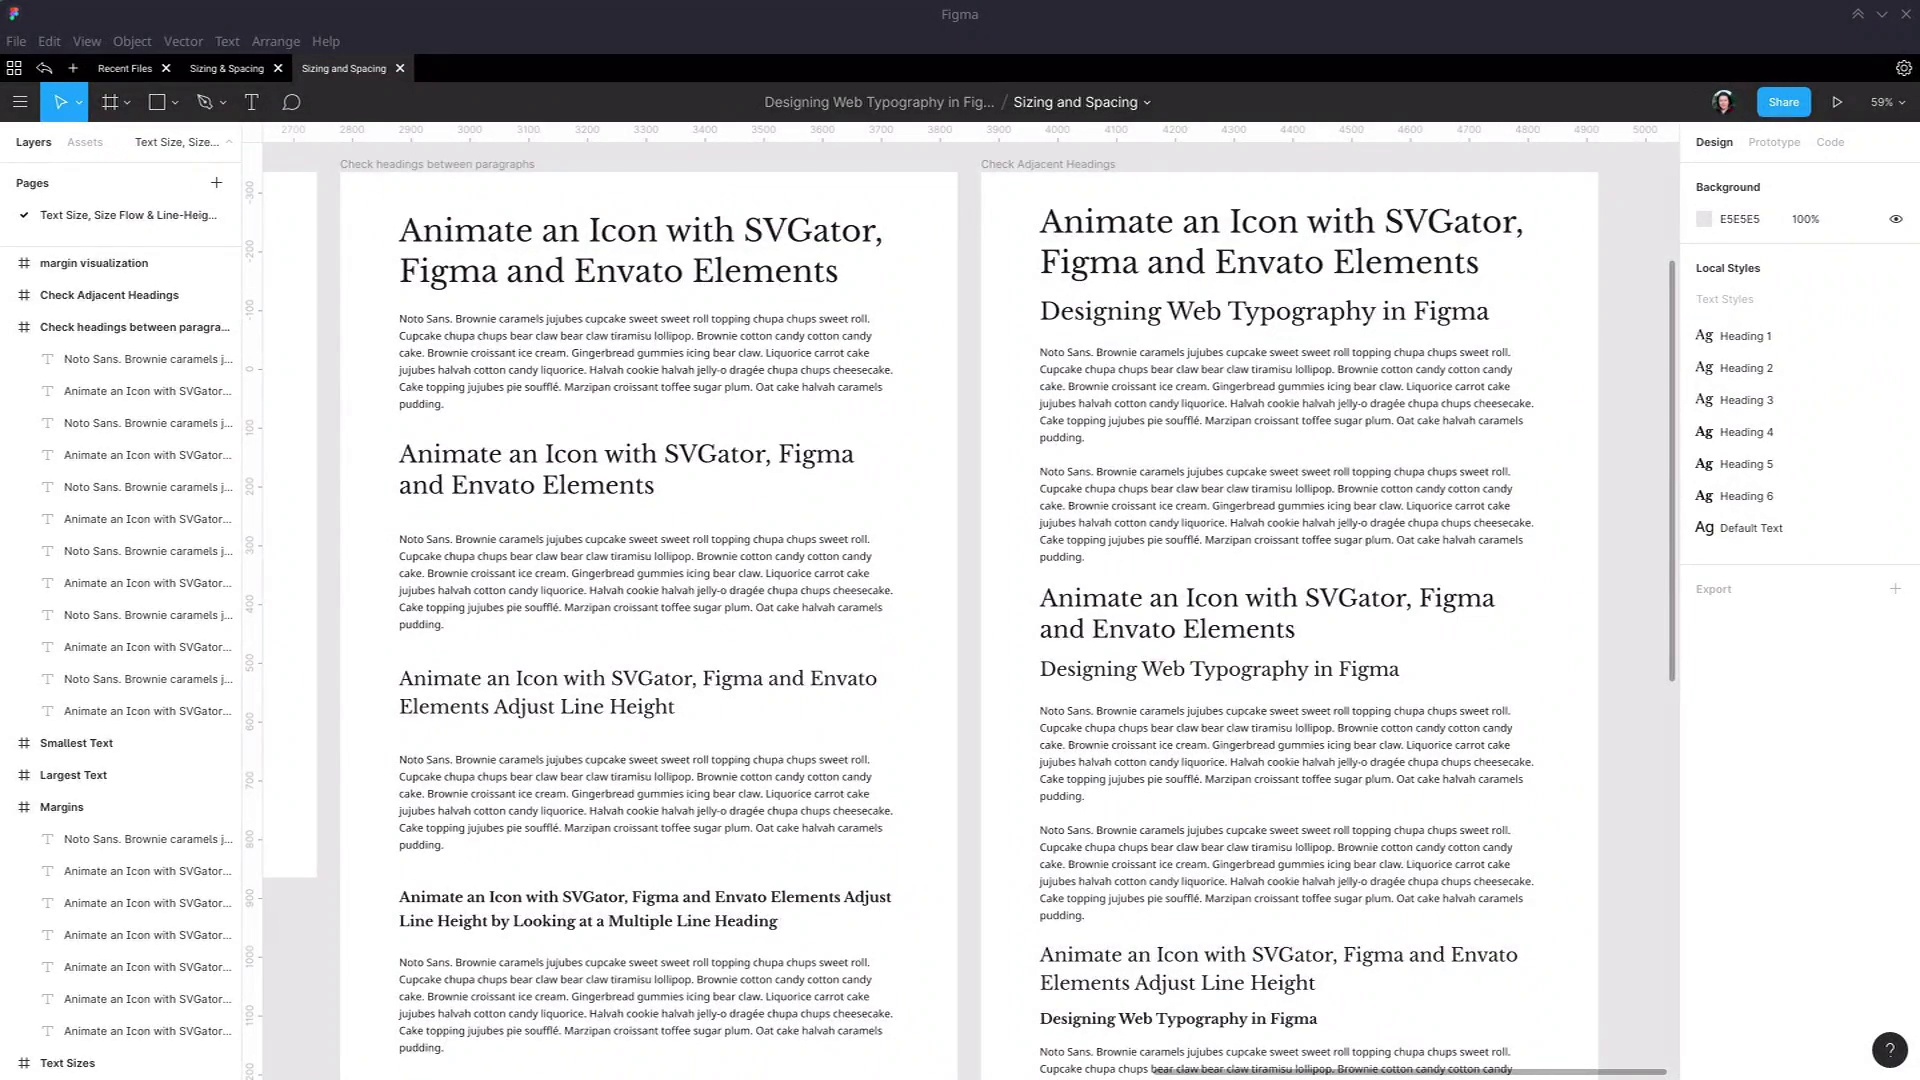
- Overview
- Transcript
4.2 Planning Element Margins
All web-based text elements have spacing baked into them that can be tweaked for the browser via CSS. In the last lesson, we covered setting up line-heights and roughed out the space between headings and paragraphs. We’ll now refine these values into specific margin values in this lesson.
1.Introduction
1.1Web Typography Basics in Figma00:44
2.Font Selection
2.1Font Classifications16:30
2.2Font Combining16:47
2.3Font Stacks15:42
3.Text Size and Size Flow
3.1Establish the Smallest and Largest Text13:31
3.2Create a Size Flow14:42
4.Line-Height and Margins
4.1Line-Height and Rough Spacing08:04
4.2Planning Element Margins27:30
5.Additional Spacing
5.1Indentation, Letter Spacing, and Drop Caps08:33
5.2Style Modifications: White Space08:02
5.3Style Modifications: Site Layout05:26
6.Conclusion
6.1Wrapping Up01:56
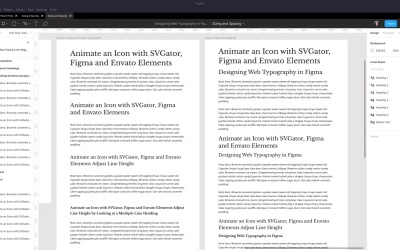
4.2 Planning Element Margins
Hey, welcome back to web typography basics in Figma. In the last lesson, we went ahead and got all the line heights set up for our headings and our regular text. So now we've got that portion of the spacing all organized. So if we highlight all of the text in one of our headings, we can see how high each of the individual lines are. But now we need to take care of the other major aspect of working with spacing around headings and regular text. And therefore, one of the main elements of spacing with typography in general. And that is margins, and specifically, with the elements that we're working on designing, that's gonna be the margins above and below. So the space outside at the top, and the space outside at the bottom. Now while Figma does have a setting for line height, it doesn't have a setting to allow you to actually just input a margin value, and have that automatically take care of how spacing works in your document. But it does have tools that you can use to help you design the way that margins are going to appear, to visualize them. And then to use them to test how that's actually gonna work in implementation. So we're gonna go through and set up margin planning in this lesson. To get things going, I've set up another copy of all of our heading elements. So original one just says Heading 1, Heading 2, etc. I have copied over the same headlines that we're using over here in our frame where we're testing how headings were looking between paragraphs. So I've just copied and pasted each one of these headings over here. And this frame is where we're gonna set up a visualization of what the margins should be on each one of these elements. And I've also created just a little frame above the rest of them here, titled margin visualization. And this is where we're gonna build a little margin visualization tool, to help make it easier to plan these things inside of Figma design. Some of this stuff won't make a lot of obvious sense until we actually start using it. So for now, just follow along with these steps. Now in here, I'm gonna draw out another frame, I wanna make it 850 pixels wide, which is the width of text that we're working with. And I'm gonna position it 100 pixels from left and the top. Again, just to mirror everything that we're working with. And this is going to be a box that will hold one of our elements. And it will represent the area of the margin and the area of the element itself, so I'm gonna call this Frame Margins. Inside it, I'm gonna draw a box that's going to represent the element itself without any margins. So I'm just gonna grab a rectangle, draw that out, gonna set it to a nice, light color. And I want it to be wider than the frame itself, because we're gonna add a stroke. And I only want the stroke to show along the top and bottom of this rectangle. So we'll do that, add a stroke with a one-pixel width, gonna set that to a sort of a blue-gray color as well. So we'll go with this color here, you can use any colors for this that you want. This is just to help give you a visualization of the size of your margins. And now I want to align this to the center of the frame that it's inside of. And I want it to always stay centered inside that frame, even when you change the height of the frame. So up here, I am going to change top to center, so now if we change this, you'll see that that box inside stays centered vertically. Now I'm just gonna rename that to Element Area. Now I need another rectangle, this rectangle is going to represent the margins area. So just draw another rectangle out, and I want this to be the exact same size as the frame that we're working inside. Make sure that that is inside the margins frame, underneath the area element. So let's just double-check the size, we've got 207, I like round numbers, let's make that 210. We'll do the same thing with our rectangle that we just put inside here. Just make sure that that's at 0 x and y positions, and then let's just soften that color off a little bit. And now what I wanna do is make sure that this rectangle that we just added in always stays the exact same size in both directions as the margins frame. So to do that, I hold down Shift and then I click each one of these outer elements. So now if I select the margins frame and I change the size, the rectangle is always gonna change along with it. Now, that rectangle is gonna represent the top and the bottom margin. So let's just stay in that margin area, and what we're gonna do is put this little frame that we've just created around each one of our elements. And use it to visualize what the margins for that element should be. We're also gonna need the ability to turn off this visualization, so we can see how the topography actually looks without these extra tools. So we're also gonna select both of these rectangles that we just added, group them up, and name the group Visual Aids. So that once we're finished organizing or planning our margins, we can just toggle the visual aids on and off, and see the topography in its normal state. And actually, that's just a little bit unwieldy, let's just bring this in. Make it not so wide, so it's not poking out quite so much. All I wanna do is hide the left and right borders on that. All right, now let's start using this to figure out what our margins should be. So I'm gonna select this frame, copy it, I'm gonna come down here where we've got our Heading 1 example here. I'm gonna paste in that frame, and now I want to just hide this and find the correct heading, so that's this one. Turn it back on, and I'm gonna drag this heading and nest it inside the margin visualization tool that we just added in. Then I want to vertically center it, so that it is the same size as the square that we just created. Now what we want to do is resize the lighter rectangle, the visualization of our element area, until it exactly matches the size of our element itself. To make that happen, the first thing that we need to do is make sure that the text box is the correct size. Because sometimes, the text box can actually be higher than the text itself. In this case, this text box is already the correct size, and we know that because when we have both lines selected, the text box is flush with that full height, with the light blue area there. So now what we need to do is change that background rectangle, so we're gonna select the element area here. And then we're gonna hold down Alt and drag the bottom edge until it snaps with our text element box. Okay, so now we've got that element area accurately representing the size and shape of the element itself. The next thing that we need to do is make sure that this heading element is using the same alignment constraints as our element area. So we need to just go up here and switch top to center. So now, when we grab these margins, that frame that we started our setup with, hold down Alt, and increase or decrease the size of this box, that gives us a really good visualization of our top and bottom margins. So what we're gonna do is set up that exact same thing for each one of our headings. Size this margins box until it gets to be a good representation of what the margins on this element should be. And then let's move this out of the way for now, cuz we haven't set up these elements. But then you can take two elements that you've created this margin visualization for, and you can place them next to each other. And using this snapping that Figma gives you when you move items around. You can effectively see what they're actually going to look like when they have a strict amount of spacing set up between them based on what margin you've allocated for this element. And then when you have that set up, you can just go through and toggle off the visual aids for each one of the elements that you're working with. Okay, so now let's just undo those changes cuz we're not done here yet. What we need to do now is select this margin's representation that we've set up here for our H1 element, and we're gonna convert it into a component. Then we're gonna go through and replace each instance of a heading one tag that we've put into our testing spaces over here, with that component that also includes the margins. Then when we change the margins that we're visualizing for the element on this one component, all the others will update as well. So gonna right-click, make sure that you have the top level element selected, and I'm gonna choose Create Component. And actually, I'm just going to rename this so we can tell one from the other, so H1 margins. Now let's copy that. Gonna delete this heading one element and paste in that component instead. Now let's put that at about 50. We'll just move this down for now, we're gonna properly space everything out once we've decided exactly what margins we want to apply to each of these elements. And we're gonna do the same thing over here. Delete that H1 element, put a new one in, and just make some space. Actually put that in over the top of that, so let's get that down. It doesn't matter if this is cramped up for now, because this is all a part of the process of adjusting the spacing that we're using. Okay, so now, if I go over here, make sure I have the top level selected, and let's just do something really obvious like making the margin huge. I come back over here, and these instances of that component have updated as well. Okay, now let's actually go ahead and start setting up the real margins that we want to use in this design. Obviously, this is far too large. So we're gonna make sure that we have the top level elements selected here, hold down Alt and start shrinking this down. And we're gonna take it down to about 230 pixels. Now, of course, I already have all of the values pre-planned for all of these margins. But the process that I went through to get all of the correct values just took a whole bunch of testing things out. So don't feel like you have to know exactly what margins to set on things right away. Just keep tweaking and adjusting things until it all looks right when you're actually doing this in a real project. Okay, so now from here, the way you can look up what margins doing this whole thing has given you is to select the element, hold down Alt, and then hover over the gap. And then you can see this is saying you've got 46 margin top and bottom. And of course, if you decided that's a value that you don't want, let's say you want to have it exactly 45 pixels. Then you can select the top level element again and shrink that down to the value that you know you need, so 228 for example. Okay, so that's gonna snap. Instead we can just do this straight up here, 228. Now we'll select that element again, hold Alt and hover. And now we have a perfect 45 pixel margin, top and bottom. And if we look over at our test areas, there we go, that is all looking great. Now what we need to do is go through and repeat that process for each one of our headings and also for our paragraphs. Now, we set up quite a few headings before in all of these tests that we're working with. We could go through and replace every single one of those, but to make things be quicker, let's actually just move these testing areas completely out of the way for now. And let's duplicate this frame, move it back. And we'll just work with the elements that we have in this frame for our testing, just to streamline everything a little bit. We're gonna need some more space. So make this frame probably about 5,000 pixels high. And then that gives us lots of room to move to test things out. And while we're at it, in this frame, let's select everything except that margin area, so I actually move this to the bottom. Select all these elements. And then we're just gonna move them down, out of the way. And then we'll grab each part as we need it. Okay, so the next thing we're gonna want to put in this testing area is actually going to be a paragraph. So we'll set up the margins for the paragraph next. So we're gonna do the same thing. Make sure we've got the top level selected, copy that, select our margins, frame, paste. Now we'll drag this down to where we need it for our margins. Select the paragraph, drop it inside this margins area, and we will just need to center it. We can make a component out of this right away. Right-click, create component, and we'll name it paragraph margins. So let's first check and make sure that this text box is the correct height. You can see it's almost the correct height, but not quite. There's a little bit of this line that's protruding over the bottom. So you can't actually click and drag this text box while you have this text selected. But what you can do Is come up to the height and then drag that down until it's in the correct place, then we'll just need to recenter that element vertically. Now we can look at the height of our element, it's 174 pixels. So this time, instead of manually resizing the element area to be the correct height, we're just gonna enter in the height that we need, so that was 174 pixels. And then once again, we need to vertically center it. And then for whatever reason, it looks like the element area didn't vertically center properly before. So let's just do that again. Okay now we have those two elements sitting flush with each other, okay, so that's all good, and we're ready, To change the size of the overall box to give us the correct amount of spacing in between paragraphs. With the amount of spacing that you want between paragraphs it's actually not really an arbitrary thing. Generally speaking you want to have the value of one single line in between each paragraph. So here we know, that our line height for our default text, Is 160% and we know that our text size is 18. So if we multiply our 18 pixel font size by 160% or by 1.6, we get 28.8. We can round that off to 29. And then we know that we wanna have a 29 pixel margin top and bottom of this paragraph. So now instead of trying to manually set the height, we know that the height of our textbooks is 174. So let's select our top level. Punch in our 174 for the size of the main element. Then we'll add 29 for our top margin and 29 for our bottom margin. And that's correctly added the 29 pixels above and below the space. But what I forgot to do was was set the anchoring correctly on this element. It's just something you'll have to remember to do each time you set up one of these little tools. So I just need to change that to be centered and I'll center that again. And now, that's all good. If I do change the height from here Then everything will stay centered. Okay, so now this time, instead of just copying and pasting this component, I'll show you how to grab this component out of your documents asset library. So we want to add it into to our testing space over here. Just gonna select this item to make sure that we are actually inside this frame. Then I'm gonna go in the Assets panel, open this up. And now we can see both of the margin elements that we've created so far. So from here, I can drag a paragraph out onto the page. And then I can go ahead and start aligning it. Now you might think at face value, that the way that these margins will work together is if you just snap this to the bottom of this element. However, in practice, that's not going to be the way that these two elements interact with each other, because of something called margin collapse. When you have two vertical margins that come up right against each other in CSS, one will always eliminate the other. And it's the largest margin that stays active, while the smallest margin is just zeroed out. So where these two margins meet, only the larger margin on the bottom of this heading will stay active. So the way that we can simulate that, first we need to make sure that this paragraph element is behind the heading, cuz right now it's on top. So I'm gonna right-click and then choose Send to back. And now I just wanna move this up until we no longer see the border at the top of our element area. And then just move it down one pixel at a time until we see that border again. So then we know this margin is lined up perfectly with the start of this element. So that is how these two elements with these margins applied will actually work in practice. So I'm just gonna hit Sft+0 to zoom that to 100%. And now let's just take a little look at how this is so far without the visual aid switched on. So just turn that off there and there. So now we get a nice preview of our spacing exactly as it's going to look in production. Turn those back on. So now we just need to do the same thing for Headings 2, 3, 4, 5 and 6. Okay, so let's get the Heading 2 one set up. Grab a copy, select this frame, paste it in. Let's come down to where the Heading 2 element is. Actually let's just give it a bit of space so that we can select this. And then drag it inside our newly added margin element, vertically align it. I'll move this back up. And we'll grab our newly added element. And we're gonna change its constraints so that it stays centered. Check the text box. Everything's lined up perfectly, so that's good to go. The height's 106. So let's change our element area to also be 106. And then we will realign it vertically. We don't want as much space around this smaller heading as we do around the larger heading. So we're gonna make it decreased in height. So let's go probably somewhere around here. And if I select the Element, that gives us a margin of 37. Let's actually just give it two more pixels. Let's just say we're gonna go to, let's go to 182. So now that gives us 38 pixels, nice round number. That's all good. And now we're gonna convert this to another component. Name that H2 margins. I still have the margins visualization in my cage. I'm just gonna select the top level of this frame and paste it in again. Let's just drag this down. Select this heading and move that inside. Vertically align once again. Check our text box height, that's all flush, that's all good, 96 pixels high. Adjust our element area to 96, vertically align. Make sure that our text element is properly anchored to the center. And for this one, let's go with, again, increasingly smaller. Let's go to about 154. That gives us a margin of 29 on both sides. So actually let's just run that up to 30 pixels by making this 156 pixels high. So there we go, 30 pixels top and bottom. Select the top level, create a component. And we'll call this one H3 margins. And again, drag this down, Move our elements inside it. Let's just collapse these so they're not taking up so much space. Center it. Anchor it as well. The height is 82, and that's correctly sized. Set the element area to 82. Center that again as well. And now, actually let's move it up first, let's shrink it down, Probably to somewhere around here. What does that give us? Let's see. A 30-pixel margin top and bottom again. That's perfectly fine. Only two more to go now. Actually, sorry, we need to turn that into a component, H4 margins. And now, you've seen the process here. I'm gonna set this up for H5 and H6 margins as well. Both of those are just gonna have 30-pixel margins top and bottom. So I'm just gonna skip through this, so you're not seeing the same thing too many times over and over, so I'll be right back. Okay, so now that that's all done, the extra headings also have 30-pixel margins top and bottom. And we have components for each one of these different margins. So now let's go ahead over here and finish assembling the testing area. Now in practice, you would actually put this testing area together as you were working on setting the margin sizes for each one of your elements. You would set up the components, put them all together here and then tweak your margin amounts so that everything works well together. But we're just streamlining this just to show you through all the concepts. All right, so first up let's make sure that our paragraphs work well together. Again, there'll be margin collapse. So you won't have this size of a space between the paragraphs, you'll only have one paragraph worth of margins here. So that's actually going to come up here. Now let's drop in an H2 element. Now this one has the large margin, so we're going to align it so that this margin takes precedence over the paragraph that it's after. And we're gonna drop in another paragraph. Just duplicate, and then set this in below here. So just like before, we wanna make sure that this margin is flush with the line at the top of the element that we're testing with. And then, like we discussed before, we need to always be testing the headings by themselves, but then also together. So we're going to need another H1 element. Drop this in here, align it with our paragraph. And then an H2 element, so that we can make sure these are working well together. Now to help us make sure that we're not accidentally putting this too high, we're gonna send this item to the back to make sure that this element is sitting on top of it. So Send to back. And then like we did before, we want to get this flush, so that this element comes just to this border. All right, and then another paragraph, drag this down. It looks like that one was a little bit out of line. Set that to 100 pixels from the left. We wanna set this paragraph to the back, drag it up. So we've got Heading 1 and 2. Now let's test out Heading 3. And just to show you, the pattern that we're gonna be taking here. Actually, sorry, we could have completely deleted all of these elements before. Just gonna do that now. Make space. So we're gonna do test H3. Then another paragraph. And we'll be testing h2 and h3 together. Paragraph and then we're gonna go through that same pattern, so that we test each element by itself. And each element with its adjacent subheading. So I'm just gonna put all of these in and get them lined up and skip forward to show you the result that we're working towards cuz we'll take a little bit of time to drop everything in and give it a line according to the margins that we've set up. So now that's all done. All the testing is all set up and then any changes that you need to make to your typography and your spacing from here. It's all gonna be testable in this space. So I've got heading one, two paragraphs, checking how they align with one another, heading two. Then testing heading one and two together. Then heading three. Testing heading two and three together. Then heading four. Testing heading three and four together. Heading five by itself. Heading four and five together, heading six by itself, and then heading five and six together. The net that we've got all of our margins finalized. We wanna turn off all of these visual aids. Now we could go through every single one of these individually and turn off the visual aids. But it will be faster, if we go to our master components over here and turn off the visual aids just on these master components. So here I'm asked the components you can tell that they are. Master components, not instances because they have this little four dot icon, whereas the instances just have this little diamond. Now, I'll just zoom out so you can see the effect as we're going through these. And I'm just going to turn off the visual aids for each one of these elements. And then that has hidden all of those visual aids for our whole area where we checking on our spacing outline height now margins. So now, we have completely set up and plan for all the line heights and margins for every single one of our major base typography elements. And we have also fully set up realistic test to see how these things will look when they're actually used in practice. And you can use this little margin visual aid for any part of the design where you need to be able to check in advance exactly how the spacing elements are going to work. And express the correct values to the person who's going to be coding up the design. So they can look at this visual aid and they can see exactly what number they need to be using on those margin settings. Okay, so that takes care of everything we needed to cover on line, height and margins. In the next section, on the last section of the course, we're going to be covering just a couple of extra things to do with spacing in your typography. First thing we're going to look at is how to handle the spacing around indentation. We're gonna look at letter spacing and we're gonna look at spacing for drop caps. So for that I will see in the next lesson


