
 Lessons: 12Length: 2.3 hours
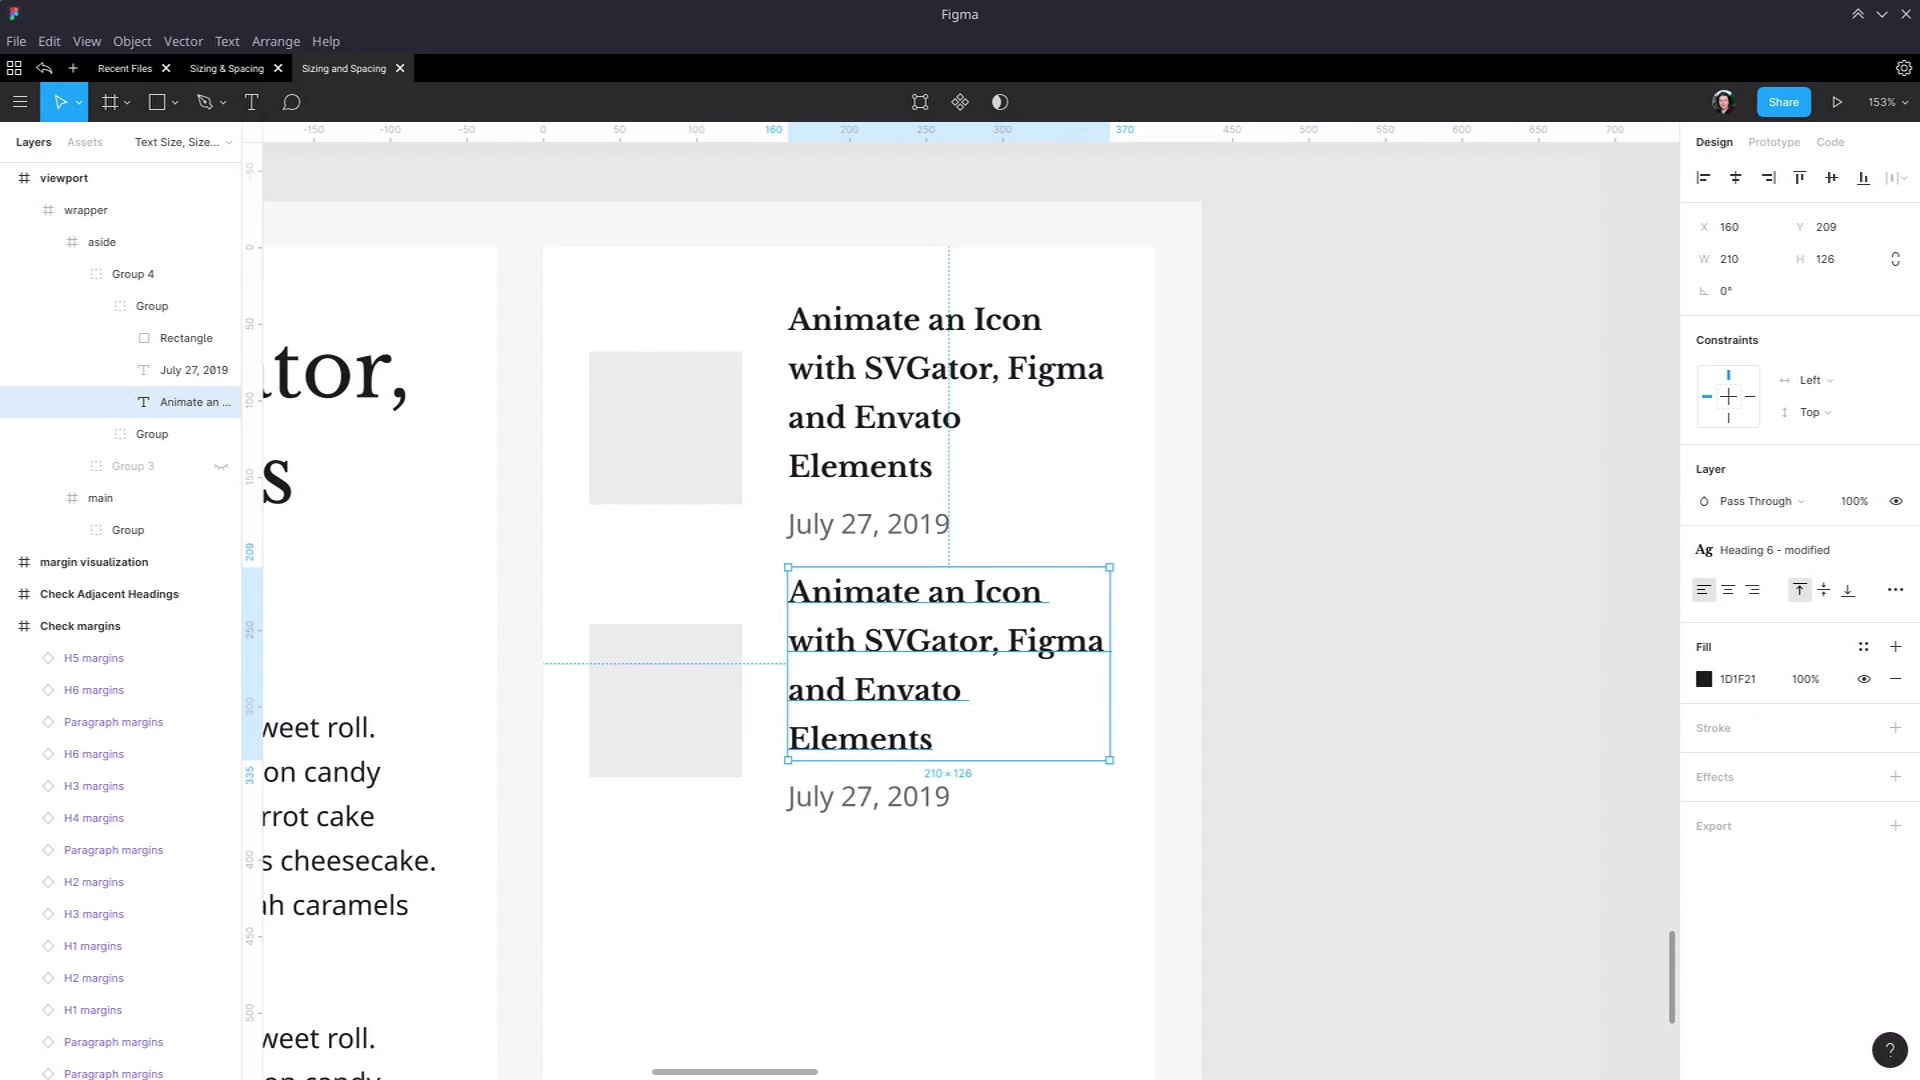
- Overview
- Transcript
5.3 Style Modifications: Site Layout
A second scenario in which you may find you need to create style modifications to your foundation typography is when the site layout generates specific requirements. We’ll look at an example in this lesson.
Related Links
- 7 Principles of Good Website Design for Newspaper WordPress Themes - Refer to the section titled “Make Content Easily Scannable”
1.Introduction
1.1Web Typography Basics in Figma00:44
2.Font Selection
2.1Font Classifications16:30
2.2Font Combining16:47
2.3Font Stacks15:42
3.Text Size and Size Flow
3.1Establish the Smallest and Largest Text13:31
3.2Create a Size Flow14:42
4.Line-Height and Margins
4.1Line-Height and Rough Spacing08:04
4.2Planning Element Margins27:30
5.Additional Spacing
5.1Indentation, Letter Spacing, and Drop Caps08:33
5.2Style Modifications: White Space08:02
5.3Style Modifications: Site Layout05:26
6.Conclusion
6.1Wrapping Up01:56
5.3 Style Modifications: Site Layout
Hey, welcome to the last lesson Web Typography Basics in Figma. This is just gonna be a real quick one. We're looking at one more reason why you might need to set up style modifications to your default styles that you've created for things like heading elements and paragraphs. Here, we're referencing an article, again, on Tuts+, that talks about the principles of good design for newspaper WordPress themes. But really, these are also good principles for designing any kind of typography and layout. And the principal that we're talking about here is making content easily scannable. And the example that we've got is what we have set up with an image, a heading, and some regular text, but the text is not sized and laid out to line up with the image. And to create proper separation in between each item, what we want instead is something like this. So I've put together a basic example of a common kind of layout and use of typography that you'll find in web design. And I've put together an example of the kind of image, heading, and text layout that see you'll see very often, particularly, say, in WordPress blog themes. Here, I have the default, Heading 6, style applied, and I have the Default Text style applied, just with the color lightened up a little bit. And now, if we were to create several of these items, then we have the problem that we saw illustrated in our article here. We don't have nice alignment like in this example, and everything is bleeding in together too much. So let's just delete this third example that I just added in. And let's modify this example so that we have a different version of our Heading 6 style, and our paragraph style that works for this layout. So the first thing that we're gonna need to do, once again, is disconnect this default style, then we're gonna give it a new style. We wanna show that it's related to the original style, so we'll still start it out with the name Heading 6, but we'll just call it modified. And we need to do the same thing for our text down here, disconnect it, add a new style, Default Text- modified. Okay, so now, we can make our changes to this text. Even though we're still using a Heading 6 element here, we're using it as part of a sidebar. So it doesn't need to get a massive amount of attention, so we don't necessarily need to use the same font that we're using on our other headings. So what I'm gonna actually do is go into our settings here, and I'm gonna change this to the Noto Sans font that we're using for our regular text. So already, you can see that that's not taking up as much space, which is gonna help us with fitting this text into our layout. It's also gonna help us to fit it in a bit more if we decrease the font weight, so I'm gonna take that down to medium. I'm also gonna reduce the font size just a little bit, and we don't need quite so much line height here. We don't need all that space when we're working with text this small. So I'm actually just gonna let this go as an automatic size, and now, we're looking much better. So let's just shrink this so it's the proper size. Now, that is aligning much better in the space that we have. For our regular text down here, we're probably not gonna have to change too much. So let's just move this up. You could almost get away with using that exactly as it is. But we're gonna make just one change. We're gonna shrink that down just a little bit to 16 pixels, just so it takes less of your attention than this heading here. And then, now, we have a nicely aligned example, just like we saw in our reference article. So with this new example, we're gonna duplicate that, drag it outside of this first group of examples we were working with. So now, I'm going to create a component out of this. Any time you need to repeat something, it's a good idea to just turn it into a component, call this recent posts, and now, let's put in a few copies of it. Give that a little bit of space in between, and fill up our sidebar. So now, we have a layout that works much better, and it works with consideration of the site itself. Now, this might seem kind of obvious, of course, you need to fit text into specific areas in a site layout, but sometimes, these things can slip by you. For example, if you were doing this typography for a WordPress theme, you might not realize that the end user is going to end up adding a certain widget that creates a layout like this. That widget might just automatically use your Heading 6 in your paragraph styles. But if you haven't created a style that works specifically with that type of layout, then you're going to end up with the original type of layout that we had just using our default styles, and obviously, that's not what you want. So just make sure that you don't always consider layout and typography to be two separate things. Often, there's a big crossover, and if you don't consider layout, then your typography is not really completed properly. And that wraps up the final section of this course. We just have one more video, just a quick wrap up. We'll have a quick recap of everything you've learned and we'll talk a little bit about what you might like to look at next. So I hope you'll join me in the final video, I'll see you there.


