

- Overview
- Transcript
2.1 Basic HTML Setup for Grid Layout
As we get started with our first project, we’re going to take a look at the HTML that we will be styling. In this lesson, you will learn how to best structure your markup for use with a grid system.
Related Links
1.Introduction
1.1Introduction00:40
1.2Using Firefox Nightly03:15
2.Project 1: Simple CSS Grid Layout
2.1Basic HTML Setup for Grid Layout02:37
2.2Creating a Simple Layout Using Column Spans09:21
2.3Creating a Simple Layout Using grid-area08:20
3.Project 2: Intermediate CSS Grid Layout
3.1Looking at the HTML04:43
3.2Nested Grids08:19
3.3Alignment and Justification06:06
3.4Finishing Up02:30
4.Project 3: Advanced Grid Layout
4.1What You Will Be Building09:26
4.2Flexbox Menu02:09
4.3Laying Out the Main Grid09:04
4.4Styling Cards09:49
4.5Laying Out the Archives02:52
5.Conclusion
5.1Final Thoughts00:31
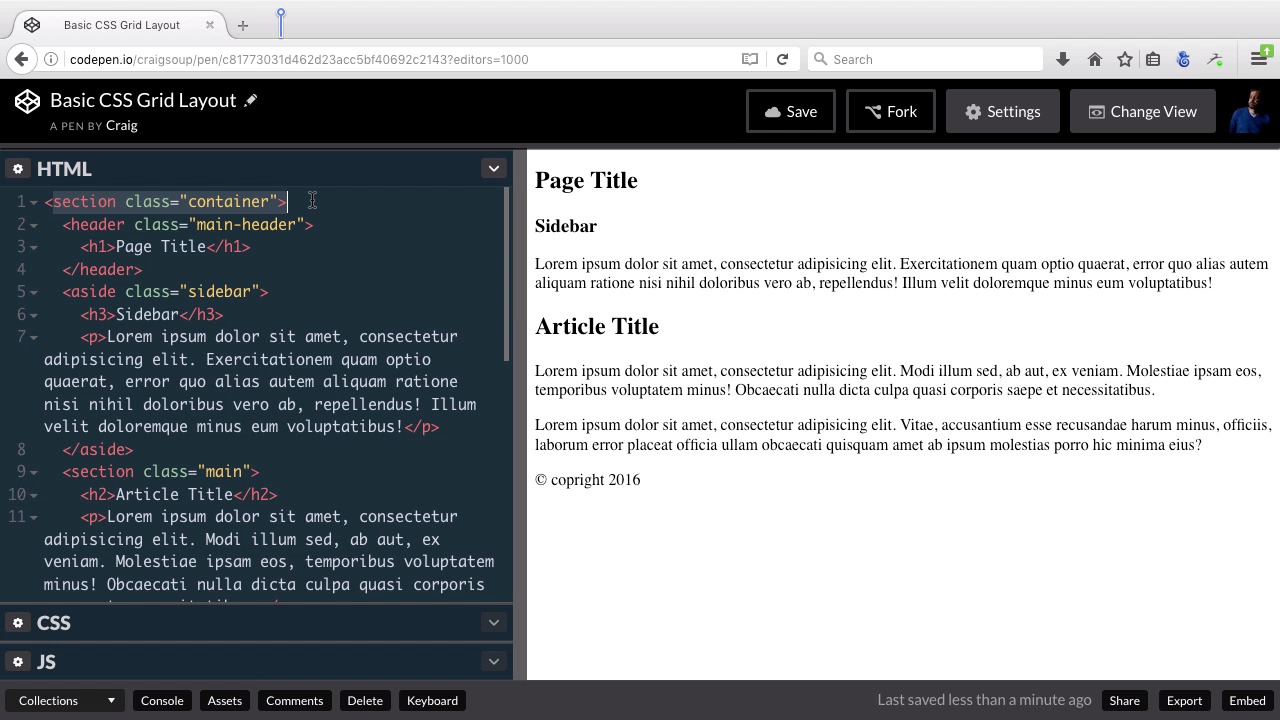
2.1 Basic HTML Setup for Grid Layout
Hello and welcome back. In this lesson, we're going to get started talking about our first simple grid project. And I want to basically just walk you through the HTML. And this is a very simple layout. First of all, we have a section with a class of container. When you're using the grid layout, you need a container for all of your grid items. All of the items that are direct descendants of this container will eventually become areas within your grid. And when I talk about grid areas, I want you to think of maybe a table cell. Or a certain section that's going to comprise one certain area of the grid. And for this particular project, we're just going to have four areas. We're going to have a header that takes up the full width. And then we're going to have kind of a main section and a side bar. Which are going to be two separate sections that are going to be side by side beneath the header. And then at the bottom, we're going to have a footer which again takes up the full width. So when we're constructing our HTML, we need to make sure that those four sections. The header, the sidebar, the main content area and the footer. We need to make sure that all four of those areas are direct descendants of this container. And we can see that in our code. We have our container here inside this section element. Immediately inside that, we have our header with the class of main-header. And let's expand this out a little bit more so we can see that a little bit better. So immediately inside this section with a class of container, we have our header. Right after that, we have our aside with a class of side bar. Immediately after that is our main section. And then following that is our footer. And then after the footer, we see the closing section tagged for our main container. So again, each of these sections of our grid are direct descendants of that container section. So in our header, we have an H1 with a title in it and our side bar. We have some random content in there, same thing for our main section. And then our footer's just going to have this copyright information inside it. So again, it's a very simple setup. And as we move forward, we're going to look at two different ways that we can set this up. And these two different ways that we're going to look at. We're going to carry that forward as we make our intermediate and advanced projects using the grid layout. So thank you so much for watching. And in the next video, we'll get started styling our introductory project.


