

- Overview
- Transcript
4.8 Creating the Button Events
With your animations set up, it’s time to find out if all that work will pay off. In this lesson, you will finally create the button click events that will trigger the animations you’ve created.
Related Links
1.Introduction
1.1Introduction00:44
1.2GSAP Refresher09:09
2.Project 1: Animated Preloader
2.1The Starter File07:48
2.2Creating a Timeline11:48
2.3Bouncing Circles13:08
2.4Animating the Shadows04:12
2.5Loading Images10:50
2.6Preloading Multiple Images08:48
2.7Animating the Preloader Off12:55
2.8Revealing the Main Content05:28
3.Project 2: SVG Animated Logo
3.1Examining the Logo03:44
3.2Setting Up the Styles04:29
3.3Randomizing Position and Opacity07:29
3.4Animating the Dots06:38
3.5Animating Paths With jQuery DrawSVG06:28
3.6Finishing Touches03:01
4.Project 3: GSAP Image Slider
4.1Getting Started05:21
4.2A Note on Slide Positioning04:59
4.3Setting Up Some Variables08:56
4.4Placing the Slides05:08
4.5On Deck12:24
4.6Setting Up the Animation Array09:53
4.7Setting Up the Animations11:36
4.8Creating the Button Events08:37
5.Conclusion
5.1Final Thoughts00:46
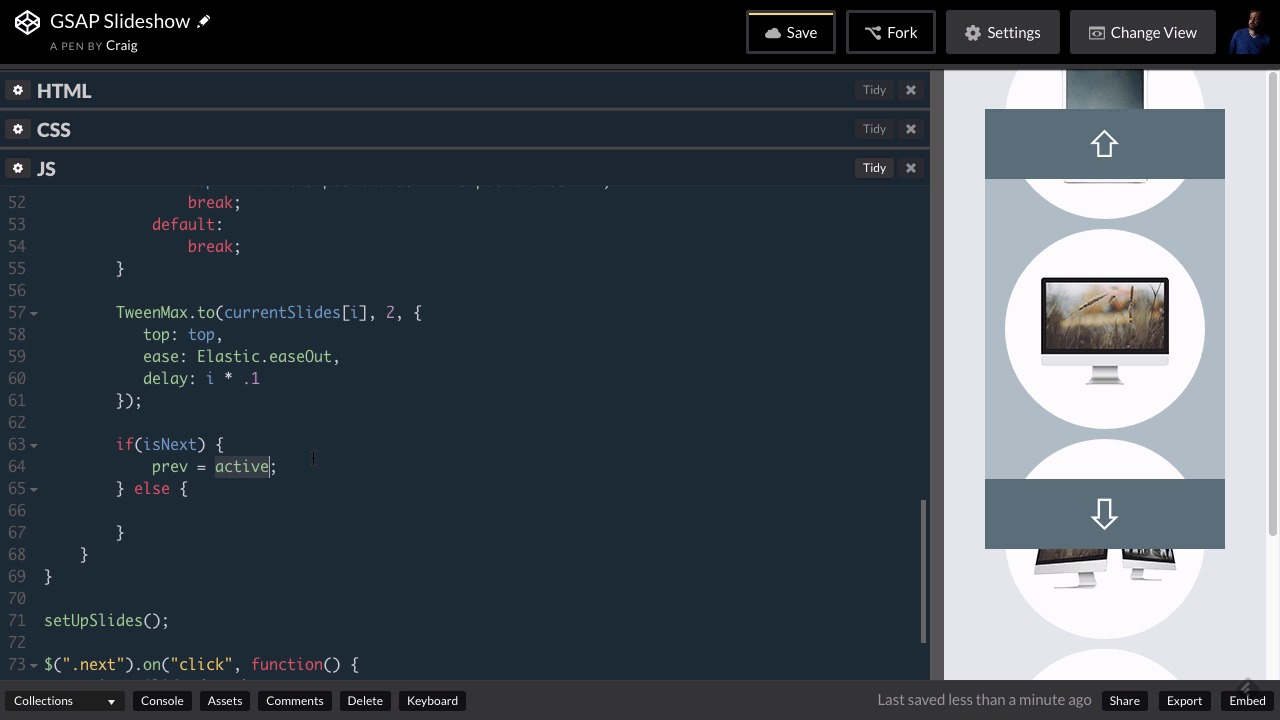
4.8 Creating the Button Events
Hello and welcome back. In this lesson, we're going to find out if all of our hard work has paid off. We've created all of this functionality to determine which slide needs to be the onDeck slide to place that slide where it needs to be, to determine the order of our slides that we're going to be animating. And then to figure out the top position that we're going to be animating each of those slides to, and we've created our actual TweenMax animation. But we still haven't seen that animation yet, because we haven't created our event listeners for our buttons. So we're gonna do that down here at the very bottom underneath our setUpSlides method call. But before we do that, let's go ahead and fork a new version of this starting pen, and you can find the URL for that in your course notes for this lesson. And once we've forked our own copy, let's go down to the very bottom, just after our setUpSlides. We'll skip a couple of lines and create our button event listeners. So our buttons have classes of next and previous, or P-R-E-V for previous. So let's point to the next button first. So in jQuery, we're gonna point to .next, and we'll create a click event using the on method, so .on and then inside parentheses, and inside quotation marks, we'll type click. And after the closing quotation mark, comma, space, and then we'll create our function. Open and close parentheses, opening and closing curly brackets, and then a semicolon at the end of that closing parenthesis. Then inside this method, we're gonna call our animateSlides function, passing in either true or false. If we've clicked on the Next button, we'll pass in true. If we've clicked on the Previous button, we'll pass in false. Well, we clicked on the Next button here. So let's call animateSlides and pass in true, then let's highlight this, copy it, skip a couple of lines, and paste. And this time we're gonna be pointing to the P-R-E-V class, and we'll set animateSlides to false, because we're going to the previous direction instead of the next direction. So let's see if that works. Let's save our work and click on the Next button. And we see that our initial animation works. But if we click on it again, we see we have a little bit of a problem. The only thing that we're seeing animating now is the onDeck slide. It's animating into the previous spot. Well, what we need to do, and I warned you about this earlier, is if you remember, at the very beginning of our JavaScript, we created these active, next and previous variables. Well, after we animate to the next or previous slide, we need to update the values stored in these variables. The active value here needs to be whichever slide is currently in the middle of our slideshow. So we're gonna do that inside our animateSlides function after it's all finished animating. So let's stretch this out a little bit and scroll down. So after our TweenMax, we're gonna skip a couple of lines, and we're going to set the new values for previous, active and next. And again, these are going to depend on if we've clicked on the Next button or the Previous button. So we need to put an if(isNext) condition here, and we'll also have an else as well. So if we've clicked on the Next button, then we're gonna set the previous value equal to whatever the current active value was. Because if we've clicked on the Next button, our active slide moves up into the previous spot. So whatever value was stored for the active slide needs to now be stored for the previous slide. So that's why we're setting prev = active. So again we click on the Next button, the new previous slide is the one that used to be the active slide. And again, at the very beginning of the slideshow, whenever the page first loads, the active slide is zero. When we click on the Next button, it moves up. So now the previous slide is zero. So we're setting previous equal to what used to be the active, and then we're gonna set active equal to what used to be the next slide. So the slide that used to be down here in the next position is gonna move up into the active position. So active is gonna equal whatever the next slide used to be. And the next slide, the one that ends up down here, is going to be whatever the onDeck slide was at the time, the one that was down here at the very bottom. So we'll set next = onDeck. And it's very important that you do them in this order. You have to do them in the order that they animated. And the first one of these three values to animate was the previous slide. If you do it in the other order, then you're gonna be setting next equal to onDeck, and then you'll be setting active equal to next, which means you'll also be setting active to whatever onDeck was. And that's not gonna work very well for us, because then previous will end up being the same value as onDeck. So you have to do these in this order, or you're gonna have a bunch of values overwriting each other. So again, you're doing them in the order that they animated off. So if we clicked on the Previous button, the first one to animate off is the Next button. And so the Next button will animate down, and we don't have to worry about setting that new value to anything, because we don't have to worry about that slide anymore. But the active button here, or the active slide, is going to become the next slide. So we're gonna set next equal to the value that was stored in active. So again, we're gonna set next equal to active and then we'll just move up the line, we'll set active equal to prev and we'll set prev equal to onDeck. So now that we've set those values, we should be pretty good to go. So I'm gonna click on the down arrow. The first time it works, and the second time, it's not exactly doing what we would expect it to do. So we're gonna have to go back to our code and try to figure that out, and it just occurred to me, and this is very easy to do. Yeah, inside our for loop is where we're animating each of these, but we don't want to change the previous active and next values until after we've run all the way through that for loop. Otherwise, we're gonna be changing those values for each time we run through that loop, and we don't want that to happen. We just want to change those values once at the very end. So I wanna grab that entire if else statement and cut it. And then we need to make sure we put it outside that for loop. And I believe this is the closing curly bracket for that for loop, yeah. So after that closing curly bracket there, but just before the final closing curly bracket for our function, we're gonna paste that if else statement. And we might need to nudge these back over. And now let's try that again. So we'll hit the down arrow once, and it works fine. Again and there we go. So now we should be able to keep clicking on the Next button, and it should continue to work. And we can click on these as fast as we want to, and it will work, and let's do the same thing with the up arrow, and it continues to work as well. So now, the last thing we need to do is to jump into our CSS, and turn our overflow hidden back on. So that the slides outside of the slideshow are no longer visible, excuse me. And there we go. So now we have a completed GreenSock slide show using JavaScript and the GSAP framework. So again, that was a lot of work, but I think it was well worth it. We've come up with a really nice looking animation. And you can go crazy with it, do whatever you want with it. So I want to encourage you to experiment with this, jump into the tween for example, and experiment with different easing properties, different delays. And the more you experiment with it, the more comfortable you'll become with not only using the GreenSock platform in general, but also just using JavaScript, and solving problems with code. So thank you so much for watching. And I'll see you in the next lesson.


