

- Overview
- Transcript
3.1 Examining the Logo
Time for a new project! Let’s take a look at an Illustrator file which we’ll be using in the coming lessons. You’ll also see a glimpse of the SVG markup that this file is going to generate.
Related Links
1.Introduction
1.1Introduction00:44
1.2GSAP Refresher09:09
2.Project 1: Animated Preloader
2.1The Starter File07:48
2.2Creating a Timeline11:48
2.3Bouncing Circles13:08
2.4Animating the Shadows04:12
2.5Loading Images10:50
2.6Preloading Multiple Images08:48
2.7Animating the Preloader Off12:55
2.8Revealing the Main Content05:28
3.Project 2: SVG Animated Logo
3.1Examining the Logo03:44
3.2Setting Up the Styles04:29
3.3Randomizing Position and Opacity07:29
3.4Animating the Dots06:38
3.5Animating Paths With jQuery DrawSVG06:28
3.6Finishing Touches03:01
4.Project 3: GSAP Image Slider
4.1Getting Started05:21
4.2A Note on Slide Positioning04:59
4.3Setting Up Some Variables08:56
4.4Placing the Slides05:08
4.5On Deck12:24
4.6Setting Up the Animation Array09:53
4.7Setting Up the Animations11:36
4.8Creating the Button Events08:37
5.Conclusion
5.1Final Thoughts00:46
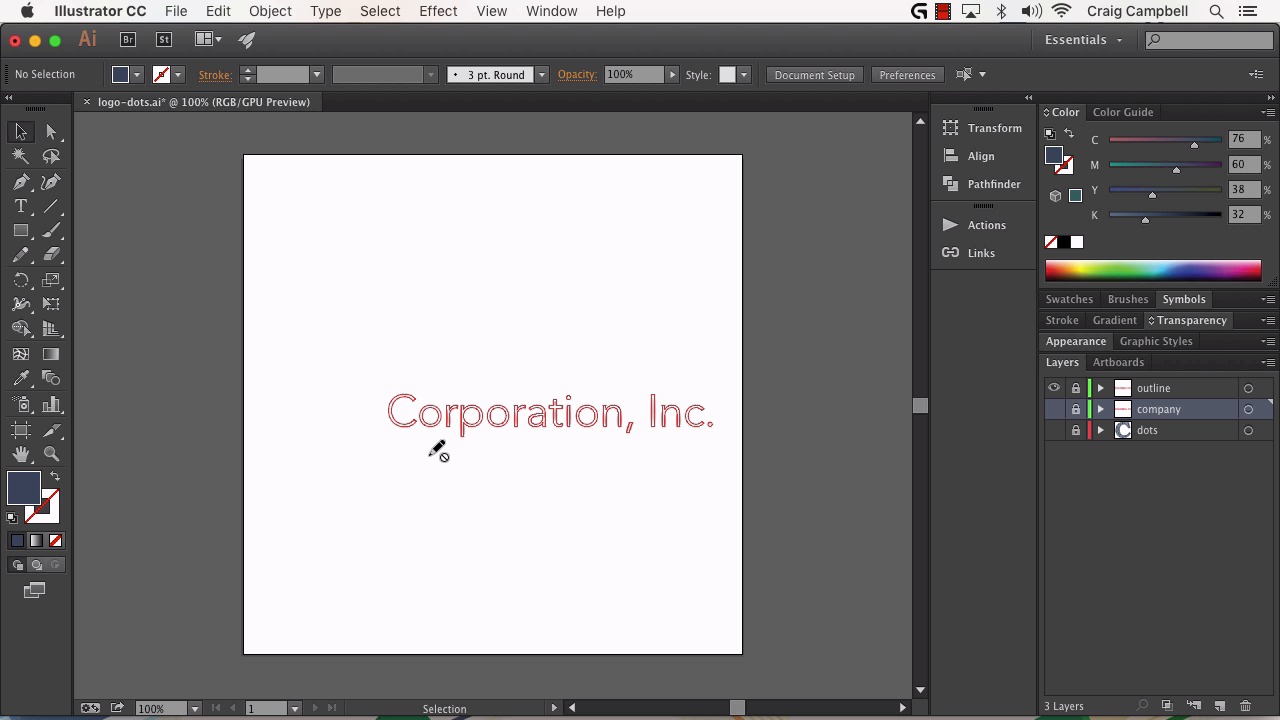
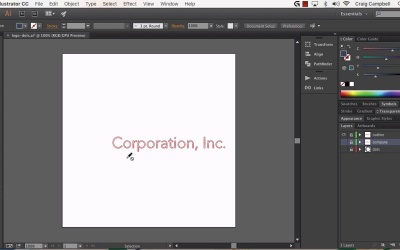
3.1 Examining the Logo
Hello and welcome back. In this lesson we're going to get started on our second project which is going to be an SVG animation. I'm going to show you how to take an SVG, randomize all the pieces or shapes within that SVG and animate them back to their starting point. And we're going to be using this Illustrator file as a starting point for our animations. Now, if you're not really concerned about creating as SVGs yourself, you don't need to worry about how this was assembled. This is really just an Illustrator file where I took a giant letter C and I basically traced over it with a bunch of different sized dots and it's as straightforward as that but let me point out a couple of things. First of all, we have a dots layer on the bottom and the way we name these is going to effect the code of the SVG that's generated from this file. So we have this dots layer and if we expand that out, you can see dozens and dozens of little paths, dozens of little circles inside that layer. And we're going to be animating each one of these circles individually, but in a way that's not going to be as tedious as that might sound. Above that is a layer called company and if we just turn off the other layers we can see that that's just a block of text easy enough. If we turn that one off and turn on the outline layer, that's going to be the outline of our text and we're gonna animate the outline of our text as the text animates on. Now let me go ahead and point out that GreenSock does have a plug-in that allows you to animate the outlines of an SVG. But we're not going to be using that plug-in. The reason for that is that is a premium plug-in. You've got to subscribe to the GreenSock premium membership in order to get that plug-in and I want to show you a free plug-in that does the exact same thing. So we're going to be using that free plug-in instead. But basically that's our starting point and by separating these three items, these three main parts that we're going to be animating into separate layers. That's going to make it easier to point out and animate the items that we want to animate. So if you're using Illustrator to create your SVGs, the way we would save this is very simple. We would go to File, Save As and then in our dropdown at the bottom, I'm going to choose SVG not SVG compressed but SVG, and it doesn't matter what location you choose to save it, because we're not actually going to save it. So, I'm just going to click on Save and we're going to get a pop up and one of the buttons on that pop up gives us a option for SVG Code. Now, we could click OK and it would save it as an SVG file, but instead, I just wanna copy the SVG Code. So I'm gonna click on SVG Code and this will open up a text file with all the code that we need for SVG. And as we saw in our Illustrator file we have a group of dots here this, ID that I gave to this group is dots which is the same name we gave to that dots layer. And inside that dots layer we have a bunch of circles. If we scroll down further past all of the circles. We can see a another group with an ID of company which is our second layer there and then we can scroll down further until we find another group. And this group might be harder to find because of all the text wrapping but if you look close enough you'll find another group with an Id of outline there it is. And so those are the three main groups that we need to look at as we're animating this. So in the next lesson we're gonna get started, and I'm gonna copy all of this code here all of this SVG code, into a new code pane and we'll get started with that in the next lesson. Thank you for watching.


