

- Overview
- Transcript
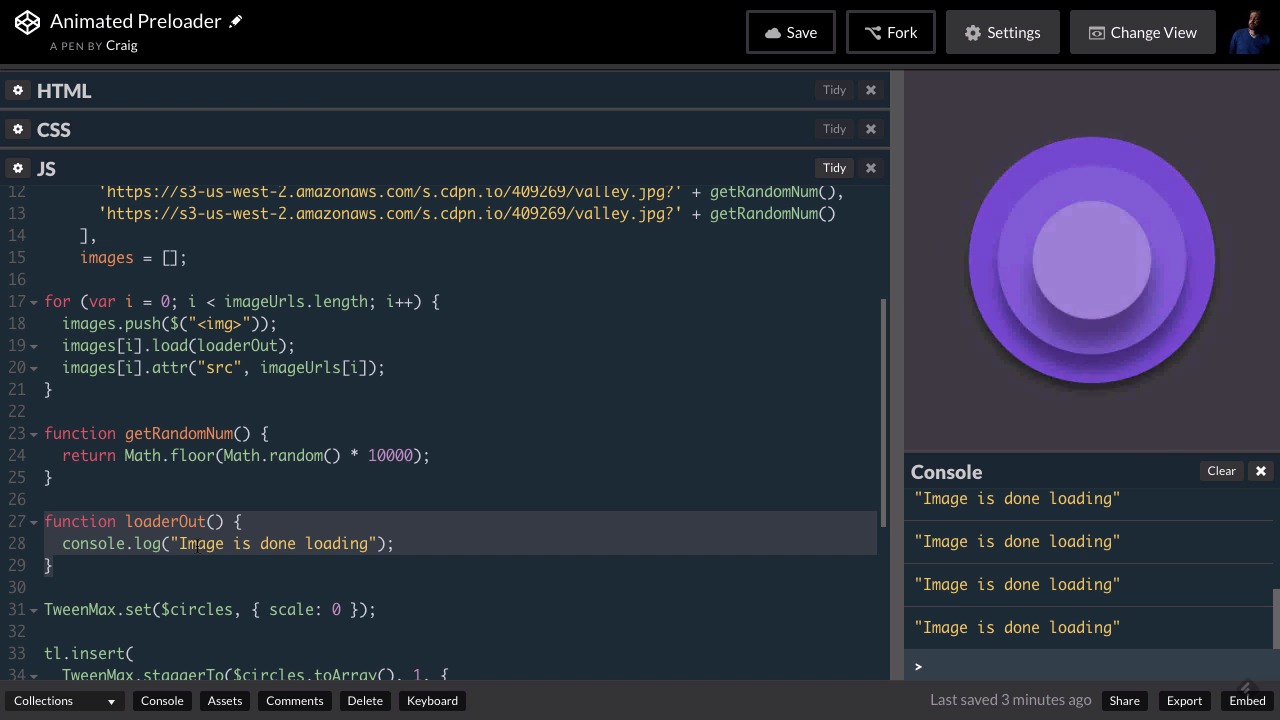
2.6 Preloading Multiple Images
Usually, when creating a preloader, you’ll be loading more than just a single image. In this lesson, you will learn how to preload multiple images before triggering your outro animation.
Related Links
1.Introduction
1.1Introduction00:44
1.2GSAP Refresher09:09
2.Project 1: Animated Preloader
2.1The Starter File07:48
2.2Creating a Timeline11:48
2.3Bouncing Circles13:08
2.4Animating the Shadows04:12
2.5Loading Images10:50
2.6Preloading Multiple Images08:48
2.7Animating the Preloader Off12:55
2.8Revealing the Main Content05:28
3.Project 2: SVG Animated Logo
3.1Examining the Logo03:44
3.2Setting Up the Styles04:29
3.3Randomizing Position and Opacity07:29
3.4Animating the Dots06:38
3.5Animating Paths With jQuery DrawSVG06:28
3.6Finishing Touches03:01
4.Project 3: GSAP Image Slider
4.1Getting Started05:21
4.2A Note on Slide Positioning04:59
4.3Setting Up Some Variables08:56
4.4Placing the Slides05:08
4.5On Deck12:24
4.6Setting Up the Animation Array09:53
4.7Setting Up the Animations11:36
4.8Creating the Button Events08:37
5.Conclusion
5.1Final Thoughts00:46
2.6 Preloading Multiple Images
Hello and welcome back. I've done some preliminary work to set up our next lesson. So even if you have been following along in your own code then, you will still need to grab the latest one. And as always you can find the link for this particular starting pen in the course notes. And you'll notice right away in the JavaScript that I've added quite a bit here, and let's go and start by creating a new fork so that we don't forget to do that. And once we've got the new fork again, let's take a look at our JavaScript. First of all, you'll notice that I've replaced the imageUrl variable with an imageUrls variable, plural, and it's now an array. You'll see these square brackets here. It's just an array of ten different URLs, each of them with their own random number. Instead of creating a random number variable and then pointing to that random number variable here, I'm just calling on that get random num function here at the end of the URL. And so that's just a quicker way to do that. But again I'm also storing all of these inside an array called imageUrls. I've also got another array called images. And you'll notice down here that I'm creating a loop that is just as long as the imageUrls array. So there's ten different items in the imageUrls array, so this for loop here is gonna run ten times. So ten times, we're going to push a new image element into this images array here. And then we're going to create the load event listener for that new image we've created. And then we're also going to add the attribute, the source attribute, to that image. So we've basically created ten images here, ten HTML image elements. Created our load events for them and added the source attribute, and we've stored all ten of those in this images array. And the reason I'm doing all of this is because usually you're gonna be loading more than just one item when you're creating a preloader. Usually you're not gonna create a preloader for just a single item, at least not a preloader that this complicated. So I wanna walk you through one way that you could preload ten different images. Let's say that you've got a photo gallery that you're showing. And you wanna make sure that the first ten images are finished loading, before your preloader animates out. So again, I've created ten different images and really for the sake of this illustration, they really are just ten of the exact same images with different random numbers at the end of them. But the principle would be the same if they were ten completely different images. So again we've created the image URLs which is just an array of strings, and then in the images array, it's an array of actual image elements and each one of those elements has a load event listener tied to it. So if we clear our console over here and then right-click and reload the frame, you'll actually see that this loaderOut method over here on the left and sometimes reloading the frame doesn't quite work. We need to reload the whole page. So let's right-click there and just hit Reload instead of reload frame, and that should reload the whole page. Sometimes you'll have to save before you do that. So it's a good practice to get into. But if we watch our console over here on the right, you'll see that this image is done loading, it's actually gonna show up ten times, because we have created this load event for each of those ten images that we've created. And when we call that loaderOut method here, it's going to console log images done loading. So now what we wanna do is flush out this loaderOut function a little bit more. We're not quite gonna get to the point yet where we're animating this thing out, but I want to flesh it out a little bit more so that we're at least keeping track of how many images have finished loading. So that we'll know when it's time to animate our preloader out. And because we don't want to animate it out until all ten are done loading, and it's actually a really simple process. We just need to create a counter and then increase that counter or increment that counter by one, every time this loaderOut method is called. And then if that counter has reached ten or the total number of images that we want to load, then we're going to start that animation. So let's scroll up to our variable list here, and I want to create our counter just after our images array. So I'm gonna put another comma after the images array. Go down to the next line. And create another variable called image or imgCount and we're gonna set that equal to 0. So every time a new image finishes loading, we're going to increase this image count by 1. And then when this image count equals the total number of images that we want to load, then we know it's time to move on with our animation. So now that we've created that counter variable, set it equal to 0. Let's go back into our loaderOut method and let's get rid of, actually let's leave our console log there for now. And the first thing I want to do inside my loaderOut method is I want to increase that image count variable by one, and I'm gonna do that by typing imgCount++. And that will increment that particular variable by a value of one. So every time we run this, imgCount is going to increase by one, and then we can check to see if it has reached ten yet. And if so, then we're gonna move on with our animation. So let's do that. So we've got imgCount++. And let's go ahead and console log images done loading and then I'm gonna type a comma space, and then we're going to also log the value of imgCount. So let's clear that for now. And now we should see "Image is done loading", and then next to that, the number of images that have finished loading and we see that that image count variable is incrementing by one every time. We see 1, 2, 3, 4, 5, 6, 7 and we should see it all the way up to 10 before it stops. There we go. So once it reaches ten, then we want to pause this timeline animation and do something else with it. So let's continue inside our loaderOut method. Let's go after the console.log here and let's check the value of our imgCount variable. We're gonna say, if (imgCount) >= and I know the temptation is just to put if it's equal to ten then do this. But I like to put greater than or equal to just in case something goes wrong and it keeps counting upwards and somehow ten gets missed. So just to be safe, we're gonna put greater than or equal to. And I'm not just gonna type 10 here. I'm actually going to type the array which again is called imageUrls.length, which is 10. And .length property is the number of items in that array. So if imgCount is greater than or equal to the number of items in the array, then we want to continue with our animation. We wanna stop it where it is right now and animate it out. For now, for this particular lesson, all I wanna do is pause the animation. And so that as soon as that tenth image is done loading, we see our screen pause. So remember, we have a timeline and a great thing about TimelineMax, is that you can pause a timeline. And so we're gonna use the pause method of our timeline object to do that. And remember we called our timeline object TL. And if we just type TL.pause, then once we get to this line of code, once all ten of our images have loaded, we should see our animation pause. So let's watch our numbers down here over on the right. We see the first image is already done, there's the second one. And it should count all the way up to ten, and hopefully once it gets to ten, we'll see our image, or our animation, pause, and it certainly did. So now we can take it from there and finish animating our preloader out, as we animate the actual website in. So we'll get to that in the next lesson. For now, make sure you save your work and I'll see you in the next video.


