

- Overview
- Transcript
4.5 Hover Events
Using the same concepts you learned for click interactions, in this lesson you will learn how to respond to “mouseovers”.
1.Introduction
1.1Introduction00:52
1.2Downloading Snap.svg07:42
2.Creating Graphics in a Snap
2.1Creating Basic Shapes09:38
2.2Complex Shapes08:16
2.3Shape Attributes05:57
2.4Grouping Shapes07:23
2.5Shape Transformations08:37
3.Animating in a Snap
3.1Animation Basics06:58
3.2Animation Callbacks04:53
3.3Easing06:26
4.Basic Interactivity
4.1Installing MAMP03:33
4.2Using an External SVG08:46
4.3Targeting Individual Shapes08:58
4.4Basic Interaction06:32
4.5Hover Events03:32
5.SVG Clock Animation
5.1Importing the Clock SVG06:08
5.2Targeting Individual Clock Shapes08:30
5.3Pulling the Current Time08:30
5.4Organizing the Code05:32
5.5Time Is Circular07:26
5.6Staying Current03:08
5.7Animating the Second Hand03:11
5.8Fixing the Second Hand Animation08:51
5.9Minutes and Hours09:43
5.10Adjusting the Hour Hand03:44
5.11Finishing Touches05:31
6.Conclusion
6.1Conclusion00:54
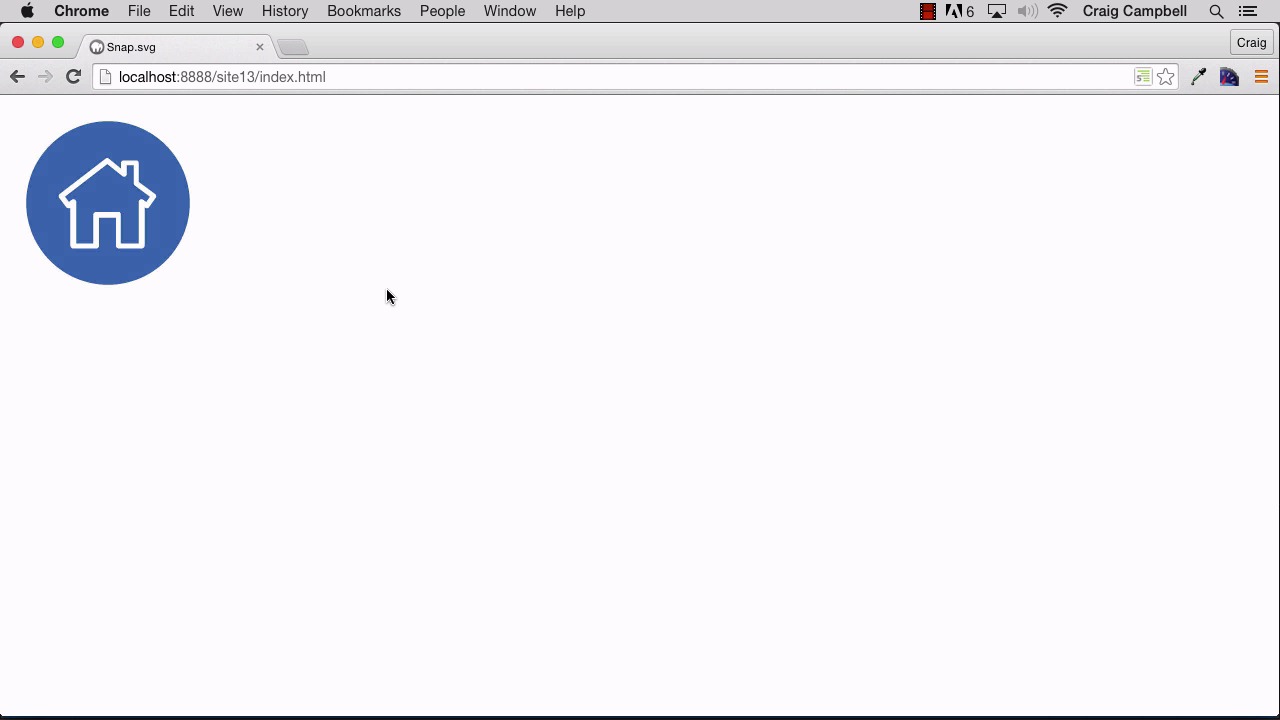
4.5 Hover Events
Hello, and welcome back to animating with Snap.svg. In our last lesson, we created a click event that triggered an animation, and in this lesson, we're gonna do the same animation, but we're gonna use a hover event. And then a mouseOut event so that it animates back to its original state whenever we move our mouse cursor away from the icon. So again, we're gonna start by making a copy of the site12 folder. And we'll call this new copy, site13. We'll drag that down to Brackets. And then open up index.html. So we're going to change very, very little here for the hover event. In fact, all we really need to do is change this from icon.click to icon.hover. Easy enough. So we're gonna save that, jump back into our browser, navigate to site13/index.html. And now when we hover over our item, we get the same animation that we got last time. But when move our mouse cursor away, it kind of stays where it is, and obviously, we don't want that, we want it to go back. So, let's jump back into our file. And I'm basically just gonna cover this whole hover effect, copy it and paste it down here. And instead of hover, we're gonna change this to mouseout. Inside the mouseout callback function, we're simply going to transform it back to where it started. So for our first transform, our scale, we're gonna set that back to 1 for the house. For the ring, we're also gonna set it back to 1 as well. And then for our background animation, we're gonna bring our opacity back up to 1. So let's save that. Jump back into our file and refresh. We hover over it. We get the same animation. We move away, and it goes back to where it started. Very cool. One thing I might wanna do here is play around with the timing a little bit. Maybe the house animation happens a little bit faster than the ring or vice versa. And I always want to encourage you, when you're using animations with multiple effects going on at the same time to play around with the numbers a little bit until you get something that you're really happy with. So let's try first of all making the house animate a little quicker. Let's bring that down to maybe 300, so it's gonna finish a little bit before the ring does. And we'll do the same thing for the mouseout, we'll change it to 300. So let's save that, refresh our page, and it's just gonna be a very small difference. And I'm not crazy about that, let's actually slow it down a little bit. Let's bring it up to 800 milliseconds, a little closer to a full second for the house itself. Save that and refresh. And for the mouseout, I actually kind of like that. For the mousein, I actually think I want it to happen a little faster. Or for the hover, I want it to happen a little faster. So for the hover, we might bring it back down to 5 or 600. And that looks pretty good. But you get the basic idea, you can play around with those numbers as much as you want until you get something that looks really nice. And I like the way that looks, so I'm good with it. So again, this is very similar, we didn't change much at all from the last video. We're just using a hover event now instead of a click event. And then we've also added the mouseout for when you move your mouse cursor away from that item. When we do that, we're just returning back to the original state. So that's how you can create hover and mouseout events using snap as Fiji. Thank you for watching. And I'll see you in the next lesson.


