

- Overview
- Transcript
5.1 Importing the Clock SVG
In this lesson, you will embed a clock SVG into your page. Over the next few lessons, we will animate this clock to reflect the current time.
1.Introduction
1.1Introduction00:52
1.2Downloading Snap.svg07:42
2.Creating Graphics in a Snap
2.1Creating Basic Shapes09:38
2.2Complex Shapes08:16
2.3Shape Attributes05:57
2.4Grouping Shapes07:23
2.5Shape Transformations08:37
3.Animating in a Snap
3.1Animation Basics06:58
3.2Animation Callbacks04:53
3.3Easing06:26
4.Basic Interactivity
4.1Installing MAMP03:33
4.2Using an External SVG08:46
4.3Targeting Individual Shapes08:58
4.4Basic Interaction06:32
4.5Hover Events03:32
5.SVG Clock Animation
5.1Importing the Clock SVG06:08
5.2Targeting Individual Clock Shapes08:30
5.3Pulling the Current Time08:30
5.4Organizing the Code05:32
5.5Time Is Circular07:26
5.6Staying Current03:08
5.7Animating the Second Hand03:11
5.8Fixing the Second Hand Animation08:51
5.9Minutes and Hours09:43
5.10Adjusting the Hour Hand03:44
5.11Finishing Touches05:31
6.Conclusion
6.1Conclusion00:54
5.1 Importing the Clock SVG
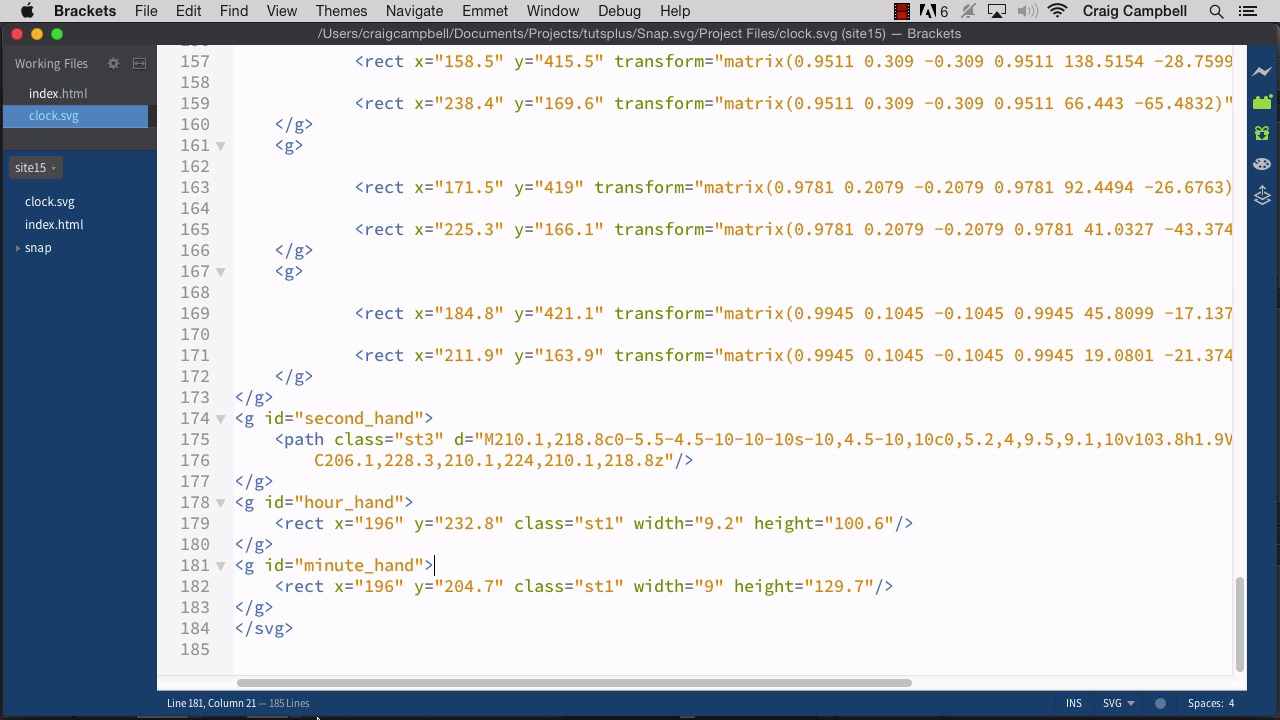
Hello and welcome back to Animating with Snap SVG. In this lesson we're gonna get started on the final project for our course. And this project is going to consist of an SVG clock that animates to reflect the current time. So for the most part the only animation we're really gonna notice is gonna be on the second hand and the minute hand. The second hand is gonna move around smoothly. And then the minute hand will quickly move into place as it moves from one minute to the next. And just like with a real clock, the hour hand is going to be moving, but it's gonna be moving so slowly that you won't really notice. So if we take a look at this SVG in Illustrator, we can see that all of the hands are pointing up. So it's 12 o'clock. And that just makes the hands easier to rotate, because now we know that if we rotate it 45 degrees, or if we rotate it 90 degrees, it'll be at the 15 minute mark or the 3 o'clock mark. And the center point for these rotations is gonna be right in the middle of the SVG file itself. So the SVG is 300 by 300 pixels, and the center point is gonna be 150, 150. So that's gonna be the center point for all of those rotations, all of the hand rotations. And we can drag these hands off to the side and see what all three of them look like. And the longer one obviously is the minute hand, the shorter one is the hour hand. And then the skinny one is the second hand. So I'm gonna hit Cmd+z a couple of times to undo that. And you'll notice over in our layers panel that there's really only one major layer here and it's not even given a name. But that's okay, because if we drill into that layer, then we can see that some of the sub-layers have been given a name. So the minute hand is on its own layer, the hour hand is on its own, and then the second hand. We also have minutes and hours which represent the ticks around the edge of the clock. But really all we need to focus on is the minute hand, hour hand and second hand. And you'll notice that these layers have a space in between the two words, but we'll see when we look at it in XML that it's not the same. It's gonna put underscores there between the words. So you can find this clock SVG file in your project files folder. So we've got the project files open here in Finder. And here's the clock SVG file. If I were to right-click on that and open it up with brackets for example, we can see the XML that makes up that SVG. And you can see that there is a group here for example, with an ID of hours_1. This one, we don't really have to worry about. This is the shape that defines all of the ticks going around the edges. The minutes are the same way, these are the smaller, thinner ticks. But if we keep scrolling down. We can see a group for our second hand which as I mentioned has an underscore in it where that space was. And we have one for our hour hand and our minute hand. So we can access those three items using those IDs. So let's get started by just pulling this into an HTML file and setting it up. So I'm gonna jump back in to Finder. And I'm gonna take our last site which is site13, make a copy of it, and again, as always, we'll rename it. And we're not gonna keep a whole lot of the code that's in this particular folder. We're gonna get rid of a lot of it but I wanted to go ahead and use that as a starting point. So let's drag site14 down to the brackets icon to open that up. And then we'll go into our index.html file and get rid of a couple of things. First of all let's go to our div here. And let's just change the ID to clock. And then in our styles up here we're going to be pointing to that clock ID. And as I mentioned before, our width and height are gonna be 300 by 300 pixels. Then for our script. We can again, use this as a starting point. We're gonna create our clock. So let's call our variable here, clock. And in the snap function we're going to point to #clock because that's the ID name we gave it up here. So after we create this snap object, if you remember, we then need to load in the external SVG file. We're gonna load that into our Snap object which is then gonna be displayed inside this div. So we're gonna call the Snap.load method. And instead of icon-house.svg, if you remember we gave it the name, clock.svg. Now you'll notice that the icon-house.svg file is here because we just copied it from site13. And so we can jump back into Finder here, open up site14, and let's get rid of icon-house, we don't need that here. Instead we need the clock.svg. So we're gonna copy that, jump into site 14. And then paste the clock.svg file, and now in brackets we can see that appear here. So let's jump back into our index file and now we're loading clock.svg. And then inside the callback function for when that SVG file has finished loading. We then want to point to our clock item up here. So instead of icon, this needs to say clock, and we're gonna say clock.append(data). And don't forget the data right here inside the parameter block for your function. And then the rest of this we're just gonna get rid of for now. And we'll obviously put a lot of code in here later on once we start making things animate. But for now I just want to make sure that that clock is being pulled in properly. So to do that we need to point to local host. First of all, again, as always make sure that your map server is running. If you want to start off by opening up the start page, and that might make it a little easier. So we've got local host 88-88. And then we're gonna jump into the site14 folder and point to index.html. So we'll navigate there. And sure enough we see that our clock is being pulled in. So now as we move forward, we can start talking about how to get the current time, how to rotate our items and how to make it display the proper time. So we'll get started with that as we move forward in the next lesson. Thank you for watching.


