

- Overview
- Transcript
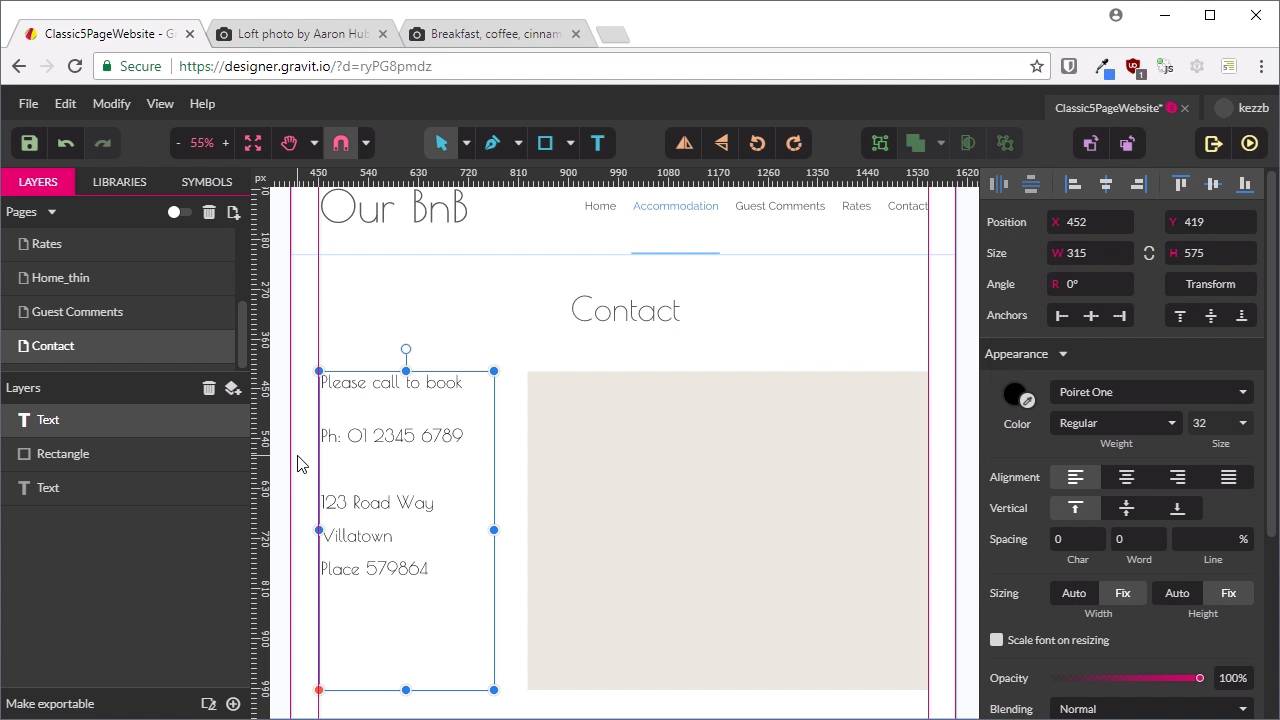
2.7 Design the “Guest Comments” Page
Our fourth page design will provide a way for our B&B to show off the comments received from happy guests.
1.Introduction
1.1Welcome to the Course00:43
2.The Design Phase
2.1Design the Master Layout19:04
2.2Master Layout: Thin Width08:59
2.3Design the Home Page12:54
2.4Home Page: Thin Width05:03
2.5Design the “Accommodation” Page05:31
2.6Design the “Rates” Page03:41
2.7Design the “Guest Comments” Page03:33
2.8Design the Contact Page04:59
2.9Export Images03:43
3.The Coding Phase
3.1Code Up the Master Layout24:37
3.2Code the Home Page16:05
3.3Code the “Accommodation” Page04:50
3.4Code the “Rates” Page02:33
3.5Code the “Guest Comments” Page04:28
3.6Code the Contact Page06:39
4.Conclusion
4.1Wrapping Up04:35
2.7 Design the “Guest Comments” Page
Hi, welcome back to build a classic five page website. In the last lesson, we created the rates page. Now we're gonna create the guest comments page. So this will just be basically like a kind of a testimonials page where the BnB owner can post some nice things that guests have had to say about their business. So we're gonna keep this nice and straightforward once again. So let's start by making a new page. And we'll give it our master as the background here, and we're gonna rename it to guest comments. And we're just gonna go into the rates page here so we can just copy this headline. Gonna paste it straight in there, nice and easy, and change that to read Guest Comments. Now what we're gonna do is set up some text here that when it comes to actually coding up the site, we can start with a block quote. So each of the quotes will go inside a block quote, and the way that we lay out the text here is gonna determine how we wanna style our block quotes in CSS later. Let's grab our text tool and turn on our guides. We're just gonna draw out a text box the width of the page here. And we're gonna put some lorem ipsum text in here again. So just type out lorem, and then hit Space. And we don't need quite that much text. So just delete it from the word, I'm probably gonna butcher that if I try to pronounce it, what, consequent? And now we wanna change the formatting of our text. So I'm gonna set this to Raleway, which it already is, and we're gonna set the weight to Light. I'm gonna bump the font size up to 26. We're gonna increase our line height again. That's all looking a bit too cramped. So we're gonna change that up to 160%. Scroll in here a little bit so I can see clearly. And we want that text to be centered. And because this is a quote from a guest, we're gonna wrap that in quotation marks. All right, so that is all that we're gonna need for our block quote. And now we're just gonna need to put attribution here to the person who made the comment. And then we're just gonna do the same thing again for that, grab the text tool, draw out a textbox. And the comment will be from, let's say John and Jane in 2016. And we wanna have this styled a little bit differently to the comment itself. So we're gonna change the font to Poiret One, and we're gonna bump that up so that it's larger than the comment text. So we'll change that to 32 pixels. And then we're gonna center it. So that's it, that's all we're gonna need in terms of styling for our guest comments. And we're just gonna copy and paste both of those, again, so that we can add in a second comment. Just leave the placeholder text the same, and we'll just make this attributed to Joan and Jerry in 2017. And that's it, that's all we need for our guest comment page. Another one nice and quickly done and ready to use. So that leaves just one more page to do a mock-up for, and that is the contact page. That's gonna be another really simple affair. That's how you always wanna keep these types of things with these five page websites, static websites. We're just gonna have the contact information on one side and a Google map on the other side. So we're gonna wrap up that last page mockup in the next lesson. I'll see you there.


