

- Overview
- Transcript
4.1 Wrapping Up
Congratulations—you've finished building your five-page website! Let’s crunch what we learned into a nutshell.
1.Introduction
1.1Welcome to the Course00:43
2.The Design Phase
2.1Design the Master Layout19:04
2.2Master Layout: Thin Width08:59
2.3Design the Home Page12:54
2.4Home Page: Thin Width05:03
2.5Design the “Accommodation” Page05:31
2.6Design the “Rates” Page03:41
2.7Design the “Guest Comments” Page03:33
2.8Design the Contact Page04:59
2.9Export Images03:43
3.The Coding Phase
3.1Code Up the Master Layout24:37
3.2Code the Home Page16:05
3.3Code the “Accommodation” Page04:50
3.4Code the “Rates” Page02:33
3.5Code the “Guest Comments” Page04:28
3.6Code the Contact Page06:39
4.Conclusion
4.1Wrapping Up04:35
4.1 Wrapping Up
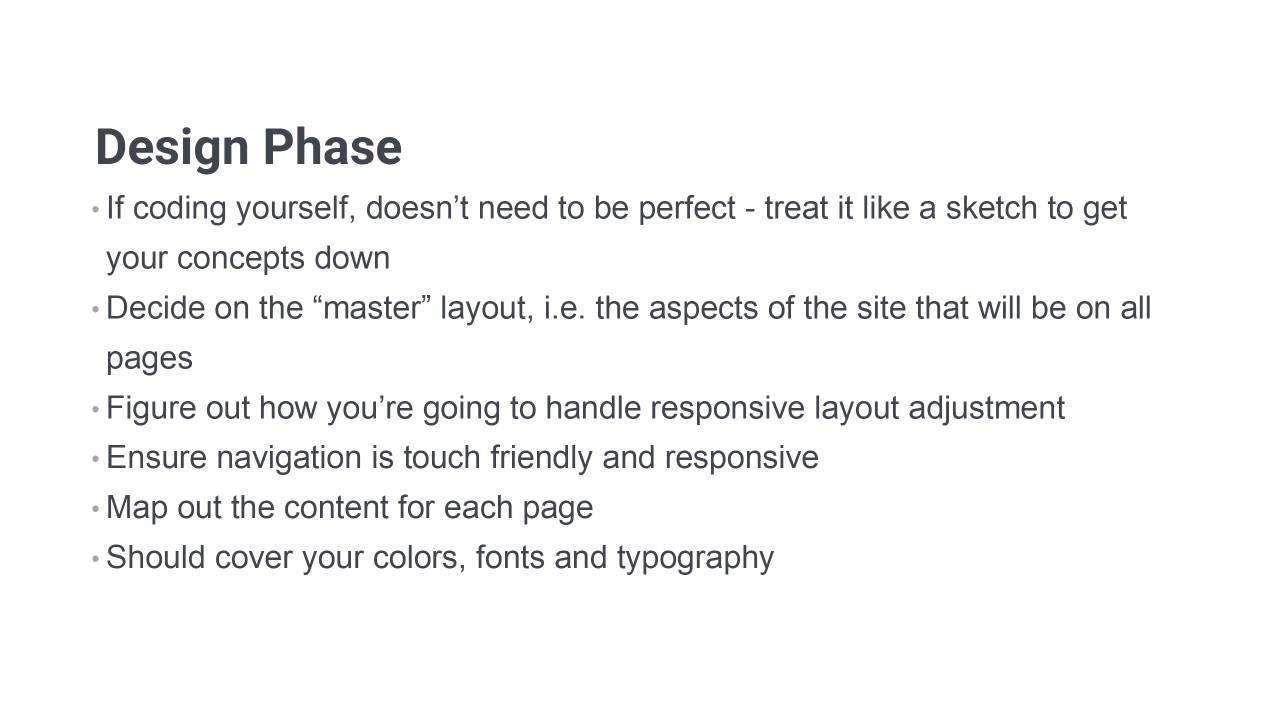
Welcome to the final video in Build a Classic 5 Page Website. So we're just gonna quickly go through and summarize everything that we've covered. This will give you a bit of a list that you can return back to in the future when you just want an overview of how to create this type of a static website. First up we've got the design phase. As I said a couple of times, you really don’t need to worry about being too absolutely perfect with the design phase, if you’re gonna be coding things yourself. If you’re creating a design for another person to code up, then you need to be absolutely precise so that that person knows exactly what you're trying to get onto the screen. But when you're gonna be coding up something yourself, really, what you're doing is more like a concept document. It's pretty much the same as just getting a sketch on a piece of paper, but it enables you to get a little bit more detail than that down. So don't worry too much about things being perfect, just get all your ideas onto the screen. The first thing that you wanna do is create a master layout, so that you use all of the aspects of the site that are gonna be on every page, so your header, your footer, your navigation menu, that type of thing. And if you are using Grabit, then it's very handy for this type of functionality because it does give you that option to bring your whole layout in as a background to a page that you subsequently create. As part of this process, you wanna figure out how you're gonna handle responsive layout adjustments. So you wanna figure out where fonts are gonna be too big at the smallest size, where you're gonna need single columns, how those single columns are going to rearrange content. And then on top of that, you need to make sure that your navigation is touch friendly and it's responsive. This is one of the things that's still really quite surprisingly common in websites now, is that they're often not touch friendly. They might depend on things like hover effects to create drop down menus and things like that. So definitely always have a plan for how your navigation is gonna be touch friendly, whether it's at full width or at teeny tiny thin width. And in order to make it comfortable at teeny tiny thin width, you're probably gonna need to have some type of collapsible menu like we created. Once you've got all of these masked elements in place, then you can go in here and map out the content for each page. You're also gonna need to have some plan in mind for how to collapse that content, as well. And in the process of doing all of the above, you should also make sure that you've covered your selection of colors, your selection of fonts and all of your typography, so the sizes, the weights, the line heights, everything to do with your type. When you've done all of that, you're ready to move on to coding. So just like you did with your design phase, first code up your master layers. So you can just do that in a single file called master, and you can get all of these common aspects into this one file. Then you've got something that you can duplicate every time you need to create a new page. Even though you have that, sometimes you're not gonna wanna duplicate the master page, because you might have two pages that are very similar. So that means it can be faster to just duplicate that completed page, the first of the similar ones that you do. And then just make edits to that duplicated page in order to create the second page. And we did that with the accommodation and the rates page. And as you go through and you create each one of these HTML pages, it's really important that you bring up those responsive tools in Chrome or whichever browser you're using. And you're constantly adjusting the width of the viewpoint, so that you can simulate all different types of devices. And you can make sure that your site looks good at every possible width. So you're not just saying all right, it's good at 1,200 pixels, and 1,024 pixels, and 320 pixels. Now you know that it's good at any width because you've checked it out at its maximum possible width and everything below that. And to help you with easy adjustment of your layouts for responsiveness, CSS Grid can be incredibly handy. It still doesn't support some old browsers. So if you are doing a project where you really do need support, outdated and obsolete browsers, sometimes you have to do it. You might not be able to use CSS Grid. But otherwise, then you can use CSS Grid. And it's gonna allow you to control your layout with minimal code, far less code than you need with any other type of layout control. And on that point, that wraps up Build a Classic 5 Page Website. Ao I hope you've enjoyed sort of getting back to basics with this course, this reminded you of how much you really can achieve with just HTML and CSS, and that it's helping you sharpen up those fundamentals of web design. So thanks very much for taking this course, and I will see you in the next one.


