
- Overview
- Transcript
5.5 Cross Browser Testing
Lesson Notes * VMWare’s Fusion * Browsershots * Spoon’s browser tools * How do you cross browser test?
Transcript Hi guys, welcome back to 30 Days to Your First Website Design, a Tuts+ Premium course. I’m Ian Yates and today we’re going to talk about cross browser testing.
We’ll begin as always by taking a quick look at what we’re going to cover in this video:
- First off, we’ll talk about the whys and the whens of cross-browser testing.
- We’ll then look at a couple of examples
- After which we’ll take a provisional look at our design in various browsers.
- Before we finish up, I’ll suggest some further reading and set an assignment.
We’ve spoken before about various browsers and how they have a habit of dealing with markup and styling in differing ways. We spoke about graceful degradation and progressive enhancement, and we also catered in our own design for early versions of Internet Explorer.
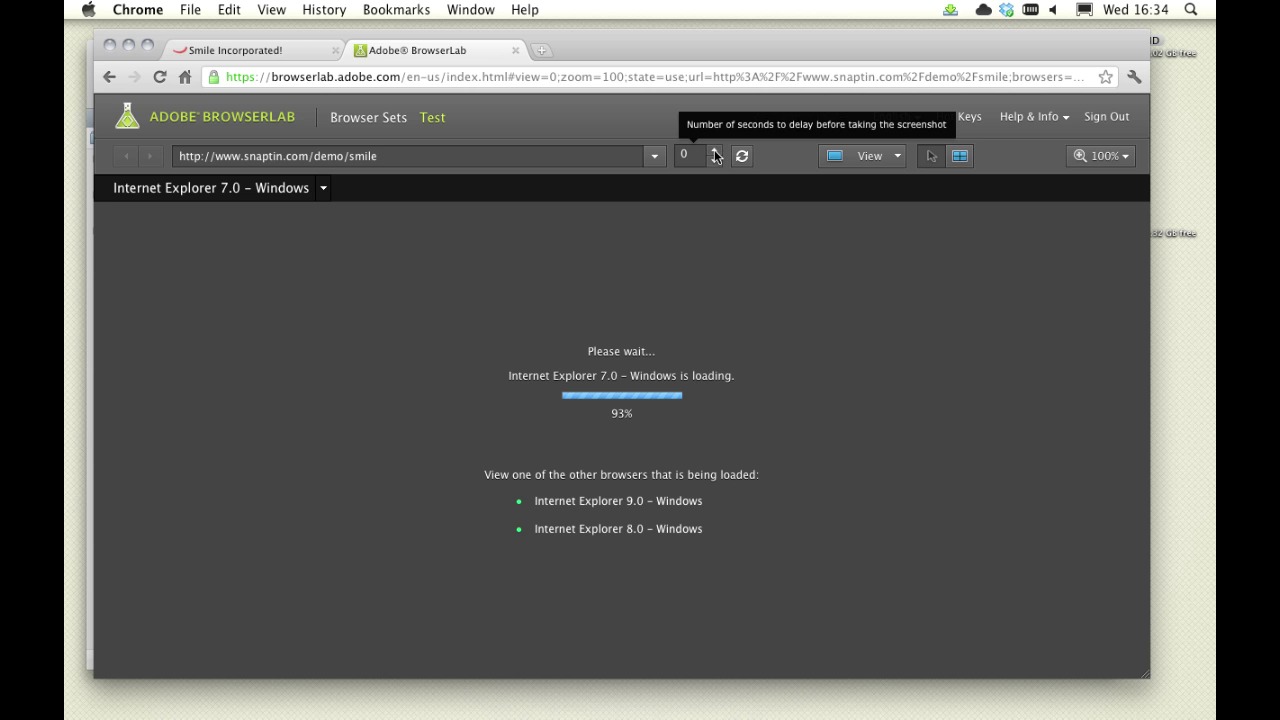
You’ll remember I used Adobe Browser lab to quickly test how our design was rendered in IE versions 8 and 7. Well, now we’re going to talk about a couple of options where testing your work across different browsers is concerned.
So what are the options?
Well, the easiest and most foolproof way to test across browsers is to have multiple installations. In its simplest form this would mean having Firefox, Opera, Safari, and Chrome all running on your machine. If you’re on Windows then you can run Internet Explorer alongside too. I usually work on a Mac, but I have a laptop running Windows, so I can test my sites, relatively easily, in a wide spectrum of browsers.
Some browsers don’t allow multiple versions to run simultaneously on the same system however (such as Internet Explorer), so in order to have several versions, you can either buy a load of computers, or run a virtual machine by using a tool such as VMWare’s Fusion.
Another way of testing across various browsers is to use a screenshot service, such as Adobe Browser Lab (which we’ll look at in a moment) or Browsershots for example.
These are tools which use their own machines to grab screenshots of your website and send them back to you. They work very effectively for simply checking how things are rendered, but are limited in that they don’t allow for any interaction.
Interactivity can be achieved by using a simulator service such as Spoon’s browser tools.
There are lots of examples, some of which run in your browser, others require you to run a downloadable application. The advantage of running virtual browsers is that you can test your website with all its bells and whistles – you can play embedded video, interact with any javascript, follow links, experience hover states, and even log into secure sessions.
Before we look at our own design with Adobe Browser Lab, it’s worth mentioning that Cross Browser testing should be performed early on and often while building a website. By testing each time a significant change is made, you’re more likely to save yourself headaches further down the line.
OK, let’s look at our website.
[Live screencast demo portions not available in transcript.]
Next Steps OK, it’s time for some further reading: I’d like you to check out this poll we ran on Webdesigntuts+ where we asked readers about their preferred methods of cross-browser testing. You can see the results yourself, and there’s also a more exhaustive list of cross-browser testing tools.
And before we jump into the next video, I have an assignment for you: I’d like you to familiarize yourself with a testing tool of some kind. Use the source code from the previous video (which I hadn’t at that point corrected for Internet Explorer) and play around with it.
Next time on 30 Days to Your First Website Design we’re going to finish things off by looking at Google Analytics. I’m Ian Yates and from all of us at Tuts+ thanks for watching!


