

- Overview
- Transcript
5.4 CSS: Final Touches
In this final lesson of the course, we’ll finish writing the CSS.
1.Introduction
1.1So, You Wanna Be a Web Designer?01:15
2.Web Design Fundamentals
2.1What is Web Design?04:03
2.2A Brief History of the World Wide Web03:32
2.3What is HTML?14:10
2.4What is CSS?14:17
2.5Tools of the Trade06:30
3.The Design Stage
3.1Always Plan Ahead04:23
3.2Create Some Sketches10:42
3.3Introduction to Photoshop09:30
3.4Photoshop Design: Homepage Header12:01
3.5Photoshop Design: Portfolio Area (Part 1)11:04
3.6Photoshop Design: Portfolio Area (Part 2)07:21
3.7Photoshop Design: The Portfolio and About Pages07:45
3.8Slicing the Images05:09
4.The HTML Stage
4.1HTML: Homepage (Part 1)08:11
4.2HTML: Homepage (Part 2), Portfolio and About Page09:46
5.The CSS Stage
5.1CSS: Reset CSS and Typography Rules12:41
5.2CSS: General Positioning09:01
5.3CSS: Page Headers10:20
5.4CSS: Final Touches10:34
6.Conclusion
6.1What You've Learned01:30
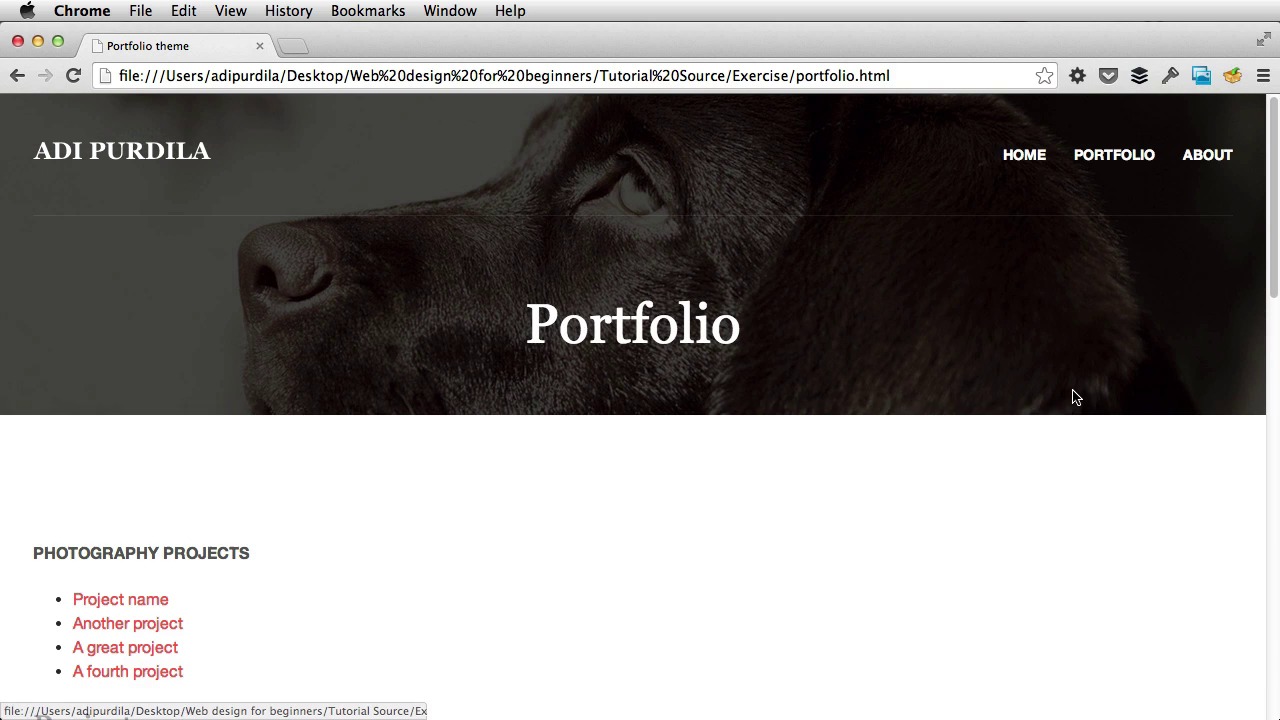
5.4 CSS: Final Touches
Welcome back. In the previous lesson, I finished styling the header for all of our three pages. Now, the other common element is the footer. So, let's open the PSD scroll down. And notice, we start with this dark background. And then, the two columns. Let's first get this background color. I'm going to start a new section here called footer. I'm going to target the footer tag. Set its background color to the value I just copied. There it is. Set some padding, 24 pixels and 0. So 24 for top and bottom, 0 for left and right like that. And also we're gonna push it down a bit. Gonna say margin-top 48 pixels. That make sure this distance from the header to the portfolio area is the same as the distance between the portfolio area and the footer. Next, let's target the footer paragraphs and make them white. [BLANK_AUDIO] Color white, like that, and then this email field should look something like this. So basically, it's 365 pixels in widths and 48 pixels in height. And that's also white and it has no borders. So, let's target this, form input type email. This is how you target different input types. So I'm gonna get rid of the border. Border none. Next set is height to 48 pixels and set its width to, what was it, 365 pixels, okay? And also, let's add some left and right padding, 0 and about 12 pixels should do just fine. [BLANK_AUDIO] All right, cool. Next is this button right here which has the btn class. But being an input type submit element in a form its styling goes a bit haywire. That's why you gotta target it again, so input type submit. So target it again, and set some more properties. Like, for example, the background color should be transparent. Like this. Give it a proper height, 48 pixels, like that. Give it some padding, 0 12 pixels, like that. And maybe some left margin to push it away from the input type email. About 12 pixels there as well. But that's a bit too much. So what I'm gonna do is actually reduce the width of the input to 350. All right. That looks pretty good. Next up, it's the social list right here. So let's see. We have an ul with a class of social. So let's target that. First of all, I'm gonna get rid of the bullet points. So with style type none. Then get rid of the padding, 0. And then target, the list items. So social list item display inline so that both of these icons will be on the same line. And apply a margin right to each one to distance them. Okay, and that's it for this footer. Next is the copyright information, so let's see, div class copyright. On this one, we just have to align it on the center and add some top and bottom padding. So, copyright padding 48 pixels, top bottom and 0 left and right and text align, whoops, center. And there it is. Great now, let's have another look. [BLANK_AUDIO] So I think the home page is complete. Now let's have a look at the portfolio. In the portfolio, we have, lets see, we have a side bar here that's aligned on the left side and a main content. All right, so let's do that real quick. Let's open up the portfolio page. Let's see div class row div class side bar. So I'll target this first and then main content. So for sidebar width let's see how much it was here. It was 400 pixels. So 400 pixels float left. And also, I'm gonna add a marginal right of 48 pixels to distance it from the main content. And then, we have the main content. Which sits at a width of 752 pixels. [BLANK_AUDIO] Float right, and let's see what we got. Refresh, and there it is. [BLANK_AUDIO] Hm, okay. Let's maybe add a bit more margin to this main content here, to create the even distance that we have on the top. So margin-bottom 48 pixels. Okay. And let's style this sidebar. Now the sidebar is pretty straightforward here. It's basically a normal list. So the first thing I'll do is target the ul and get rid of the bullets, list-style-type equals to none. And set the padding to 0. [BLANK_AUDIO] Okay and now, we have this active project if you'll remember in portfolio. We have a list starting with a class of active which should basically, look like a normal text. So let's let's grab the text color. [BLANK_AUDIO] And we're gonna save this. Sidebar ul active a and set the color to this. Let's refresh. And there's your project name. Now let me explain what I did. As you know, when reading this, we go from left, from right to left. So find the anchor tag, which is this, from the element with the active class. Which is this. From the ul, from the side bar. Yeah, which is this from side bar. So this is currently the only element that matches that selection. So let's have another look at this page. Maybe add, I think there was a bit of yeah, there was a distance of 24 pixels between these photos. So what you can do basically is go to main-content img. And say margin-bottom: 24px. Refresh. And now, they are distanced. The footer looks exactly the same as the home page. And then, the about page should have this text aligned in the center. Let me show you. Yeah, so it should look something like this. Okay, let's, let's go to our about page. Let's see, we have a div class of container center. So let's style that. I'm going to style it right here. So container center, I'm going to set the margin to 0 auto 96 pixels on the bottom, and auto again. And of course, I'm gonna set the width to 600 pixels. Refresh, and there it is. And if you want to align the text on the center of the page, you would just do text, align, center. So now it's center aligned instead of left aligned. All right, and that concludes the styling process.


