

- Overview
- Transcript
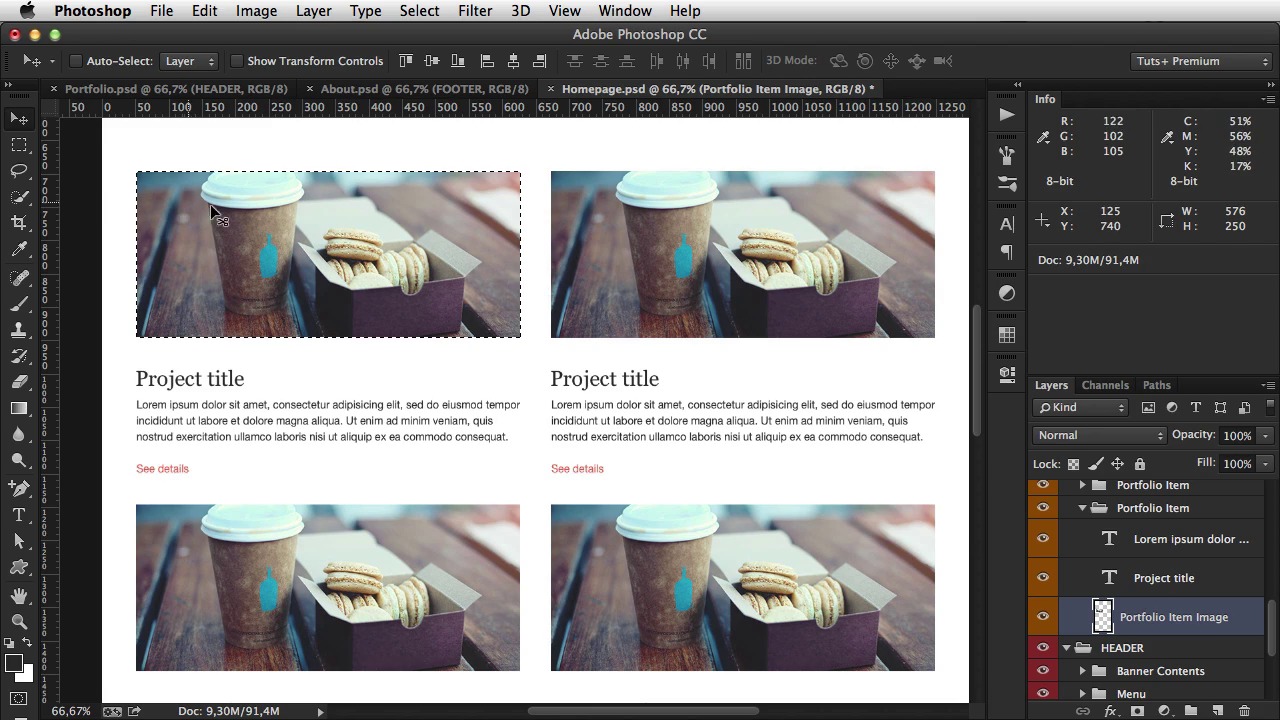
3.8 Slicing the Images
Before writing any HTML, it's important that you slice the images from Photoshop and export them.
1.Introduction
1.1So, You Wanna Be a Web Designer?01:15
2.Web Design Fundamentals
2.1What is Web Design?04:03
2.2A Brief History of the World Wide Web03:32
2.3What is HTML?14:10
2.4What is CSS?14:17
2.5Tools of the Trade06:30
3.The Design Stage
3.1Always Plan Ahead04:23
3.2Create Some Sketches10:42
3.3Introduction to Photoshop09:30
3.4Photoshop Design: Homepage Header12:01
3.5Photoshop Design: Portfolio Area (Part 1)11:04
3.6Photoshop Design: Portfolio Area (Part 2)07:21
3.7Photoshop Design: The Portfolio and About Pages07:45
3.8Slicing the Images05:09
4.The HTML Stage
4.1HTML: Homepage (Part 1)08:11
4.2HTML: Homepage (Part 2), Portfolio and About Page09:46
5.The CSS Stage
5.1CSS: Reset CSS and Typography Rules12:41
5.2CSS: General Positioning09:01
5.3CSS: Page Headers10:20
5.4CSS: Final Touches10:34
6.Conclusion
6.1What You've Learned01:30
3.8 Slicing the Images
Welcome back. Now that I finished the design, the next step is to start writing the HTML. But just to be done with the PSD's, I first need to cut out the images and export them as image files. As JPEG's or PNG's or whatever. So the first thing on home page is this large banner and just to isolate it, you can do two things. You can select the overlay and background image, a right click, select duplicate layers and duplicate them in. A new document. Or you can simply hide the logo, the menu and the better contents and then just select the entire thing. And hit Cmd+Shift C and that we'll copy through all of the layers. Cmd +N to create a new file. Hit okay. And Cmd+V to paste that image. You need to go to file. Save for Web, and I'm gonna save this as a JPG with 90 quality. Hit Save. Create a new folder in my Exercise Folder called Images. And I'm gonna call it header-homepage.jpg. Okay, close that. Let's see let's show these again. I'm gonna do the same for the logo. I'm gonna duplicate it in a new document. I'm gonna go to Image Trim. Make sure Transparent Pixels is selected. Hit okay. And that will get rid of all of the, the excess space. And then do the same. File Save for Web. This one I'm gonna save as a PNG with transparency Logo. [BLANK_AUDIO] Okay, what else? I'm gonna need this image right here. And and easier way to make a selection, is to Hold Cmd and then, left click on the thumbnail of a layer. And that'll make a selection from that layer. So, do the same, Command shift C, Command N, Command V, and then save for web, and save this as a jpg 90. And I'm gonna call this, HP for homepage. Portfolio-1.jpg. And what else? These two icons right here. Twitter and Facebook. Duplicate this in a new document. Image, trim. And then save for web as a PNG. Icon twitter. And. Icon Facebook. Okay, and that's pretty much it for the homepage. Let's see. About page, we need this banner image. So, hide the logo menu and the contents, and do the same process that I've been doing. JPEG 90, header about. [BLANK_AUDIO] And same for the portfolio. [BLANK_AUDIO] Okay. And in portfolio, these are still these images. So I'm just gonna render one of them. [BLANK_AUDIO] Portfolio-1 for example. Okay, and that's it basically, that's how you get images from Photoshop. Now I was going to start the HTML in this lesson, but I think it's best if I do it in, in a separate lesson. Since there's lots of content. So in the next lesson, I'll start with the HTML for the homepage. I'll see you there.


