

- Overview
- Transcript
2.5 Tools of the Trade
A successful web designer needs proper tools to work with. In this lesson, we’ll look at some of my top picks.
1.Introduction
1.1So, You Wanna Be a Web Designer?01:15
2.Web Design Fundamentals
2.1What is Web Design?04:03
2.2A Brief History of the World Wide Web03:32
2.3What is HTML?14:10
2.4What is CSS?14:17
2.5Tools of the Trade06:30
3.The Design Stage
3.1Always Plan Ahead04:23
3.2Create Some Sketches10:42
3.3Introduction to Photoshop09:30
3.4Photoshop Design: Homepage Header12:01
3.5Photoshop Design: Portfolio Area (Part 1)11:04
3.6Photoshop Design: Portfolio Area (Part 2)07:21
3.7Photoshop Design: The Portfolio and About Pages07:45
3.8Slicing the Images05:09
4.The HTML Stage
4.1HTML: Homepage (Part 1)08:11
4.2HTML: Homepage (Part 2), Portfolio and About Page09:46
5.The CSS Stage
5.1CSS: Reset CSS and Typography Rules12:41
5.2CSS: General Positioning09:01
5.3CSS: Page Headers10:20
5.4CSS: Final Touches10:34
6.Conclusion
6.1What You've Learned01:30
2.5 Tools of the Trade
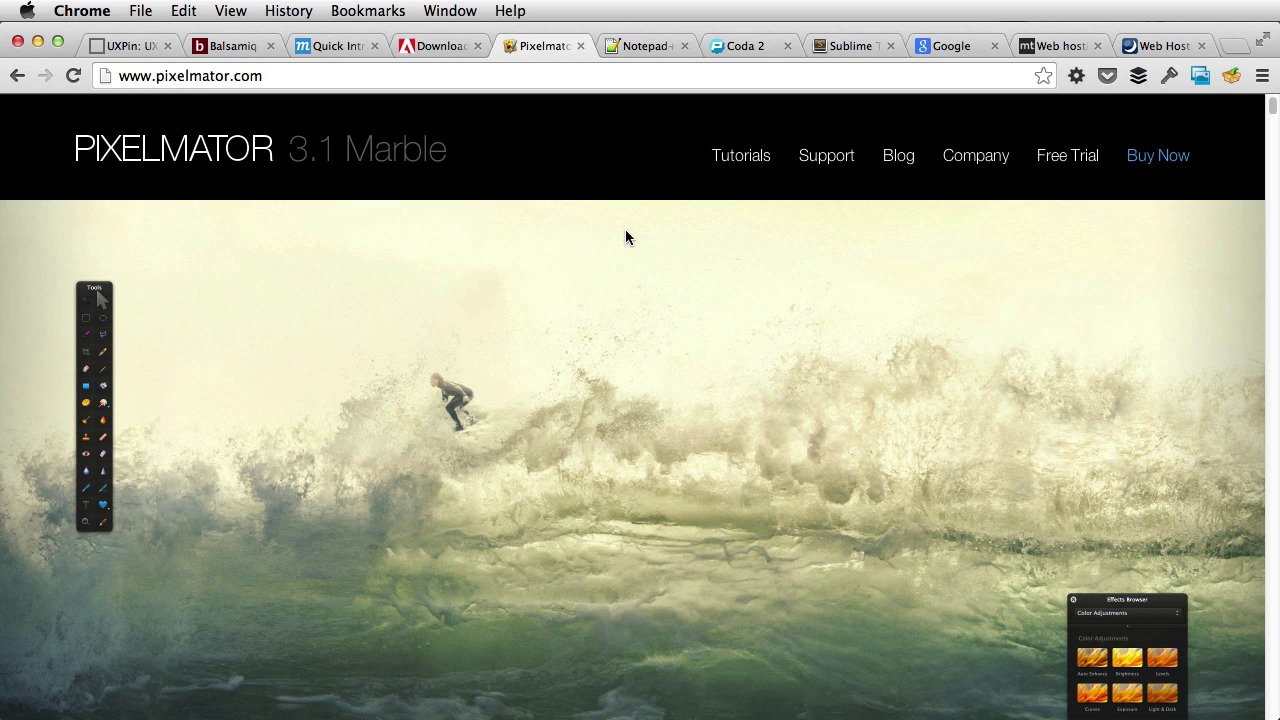
In order to be successful, you need to use the right tools. These will allow you to get the job done much faster. Think of how a car is made. All those robots and machines working together cutting and welding everything with outmost precision. What if car manufacturers suddenly gave up the machines and have people do all the manual labor? Have people cut the metal into shape, welded, painted, assemble a whole car by hand. It would be a lengthy process. The cars wouldn't come out as good and it would take forever. The same goes for web design. If you don't use the right code, or image editors, or the right hosting provider, the end result won't be as good as it can be. So, as a web designer, what tools do you need to make a website? Well, first of all you need to plan your website. The page structure, the content you need in each page, the goal of that website. You need to know all of this stuff first. In this case, a simple pen and some paper will do just fine. Or you can use a Word document. Or your favorite note taking application. Next, you need to create some sketches of how your website will look like. Now, these are called wire frames. Again, you can take a pen and paper, but there are a few applications that will make your life easier. For example, UXPin. This this will allow you to create some really cool wireframes. And then there is Balsamiq Mockups. Which have a desktop application and also an online application. And then there is mockups which is again, a pretty cool applications. And you can like create wire frames really fast. You can add labels, links, and so on. All these elements to create really fast caches of your future website. After the wire frames are done, and you know what information to put in each page. And also an approximate position of the elements in the page. It's time you opened the image editor and do the actual design. Personally, I use Adobe Photoshop. I'm still using it, and have been using it for as long as I can remember. And for many, many years, it has been the go to application for web designers. When I first started using Photoshop there was like a really big price for, for the application. But for now, you can use it as a subscription service to Creative Cloud. You just pay a couple of bucks a month and you have access to all of these applications by Adobe. So, in my opinion, the pricing problem is gone. You can start using it right away. There are also some simpler alternatives like Pixelmator for OS. And this is, pretty similar to, to Photoshop, but much simpler. After your design is complete, you need to start writing code for it, meaning HTML and CSS. Just like I showed you in the previous two lessons. Now there are a bunch of code editors out there for every platform. Some of them are free like Notepad++ which is for Windows and some aren't. For Mac OS, I recommend using Coda 2 from Panic or Sublime Text 2. This is the editor that I'm currently using. These are both paid versions. Although you can evaluate sublime text too indefinitely. For a beginner like you are, I'd recommend Coda 2, since. It offers an easier to use interface and easy access to a whole repository of books that will just help you learn much faster. Whatever editor you choose, you'll be able to write HTML, CSS, PHP or anything else you can think of. You, you also need a browser now to test the code you're writing. And the way I work is, I start writing the code and then I go back to the browser, refresh, see what I wrote. And by doing this I can catch mistakes early on. Now about browsers, you can use pretty much anything from Internet Explorer to Chrome or Firefox. But I suggest you use Chrome or Firefox, since they have some tools that will help you debug the code you are writing. So, like I showed you in the previous lessons, in Chrome, you can right click and hit Inspect element. And this will give you a debug tool that is really useful when, when something goes wrong. Now once all the code is written and your website is ready to be published you'll need a domain and a web server to put that website on. The domain is the unique address your site can be found out. For example, panic.com or www.envato.com. The web server is usually provided by a hosting company. You could host your site on a personal web server, but it's complicated. For a few bucks a month, you can get a professional service, with customer support and everything. Now most hosting companies also give you the choice of registering a domain. So you have everything you need in a single place. And you can find such a company by simply Googling, web hosting. [BLANK_AUDIO] And you'll get a bunch, a bunch of results. Personally I would recommend Media Temple or DreamHost. I'm not saying these two are the very best but they are really, really good. I have used them so I know from experience. And that's it for the tools basically. Now in the exercise part I'm gonna walk you through each of these steps. And build a simple website from the ground up. In the next lesson, I'll show you how to plan your site


