

- Overview
- Transcript
5.3 CSS: Page Headers
In this lesson, we’ll begin styling the page headers.
1.Introduction
1.1So, You Wanna Be a Web Designer?01:15
2.Web Design Fundamentals
2.1What is Web Design?04:03
2.2A Brief History of the World Wide Web03:32
2.3What is HTML?14:10
2.4What is CSS?14:17
2.5Tools of the Trade06:30
3.The Design Stage
3.1Always Plan Ahead04:23
3.2Create Some Sketches10:42
3.3Introduction to Photoshop09:30
3.4Photoshop Design: Homepage Header12:01
3.5Photoshop Design: Portfolio Area (Part 1)11:04
3.6Photoshop Design: Portfolio Area (Part 2)07:21
3.7Photoshop Design: The Portfolio and About Pages07:45
3.8Slicing the Images05:09
4.The HTML Stage
4.1HTML: Homepage (Part 1)08:11
4.2HTML: Homepage (Part 2), Portfolio and About Page09:46
5.The CSS Stage
5.1CSS: Reset CSS and Typography Rules12:41
5.2CSS: General Positioning09:01
5.3CSS: Page Headers10:20
5.4CSS: Final Touches10:34
6.Conclusion
6.1What You've Learned01:30
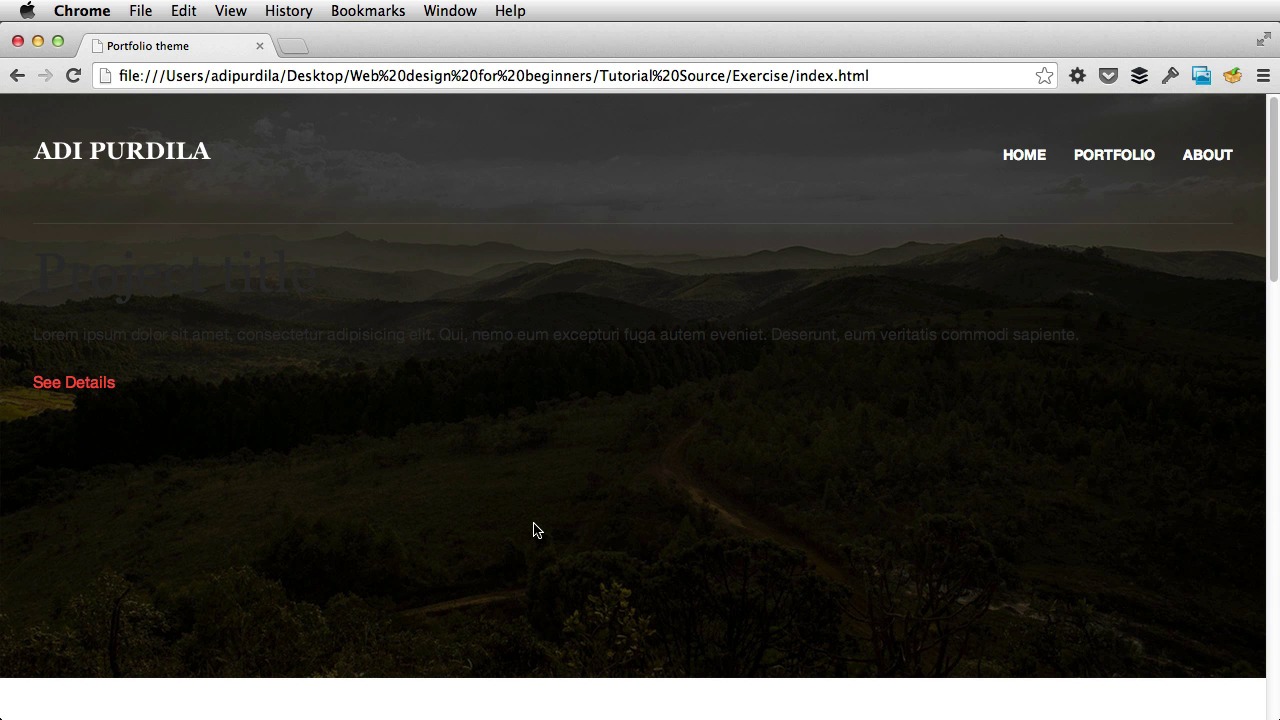
5.3 CSS: Page Headers
Hey welcome back. So we're making really good progress with our styling here, we already have a background image. But now let's have a look at the PSD and see what we got. First of all we have the logo which is on the left side of our page. And then it's the navigation which is on the right side. So, let's start with those two. Logo, I'm gonna use the same floating mechanism, so float left to align it to the left, and then I'm gonna target the nav. Yeah, the nav which holds our menu. So nav float right. Let's refresh. Now we need to fix the floating issue. So i'm gonna target their parent element, which is top container. [BLANK_AUDIO] Overflow hidden. Okay, there we go. Now in the PSD, there's also some padding here on the top and on the bottom, 48 pixels. So let's do that. Padding 48 pixels top and bottom and 0 left and right. Refresh, great. Now, let's style this unordered list here, the navigation, basically. So I'm gonna do this, nav. Notice I'm indenting the code here, this is not required, but it helps you view the children much better. So I'm gonna say nav ul, so target the ul inside the nav tag. And I'm gonna set list-style-type, none, to get rid of these bullets. Next, I'm gonna set margin to 0, because by default a list always has some margin applied to it. Okay, next, let's target each list item. So, nav ul list item, I'm gonna set display to inline, basically this means every list item will be displayed on the same line. Like that. And now we can also distance these by adding some margin-left on each item, about 24 pixels. Like that. Next up we're gonna make these links white. 14 pixels in size and uppercase and also bold. So- [BLANK_AUDIO] I'm gonna say nav ul list item a. First of all the color is gonna be white. Like that, and then text-transform: uppercase. Like that, oops. Font-weight is gonna be bold, and font size 14 pixels, like that. And next up is this separator line right here. Next up, it's this separator line, which in the PSD, it's a very thin semi-transparent white line, which has a 10% opacity. So you can do that in CSS by targeting, let's see, I think I have a special class for it, header hr. So target that, and I'm gonna set the background color instead of a hex value, I'm gonna use an RGBA value, an RGBA basically means a red, green, blue, and alpha. So it allows me to create a color and also add a transparency channel to it. So in my case I want it white, which is 255 for all three values, and then point one, which means 10% opacity. Now refresh, and it doesn't work because what you're seeing here is a border basically. So I'm gonna set the border to 0. This is how an hr is represented by default, it has some borders applied to it. So border is 0, and now it's gone. I'm gonna do a height of 1 pixel, and there it is, a semi-transparent, very thin line. And what I'm gonna do here is set the margin top to 0, and set this margin bottom to 96 pixels. And that will, effectively get rid of this spacing on the top and apply some spacing on the bottom. Refresh and there it is. Next up the header contents here. So looking back at the HTML, we can see that we have a div with a class of header contents. Now, we want the text to be center aligned, the color to be white. And also, we need to make the text be as long as this one, basically. So the text shouldn't span the entire width of the page, it's really harmful for the readability. So, what I'm gonna do is set text-align, center. Set the color to white. Okay. And I'm gonna set a padding of 0 and, I don't know, about 200 pixels on either side. And that will create only this area, let me show you. Yeah. It's the header contents div. Notice the green areas, those correspond to the padding, and the blue area is the area where you can actually put content in. Okay, what else? Let's have a look at these to make sure everything is right. I think that button is here distanced at 48 pixels. So I'm gonna target, the header-contents paragraph, and say margin-bottom 48 pixels. And that will push this button down like that. All right. Next up, buttons. Now for buttons, I'm using a btn class. And whenever you're gonna use a link, an anchor tag as a button, you have to set display to inline-block. This will make sure that you can apply margins, paddings, widths to your button, and everything will look properly. I'm gonna set a height of 48 pixels and a width of about 200 pixels. Refresh, and you can't see anything, of course, because we don't have any kind of border or background. So let's add that real quick. First of all the border is gonna be 1 pixel, solid, this is the border type. You have a few option here, you can say dotted for example, or dashed, but I'm going to use solid. And for the color, I'm going to use, this one. [BLANK_AUDIO] Okay, refresh and there it is. Now, the color inside has to be the same. [BLANK_AUDIO] Okay. Make this text upper case and bold. [BLANK_AUDIO] Like this. And push the text down a bit to center it in the button. So I'm gonna say padding, top, about 11 pixels, maybe a bit less, 10, something like that. Now when I hover on this button, I want a different style. So I'm gonna do btn:hover, and first I'm gonna say, text-declaration:none. So that it won't be underlined. Refresh. Okay. And next I'm gonna change the background color. [BLANK_AUDIO] To this. And I'm gonna, I'm gonna change the text color, to the color of the normal text in the page, which is 2e2e2e. [BLANK_AUDIO] And that's how a button looks like. Okay, now this is what the home page header looks like. Portfolio, it looks good. About, it looks good. So once we finish this column element for all of the pages in the next lesson, I'll deal with the other column element, which is the footer. So I'll see you there.


