

- Overview
- Transcript
4.1 Carousel
The carousel is actually a transition plugin and, since it’s optional, you need to download it separately. Let’s see how it works.
1.Introduction
1.1Welcome00:34
1.2Why Cycle2?02:22
1.3Plugin Installation and License01:30
1.4A Basic Example03:19
1.5Settings Options04:42
2.Basic Usage
2.1Captions04:58
2.2Using Navigation Controls04:42
2.3Slideshow Effects and Options04:36
2.4Continuous Slideshow03:49
2.5Using Overlays04:32
2.6Using Pagers08:34
2.7Using Non-Image Slides03:34
3.Advanced Usage
3.1Auto-Height06:27
3.2Image Loader05:19
3.3Progressive Loading08:54
4.Optional Plugins
4.1Carousel09:04
4.2Flip and Shuffle05:53
4.3ScrollVert and Tile03:29
4.4Caption2 and Center05:55
4.5Swipe02:12
4.6YouTube05:22
5.The API
5.1Options09:45
5.2Commands07:15
5.3Events04:09
5.4Cycle States and Hash04:51
5.5Template Customization02:27
6.Conclusion
6.1Final Words00:42
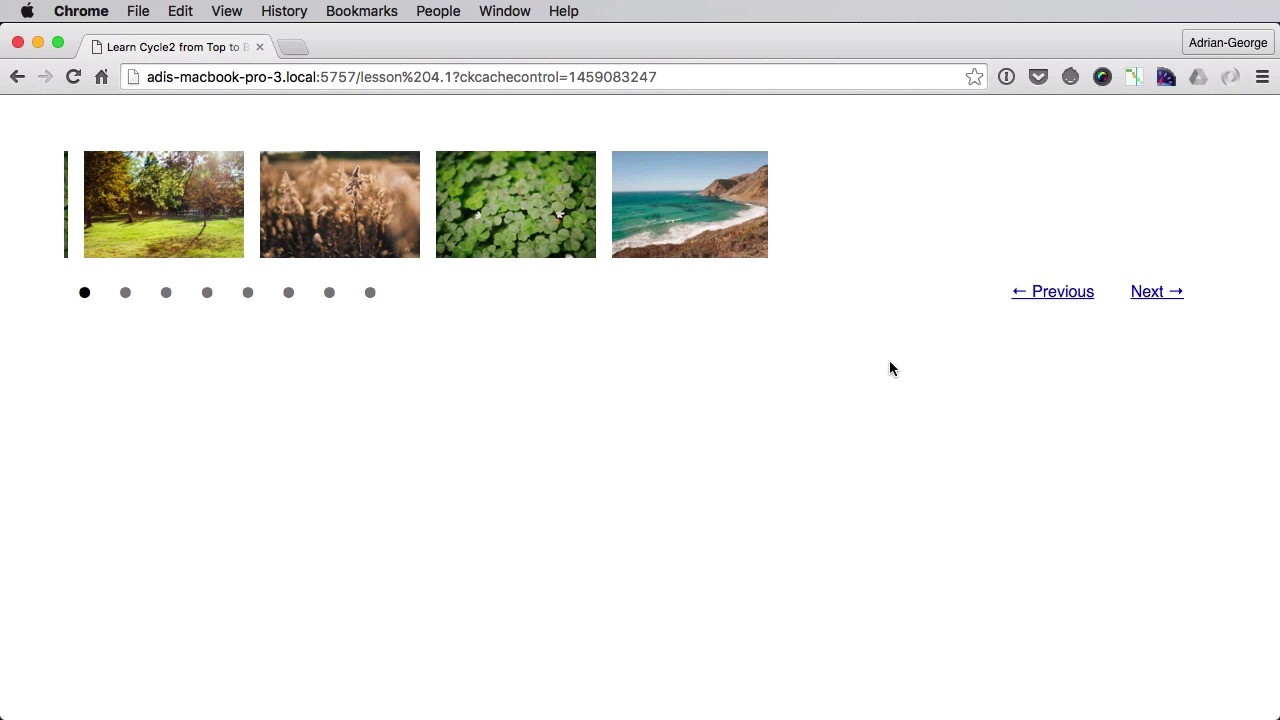
4.1 Carousel
The carousel is actually a transition plugin. And since this is optional, it's not included in the core plugin files, so you need to download it separately. Let's see how that works. Before we move on let's prepare our page for the new transition here. Now this is entirely optional, of course, but I want to do it like this so you can see the new transition better. So, we're going to add a timeout, first of all, to 0. Then we're gonna use custom previous and next controls, then we're gonna use a custom pager. Now let's add a few more images here, like four more should do the trick. And let's change this up a little bit, maybe 2 or 1, 4, 3 here. And then afterwards we'll do the custom pager container and then there are two controls for previous and next. Finally, let's add a bit of CSS to all this. Yep., so just something for the custom pager and the controls. So currently they look like this. Right, Next, Previous, and here is the pager. Now for the plugin the plugin as I was saying in the beginning it's optional, so you need to download it separately. Now if you are going to have a look In the master file, under JS you're going to find a folder called cycle2-plugins and cycle2-plugins will have this carousel. So go ahead and include this In the bottom of the page, under this scripts, something like this. Now all we need to do is set, a data cycle fx to carousel. Now if we're going to do this, we're going to end up with a big mess here, and this is caused by the size of our images. If we take a look back here, the images are set to 100% and we don't want that. We want the images to be set to a smaller value, a fixed value. For example, 10em's, height: auto and let's also set a margin of about 0.5em's. So now our carousel. Let's do a quick refresh. Looks like this. Yeah, so we can control it from both the pager and the navigation buttons. Now there are a few options for this plugin. Options that you can set right here. So the first one, we'll do data-cycle-carousel visible equals let's say 2. This will actually only show two images. If we're gonna put 4, it's gonna show four images. The next one is called carousel fluid carousel fluid by default is set to false. And we do this and we're gonna set it to true. And by setting it to true, you're gonna see that the images are resized to fill our viewport here. Now if I go back and change just to false, they are just shown like this. But if I set it to true, and, this is important, carousel-visible must be set, then the slides will be resized, but if I remove this, now the slides are not resized. So keep that in mind. I'm just gonna keep this to false for now. The next one is called vertical and vertical, by default, is false, but if we set it to true we're gonna have ourselves a vertical carousel instead of horizontal one. The next option is called offsets. Let me just put this back to false. So offset is the number of pixels to offset the carousels. If we put this to 200, now, the carousel, or be offset by 200 pixels. If I put this to 1,200 pixels, we're going to have a much bigger offset. If we put this to 12 pixels, it's going to look like this. And let's put some more images here six and there we go. Maybe even more so you can see how this works. And notice how a little portion of this image starts here. Well, if I set the offset to zero which is actually the default. Well, that piece right there will be gone but if I set it to 100, now the carousel is pushed to the right and we get a bit of this image. The next option is called slide dimension and slide dimension is actually not set by default. Will represent the width or the height in the case of vertical carousels of each slide. And if you don't set the option, then that value will be set from the first slides dimensions. So if we set this to 200, our slides will look something like this. See this is the entire width of an image. If we set it to 20, it's going to look like this. And you might say, well hold on this is not pixels, right? This is too big to be 20 pixels. That's true. This is not pixels the value that you put here is some sort of multiplier so if we set one here. This is the kind of with that we have. Let's actually measure it if I can do this in width so it's about ten right? One unit here equals to about ten pixels there. And if you have a vertical carousel this will represent the height not the width. So let's go back here let's leave this blank for now. And the final option I want to show you is called throttle speed. Now throttle speed is used to achieve a consistent scroll rate and it's only useful if you have slides that have different widths and you want your slides to be scrolled at the exact same rate. So to show you this let's actually do a bit fewer slides here. Let's change this to slide number 5, which I know has a bigger width, right? And we're going to set, actually we're not going to set anything for now. Let's see how it looks currently. Let's uncomment that bit. And it seems this is the short image in height, not width. Well that's okay, let's make this a vertical carousel. And so now you can see the shorter image is here. So without the throttle speed, this looks like this. But if you put it on and then set it to true, this will be just a tiny bit different. You probably can see it right now, but it's there according to the plugin maker. Now finally, I want to show you another option which is called allow wrap. Allow wrap will determine whether or not the slide show can go from the last slide to the first one or the other way around. Because once it's set to false and the slideshow reaches the final slide you cannot go forward. So I'm going to say data-allow-wrap by default is true but I'm going to set it to false, so you can see how it looks like. And I'm just going to leave this as a horizontal slider right? So we have four slides. Next. And now Next doesn't work. Neither will Previous when I get to the first slide but if I turn this back on to true, I'll be able to advance from the last slide back to the first. This is not related to the carousel plugin, but I think it is still relevant so that's why I chose to share that with you in this lesson. That's it for the carousel plugin. Now coming up next, we'll have a look at two more transition plugins called Flip and Shuffle.


