


- Overview
- Transcript
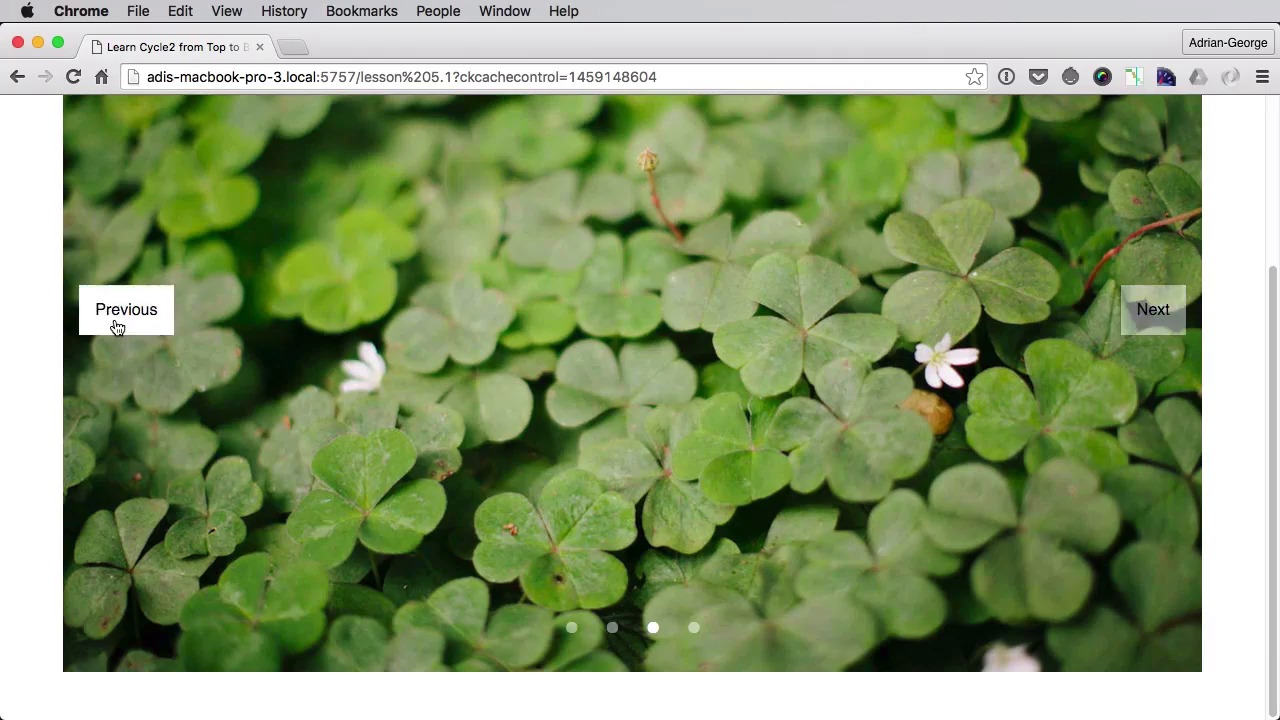
5.1 Options
Thanks to the lessons you’ve followed so far, you’ve already learned the majority of Cycle’s options. However, there are a few more, 14 to be precise, which we haven’t yet covered. Let’s do that now.
1.Introduction
1.1Welcome00:34
1.2Why Cycle2?02:22
1.3Plugin Installation and License01:30
1.4A Basic Example03:19
1.5Settings Options04:42
2.Basic Usage
2.1Captions04:58
2.2Using Navigation Controls04:42
2.3Slideshow Effects and Options04:36
2.4Continuous Slideshow03:49
2.5Using Overlays04:32
2.6Using Pagers08:34
2.7Using Non-Image Slides03:34
3.Advanced Usage
3.1Auto-Height06:27
3.2Image Loader05:19
3.3Progressive Loading08:54
4.Optional Plugins
4.1Carousel09:04
4.2Flip and Shuffle05:53
4.3ScrollVert and Tile03:29
4.4Caption2 and Center05:55
4.5Swipe02:12
4.6YouTube05:22
5.The API
5.1Options09:45
5.2Commands07:15
5.3Events04:09
5.4Cycle States and Hash04:51
5.5Template Customization02:27
6.Conclusion
6.1Final Words00:42
5.1 Options
In the lessons you took so far, you've already learned about the majority of the cycle options. But there are a few more, 14 to be precise, that we still need to cover. So let's do that in this lesson. We have a very simple slideshow here to begin with, with some navigation controls and a pager. Now, let's begin with the first option, which is called delay. Now delay represents the time it takes for the first slide transition to occur. So for example, if the timeout was set to like 1,000, and the slideshow would be automatic, notice that the first slide transition occurred after 1, 000. But if I go ahead and set a delay here to like 1,000, the first slide transition will happen after 2 seconds. If I set this to a really high number, like 5,000, it's gonna happen after 6 seconds, and there we go. And that's the delay. The next one is called disabled class. Now, let's put this back to 1,000, this to 0. And disable class is the class name that you can assign to previous and next links when they cannot be activated. And that can happen because of the allow wrap option that you saw in a previous lesson. So by setting allow wrap to false, it basically means that when you get to the end of a slideshow or the start of a slideshow, you cannot go back or forward. If I were to set allow-wrap here to false, now previous doesn't do anything. And if we take a look at it, it has a class of disabled, and the same thing happens to Next when we get to the end of the slideshow. Now it has the class of Disabled. So if we don't want that, we can really easily set the option disabled-class. And you can say whatever you want, for example, custom-disabled. And then we can go in here at cycle-prev and next and add the classes of disabled and custom-disabled to display none. So now if the button cannot be pressed, it is simply hidden, just like that. The next option is called log, and log will basically prevent console log entries, because by default, it's set to true. If we open the console here, you can see that we have like a bunch of logs in here. Now, by setting this to false, we're gonna remove all of those log entries. The next option is called loop and loop represents the number of times an automatic slideshow will loop before stopping. By default it's set to 0, but if you set loop here, for example, to 1 and let's set a really short timeout here of like 100 and then we set the wrap to true. Now, yeah. Now this will only loop once. If we set this to 2, it's gonna loop 2 times. So there's one and there's the second. The next option is called manual trump. Now manual trump, I want to show you what it's doing. Let's set the timeout to 0, because we need this to be advancing manually and also set the effects to scroll. So watch what happens when I start a transition, and then I immediately trigger a slight change. So there we go. Yeah, see there was a little bit of flicker. The initial transition wasn't allowed to finish. So, let's go again. Yeah, see? So if we want to allow the initial transition to be finished, we need to set a manual trump to false, by default is true. So we would do manual-trump set that to false. So now, this doesn't work anymore. Let's set a really slow speed. Let's set it to about 2,000. Here we go. See? Nothing's happening, while the transition is occurring, and that's what manual trump is doing. The next two options are next event and prev event, and those represent the events that will trigger the change slide, for Next and Previous. Now by default it's click. So if you want to advance, you will need to click either of these buttons. But you can change them, to mouseout, to mouseover for example and you would do this. Let's change the speed to 1,000. So this will be next-event and let's say, I want this to be mouseover and the prev event, I want this to be a mouseout. So now when I put my mouse over this one, it triggers the next event again, and on mouse out, so I need to hover first and then take out the mouse cursor. Here we go. It triggers the previous event. Now the next option is called pager event bubble, and to demonstrate that I need to create a custom pager for this on the slideshow. The custom pager looks something like this. We have four divs with a class of pager-comp, and each one contains two paragraphs. One with a simple text, one with a link. Now we need to set two options here. One, the pager, we set it to a custom-pager and pager-template, we'll set it to nothing. Next, we write some CSS for it. Just adding some paddings, float left for the pager-comps, and the end result is this. Right? Now the problem here is that when I click these links nothing happens, even though they do have a valid href. And this is where the event bubble option comes into play. By setting it to true, you allow pager events to bubble up the dom. That means stuff like clicking links will be available outside of this element. So we'll go ahead and set that that cycle-pager-event-bubble set it to true. And now we still have a working pager, but we also have working links. And the next option is called paused, and paused will allow a slideshow to start in a paused state. So if we have a timeout set here, the slideshow will begin as normal. But if we set paused to true, the slideshow will begin in a paused state. Another option is called a random, and a random, if you set it to true, the order of the slides will be randomized. So let's do that. Set random to true, let's say paused false. And let's remember how it is right now so we have the park. We have the summer thingy here. We have the leaves, and then we have the seaside. But now we have the park. We have the leaves. And then we have the summer, and then we have this. And if we do a refresh, they're going to be randomized again. Let's try that again, there we go. So this is the first one, second, and so on. Another option is called starting slide, and this just represents an integer, defaults to zero. And it's the zero based index of the slide that should be initially displayed. Right. So set that data-cycle-starting-slide, if you set it to one, that's going to start at the second slide, because this is zero based. Let's set random to false. So now, a refresh it starts at slide number two. Another option is called sync. Now sync by default it's true, and when it's true then the animation of the incoming and outgoing slides will be synchronized. If it's set to false, then the animation of the in slide will not start until the out animation will finish completing. So let's give that a go. So notice how the animations are right now. And let's set sink to false. And now the animations will go something like this, see? [LAUGH] There is a very weird effect, so the out animation finishes and only then the in animation starts. Of course, this is not a desired effect, but if for some reason you need it, there you go. That's it for options. Now, since I mentioned commands earlier, let's have a look at those in the next lesson.


