


- Overview
- Transcript
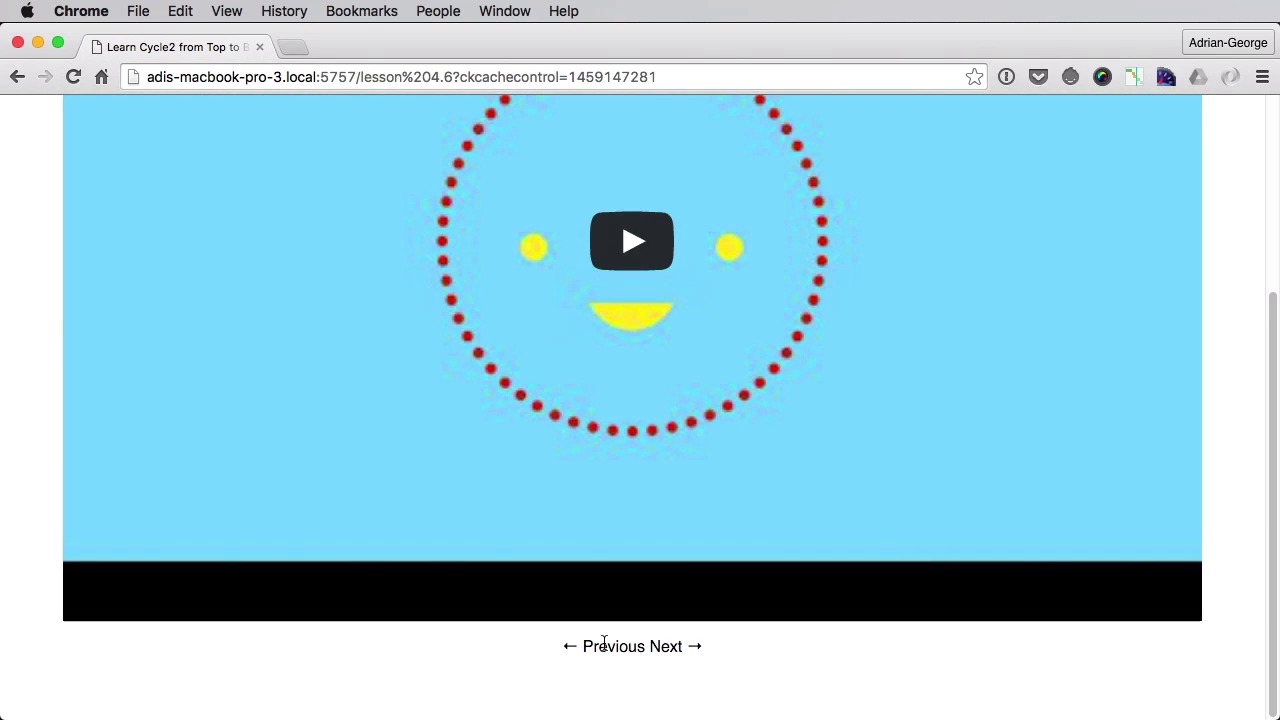
4.6 YouTube
The final plugin you’ll learn about in this course is called “YouTube” and it’s used for displaying YouTube videos in the slideshow. Let’s take a look.
1.Introduction
1.1Welcome00:34
1.2Why Cycle2?02:22
1.3Plugin Installation and License01:30
1.4A Basic Example03:19
1.5Settings Options04:42
2.Basic Usage
2.1Captions04:58
2.2Using Navigation Controls04:42
2.3Slideshow Effects and Options04:36
2.4Continuous Slideshow03:49
2.5Using Overlays04:32
2.6Using Pagers08:34
2.7Using Non-Image Slides03:34
3.Advanced Usage
3.1Auto-Height06:27
3.2Image Loader05:19
3.3Progressive Loading08:54
4.Optional Plugins
4.1Carousel09:04
4.2Flip and Shuffle05:53
4.3ScrollVert and Tile03:29
4.4Caption2 and Center05:55
4.5Swipe02:12
4.6YouTube05:22
5.The API
5.1Options09:45
5.2Commands07:15
5.3Events04:09
5.4Cycle States and Hash04:51
5.5Template Customization02:27
6.Conclusion
6.1Final Words00:42
4.6 YouTube
The final plugin you'll learn in this course is called YouTube. And its purpose is to display YouTube videos in your slide show. So let's see how it works. Let's begin by including the plugin files. So we're loading jquery.cycle2.video.min.js. Now, for video here, let's say that we want a combined slide show. We want one with two images and two videos. And for videos, we're gonna use anchor tags that as an href, have the link to the YouTube video. So I'm gonna put two of them and they currently look like this. Also, lets add some controls outside of the slide show, just some previous and next controls. Let's add the proper options here. So data-cycle-prev, next set to these classes here. Also we have to set the slides, so data-cycle-slides. We want to be able to target both images and anchor tags, so we're gonna say a and img. And let's set a timeout to 0. Now let's see what we have. Currently, we just have a link as a slide, a second link, an image, yeah, and then another image. Now let's do an auto-height feature here. We'll say data-cycle-auto-height. We'll set this to calc, so it automatically calculates the tallest slide, yeah, just like this. All right, and now let's activate the YouTube plugin. You can easily do that by saying data-cycle-youtube="true". Now this will grab the YouTube videos, it's gonna put them like this. Yeah, you can't really see it now because the styling is off. Yeah, you can see it now, yeah. Now, so let's go ahead and add some proper styles for these, yeah? So I've added a little bit of styling for the controls to align them on the center. And for iframe, object, and embed, width and height set to 100%. And then for this to work, we gotta target the first level divs here and do the same thing, width 100%, height 100%. So now the videos are in full width of the container. So we can switch between them, there it is, there's the second one. And there's the image, and then there's this, and then there's this. Now we can click on these and you'll see that nothing really happens here. Because we click there and the second video started playing. That's because currently, it seems the fade effect is bugged. However, If we use the scroll effect, so data-cycle-fx scroll horizontally, you'll see that those problems are now gone. We can play the videos, yeah, we can pause them. We can go to the next slide, play this one. Pause it, go to the next slide, go to this one, go to this one. Play it again and so on, so here it works perfectly. Now there are three more options for this plugin. The first one is called autostart. So you would do data-cycle-youtube-autostart. And if we set that to false which is actually the default, the videos will not start automatically. But if we set that to true, you'll see that the videos do start automatically. And if I go to Next, this video will start automatically. Now these don't stop, actually, when you switch slides here, right? For that, you can set an option called autostop. And if you set it to true, when you change slides, notice we'll change slide at four, five, there we go. And we'll change the slide here at let's say, seven. Six, seven, change slide. So when we come back now, this second video should still be at seven, and there it is. And this first one should be at five, and there it is. So when you switch slides they will stop automatically. Now the third option is called allow-full-screen and by default it's set to true. As you can see, if you click this little button here it's gonna go full screen. But it can also turn off that functionality. All you gotta do is set youtube-allow-full-screen to false. And that will not work anymore. So those are the options you can use for the YouTube plug in. And there you have it, those are all the available plugins for cycle. Now let's turn the page, let's start a new chapter where we're going to learn about the API. And we'll start in the next lesson with the cycle options.


