

- Overview
- Transcript
2.7 Using Non-Image Slides
Cycle allows you to use any kind of elements as slides. By default it looks for images, but you can use divs, anchor tags, lists and so on. Let’s find out how.
1.Introduction
1.1Welcome00:34
1.2Why Cycle2?02:22
1.3Plugin Installation and License01:30
1.4A Basic Example03:19
1.5Settings Options04:42
2.Basic Usage
2.1Captions04:58
2.2Using Navigation Controls04:42
2.3Slideshow Effects and Options04:36
2.4Continuous Slideshow03:49
2.5Using Overlays04:32
2.6Using Pagers08:34
2.7Using Non-Image Slides03:34
3.Advanced Usage
3.1Auto-Height06:27
3.2Image Loader05:19
3.3Progressive Loading08:54
4.Optional Plugins
4.1Carousel09:04
4.2Flip and Shuffle05:53
4.3ScrollVert and Tile03:29
4.4Caption2 and Center05:55
4.5Swipe02:12
4.6YouTube05:22
5.The API
5.1Options09:45
5.2Commands07:15
5.3Events04:09
5.4Cycle States and Hash04:51
5.5Template Customization02:27
6.Conclusion
6.1Final Words00:42
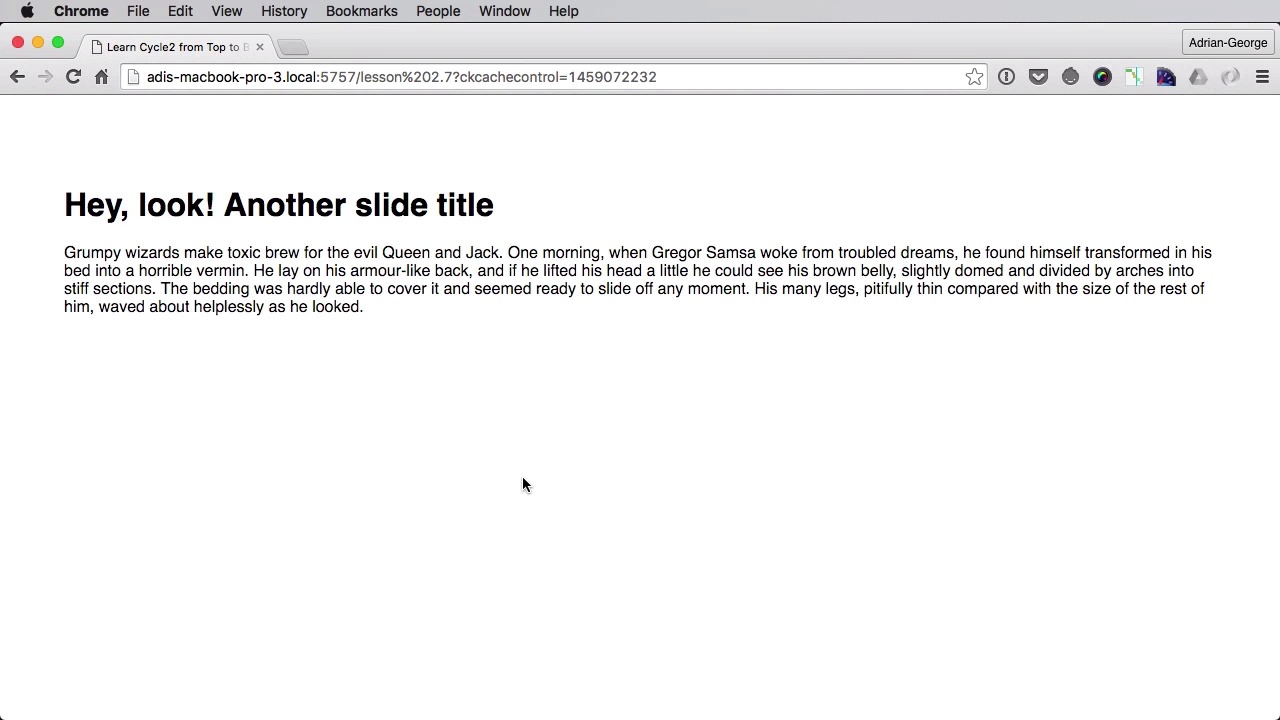
2.7 Using Non-Image Slides
Cycle allows you to use any kind of elements for slides, by default it looks for images but you can specify to look for these lists, anchor tags and so on. So let's find out how. Let's say that we wanna use some text on each slide and each slide will be a div something like this. So we have a div, we have an h1 and a paragraph and then another div inside, the first one. Now we do have the class of cycle-slideshow. But even with that we don't actually have a working slider, and that's because by default, for slides Cycle searches for images. So we need to specify that we wanna use a different element. We do that by setting the following option data-cycle-slides="div", all right? So now we're gonna have the first slide, and then the second slide, and then the third, and then the fourth. But notice that this div here was considered a slide even though it was inside our first div, so if we just want like the main divs here, the first level divs. We're just gonna do this and specify that we just want the direct descendants. So now we will just have one, two and three. That's all there is to it, it's really, really simple. Now to this, you would add whatever options you want just like you would a regular image slide show. So for example, you can change the effect you can say data-cycle-fx="scrollHorz". And now it's gonna scroll instead of fade, and there we go. You can add pagers if you want, you can add captions, overlays and so on. One thing that I wanna show you here is actually two additional options that you can use. The first one is called data-cycle-slide-class because currently, if we take a look at our slides here, they have the class of cycle-slide. And on the active one they have the class of cycle-slide-active. Well we can tweak these to your liking. Let's say for example my-slide here and you can also data-cycle-slide-active-class my-active-slide, for example. And then you can specify some CSS for these and, as you can see now they have the classes my-slide and my-active-slide. And that is a very simple example of using non-image slides. With this we've finished the lesson and in fact the the basic usage chapter. Now it's time to dive a little deeper and learn some of the more advanced functionality that Cycle has to offer. And it will begin in the next lesson with auto-height.


