

- Overview
- Transcript
4.3 ScrollVert and Tile
The final two transition plugins you’ll learn about are called ScrollVert and Tile. Let’s download these and see what they’re all about.
1.Introduction
1.1Welcome00:34
1.2Why Cycle2?02:22
1.3Plugin Installation and License01:30
1.4A Basic Example03:19
1.5Settings Options04:42
2.Basic Usage
2.1Captions04:58
2.2Using Navigation Controls04:42
2.3Slideshow Effects and Options04:36
2.4Continuous Slideshow03:49
2.5Using Overlays04:32
2.6Using Pagers08:34
2.7Using Non-Image Slides03:34
3.Advanced Usage
3.1Auto-Height06:27
3.2Image Loader05:19
3.3Progressive Loading08:54
4.Optional Plugins
4.1Carousel09:04
4.2Flip and Shuffle05:53
4.3ScrollVert and Tile03:29
4.4Caption2 and Center05:55
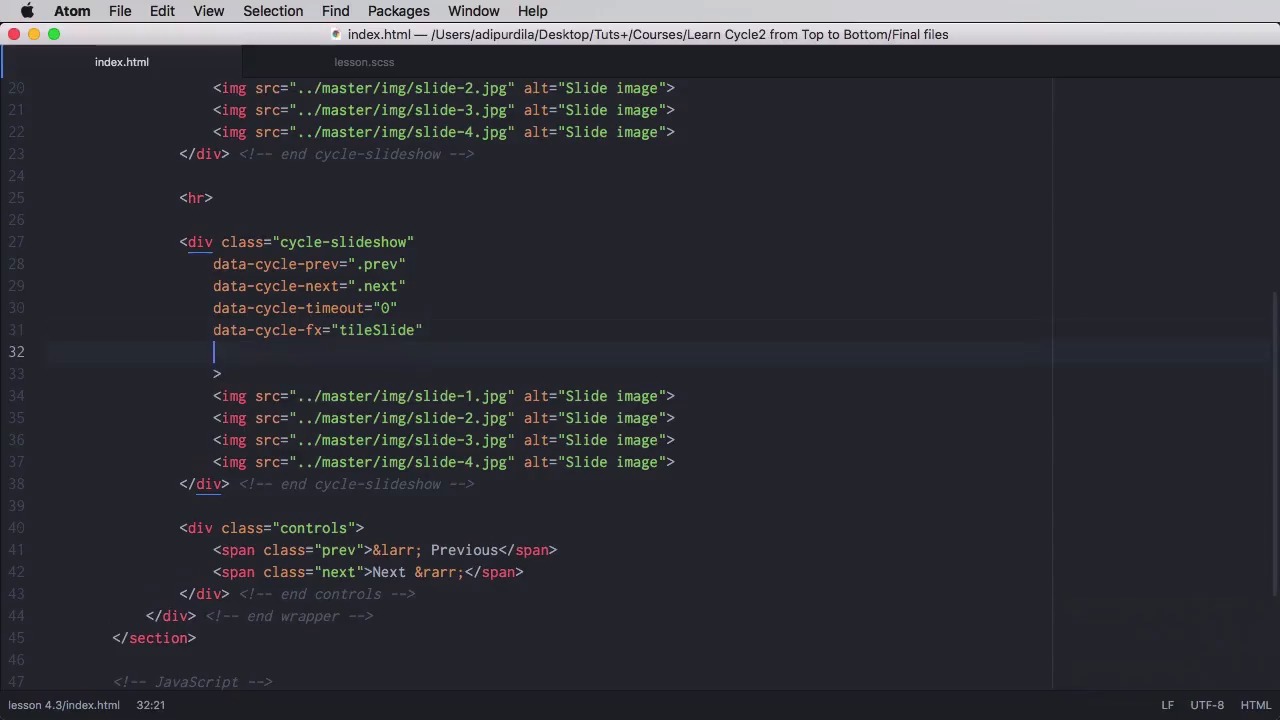
4.5Swipe02:12
4.6YouTube05:22
5.The API
5.1Options09:45
5.2Commands07:15
5.3Events04:09
5.4Cycle States and Hash04:51
5.5Template Customization02:27
6.Conclusion
6.1Final Words00:42
4.3 ScrollVert and Tile
The final two transition plugins you'll be working with are called scrollVert and tiles. So let's go ahead and download these and see what they're all about. We'll begin as usual by loading these two plugins in the footer of our page. So we're getting the scrollVert JS and tile JS. Now, the scrollVert is the easiest of all. data-cycle-fx to scrollVert, and now the items will scroll vertically instead of horizontally. And there we go. For tile, let's go ahead and build another slide show here. And to this, we've added some custom navigation buttons, and the controls here, and of course some CSS for them. So now currently our second slider looks like this. Right, next, next, next. But this is still using the scrollVert effect. Let's change this to tile. And this is actually called tileSlide. And now. This is the effect you're getting. Now, this seems to be a bit bugged. Noticed there is a little flicker on some changes. Not sure why that is, but it's just the way it is, yeah. And with this new effect come a lot of options. For example, you can set the tiles to be horizontal instead of vertical. So for this you would set data-cycle-tile-vertical to false. So now the tiles will be horizontal. You can also set the tile count. By default it's seven. We can set it to 2, for example, and it's was gonna look like that. Or we can set it to 20. And it's gonna look like that. A very nice feature for this plugin is its ability to create per-slide effects. So per-slide, you can customize the effect, either you want it to be a slide or a blind. You can customize the tile count. And you can customize the tile delay. Back here, let's say that for this first image, we're gonna set the data-cycle-fx to tileSlide, we're gonna set the tile count to 3, and on this second slide, we're gonna set this to tileBlind. And the tile count will be 5, and let's actually put a tile delay of let's say 100 here. Yeah, so let's see how it looks. Okay, that was the blind. And we actually need to go previous, and there it is. That's it for the transition plugins. Now, as you saw, these will just add a simple transition effects to the slides, they don't have any additional function. However, there are four more plugins we need to cover that add some extra functionality to Cycle. So let's start in the next lesson.


